Dark bar photos fail for three reasons, and all three are fixable: there is not enough light, the camera is moving, and the sensor is cranking up ISO to compensate. To take good photos in a dark bar, gather more light first, hold the camera steady second, and raise ISO last.
That order matters more than any gear. Most ruined night-out photos come from a phone on full auto, pointed at the brightest thing in the room, which is usually a neon sign or a backlit bottle shelf. The camera meters for the sign, underexposes the faces, and adds a heavy orange or green cast from whatever bulbs are nearby.
Below is the whole workflow: what to bring, what to set before the room gets busy, how to work with the light a bar actually has, and how to rescue a shot after the night is over. Everything here works on a phone you already own, and there is a camera path if you carry one.
Table of Contents
What You Need
You can get sharp, atmospheric nightlife photos with far less kit than people assume. Here is what genuinely changes the result.
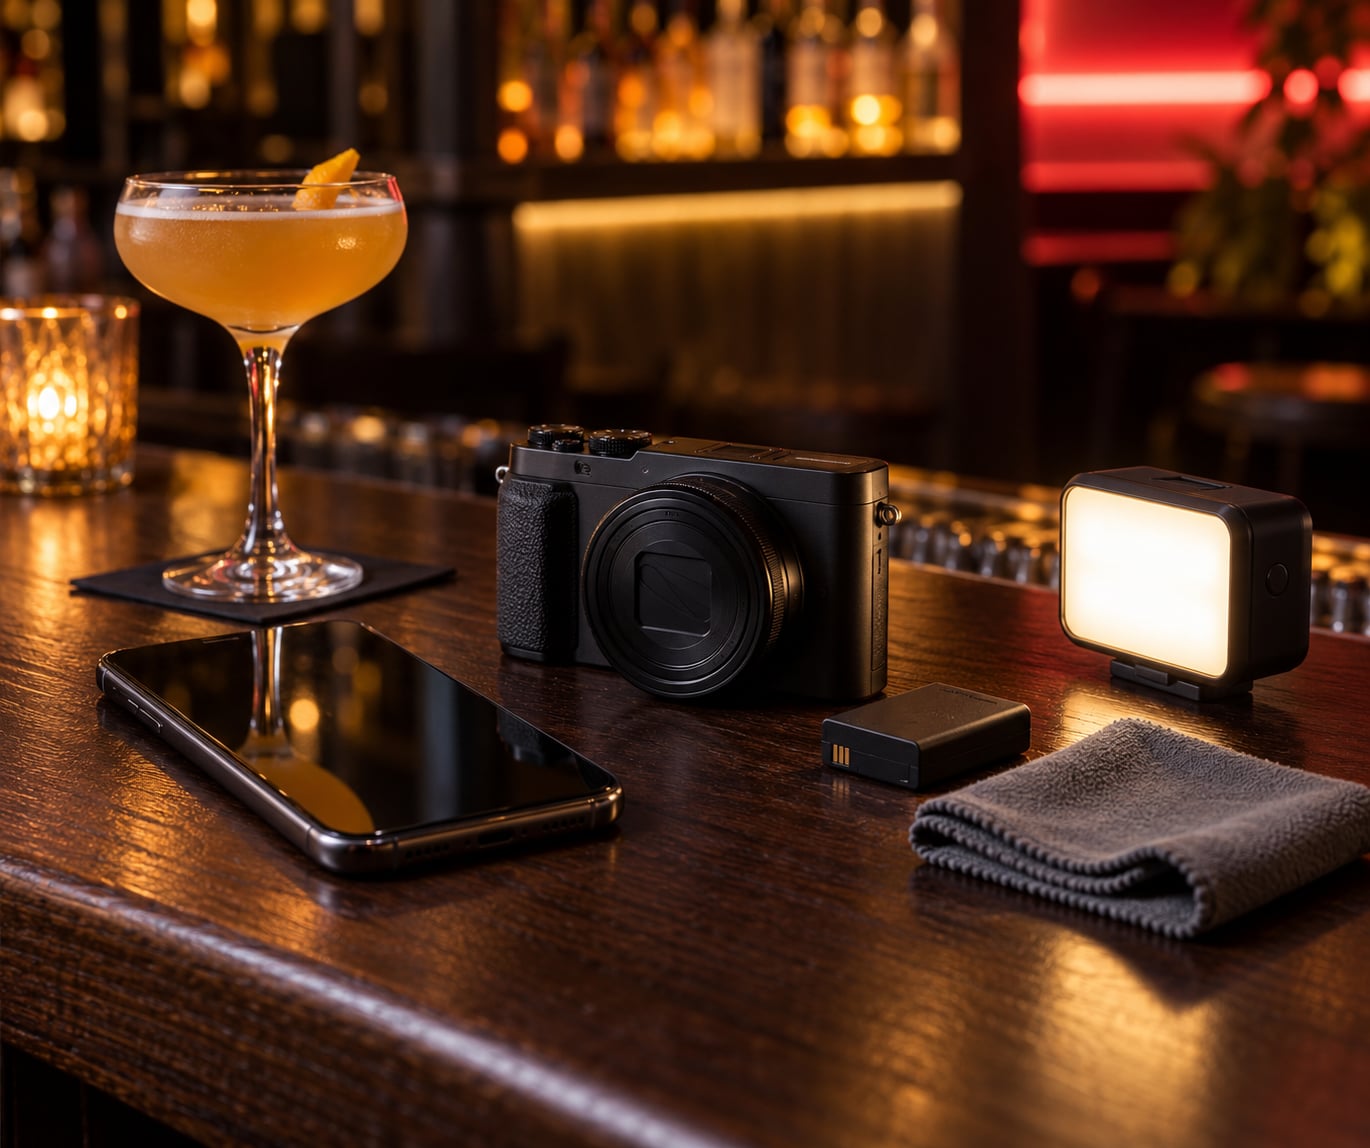
- Camera or phone, either one. A recent phone with a Night mode or a Pro mode handles a dim bar well. Pro mode is the better tool because it exposes ISO, shutter speed and exposure compensation to you.
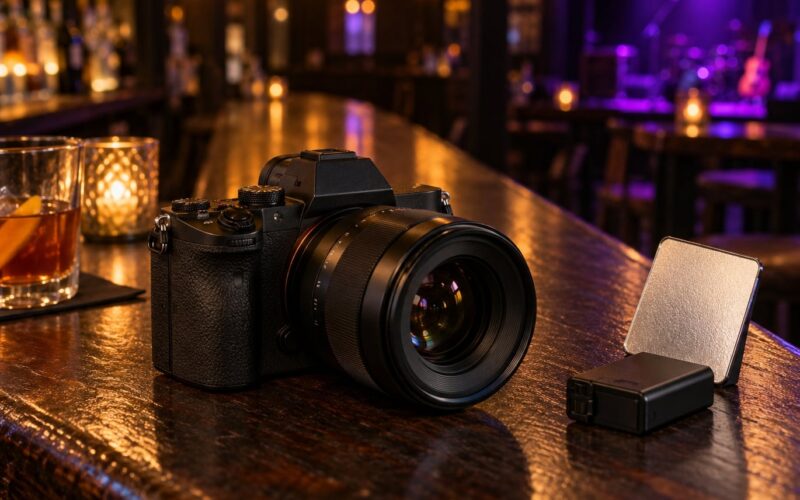
- A fast lens if you shoot a camera. A 28mm prime or any f/1.8 to f/2.8 lens gathers far more light than a kit zoom. Wide angles also help because bars are tight spaces.
- A pocket tripod, or a solid surface. A folding tripod is the single biggest upgrade for dark shots. Failing that, rest the phone or camera on a coaster, a table edge, or your forearm.
- A self-timer. Every phone has one, and most cameras do too. It removes your hands from the frame and steadies the shot.
- A microfiber cloth. Greasy fingerprints and bar condensation destroy contrast and create purple fringing.
- A spare battery and a charged power bank. Night mode is a power-hungry mode, and low screen brightness still drains a battery over a long night.
- A small dimmable LED light. Pocket-sized and phone-sized lights exist for exactly this. Used at low power from the side, they rescue a face without flattening the room.
A tripod is helpful in a dark bar but not required. Plenty of handheld bar photos are sharp because the photographer braced their elbows into a table and held still for a beat.
Step-by-Step: How to Take Good Photos in a Dark Bar
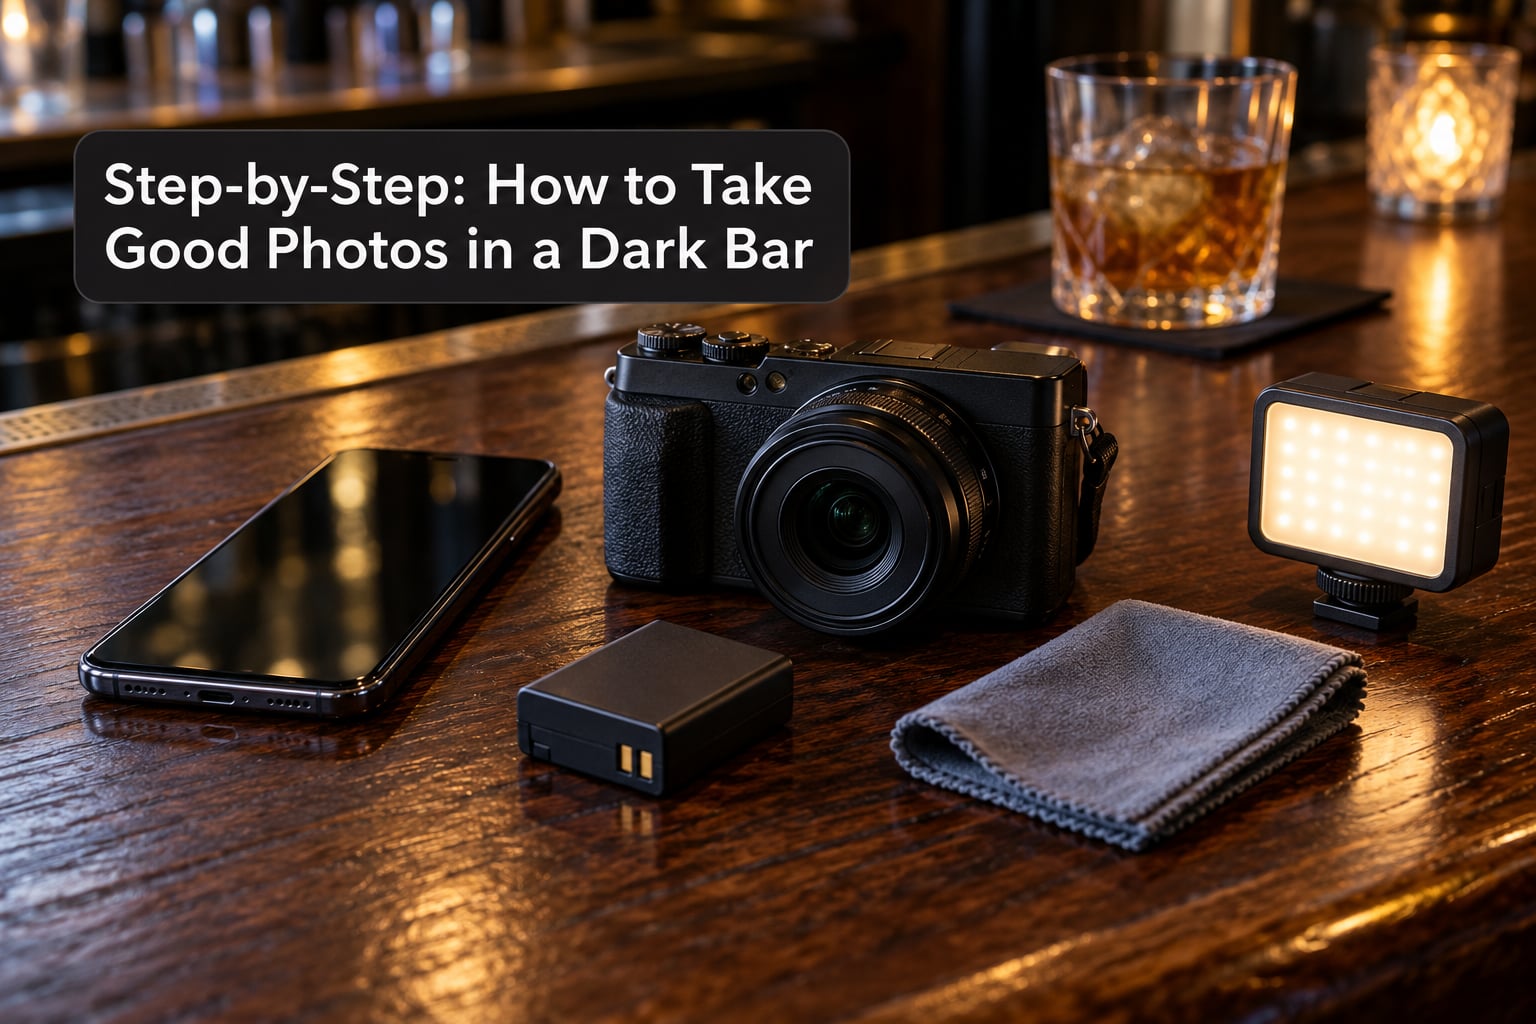
The sequence below follows the order of operations in an actual room. Do steps one and two before you get absorbed in the night, because the rest gets much harder once the room is full.
Set Up Your Camera Before the Lights Change
Wipe the lens first, in a circular motion with the dry side of the cloth, and check it again every hour. Smudged glass is the most common reason a sharp night photo looks soft and hazy.
Then set the mode. On a phone, open Pro or Manual mode if your phone has one, and set the shutter speed, ISO and exposure compensation by hand. On a camera, switch to manual or shutter-priority with auto ISO.
A useful starting point for a dim bar is 1/60s at f/2.8, ISO 1600, with exposure compensation around -0.7 EV. Shoot RAW if your camera allows it, or RAW plus JPEG if you want files to review immediately.
Setting negative exposure compensation matters more than people expect. Cameras read a dark scene as underlit and brighten it, which pushes neon tubes and light strings into blown-out white. Dialing down keeps the highlights and hands you the detail in faces instead.
Find Light That Flatter Faces and Details
Bar lighting is mixed, and each type behaves differently. Knowing which is which saves you from shooting next to the wrong fixture.
- Backlit bottle shelves are your best friend. They give you a bright, colourful background with a rim of light on hair and shoulders. Place your subject between you and the shelf, and shoot with the shelf just behind their head.
- Neon and LED signs add colour but throw uneven light. Put the sign beside your subject rather than behind them so one side of the face catches it.
- Candles and small table lamps give warm, soft, flattering light. Move a table closer to your subject before adding any artificial light.
- Overhead downlights are the worst option. They light the top of a head and leave the eyes in shadow, and they cast hard shadows under the cheekbones. Turn or angle away from them.
- Strobes and moving beams are unusable for portraits, because exposure changes every frame. Shoot short bursts and accept that some frames will be dark.
Use a dimmable fill light at low power, held by a friend at arm’s length to one side and slightly below eye level. A phone flashlight works as a stand-in. Skip direct flash entirely; the harsh reflection on skin and glass is what ruins most bar photos.
Compose Around the Room and the Subject
Treat the brightest light as your anchor and build the frame from it. A shot with a face lit on one side and a warm, glowing background behind it reads as intentional rather than accidental.
For groups of three, stand your subjects shoulder to shoulder facing the same light, then check the background before shooting. Look for exit signs, backlit bottles, television screens, or somebody’s bright jacket directly behind a head. Move half a step and that problem usually disappears.
Use the room as context. A wide shot that includes the bar rail, the crowd and the light spills tells a nightlife story that a tight portrait cannot. Alternate between the two rather than shooting only close-ups.
Keep Shots Sharp in Low Light
Sharpness in a dark bar depends on which of the two blurs is killing you: camera shake or subject movement. Camera shake comes from your hands, and subject movement comes from people.
For camera shake, any shutter speed slower than 1/30s needs support. Prop the camera, use a tripod, or hold the self-timer. For subject movement, keep the shutter at 1/60s or faster. If the scene needs a slower shutter, then the subject must be still.
The trade-off runs in this order: open the aperture as wide as it goes, then raise the shutter speed enough to stop motion, then raise ISO for whatever light is left. Pushing ISO last keeps grain down. Photographers on photography forums describe this same order almost word for word when they discuss club work.
Turn off face-detection autofocus in dim conditions. It hunts badly in low light and grabs the wrong person in a group. Use a single focus point on the nearest eye, confirm it, then reframe without refocusing.
Capture Motion Without Losing the Moment
Dancing, laughter and a toast all happen in about two seconds. Short bursts of three to five frames catch the expression before it closes.
Turn on burst or Live Photo, and hold the frame rate in mind. Long bursts fill your card and guarantee that the sharp frame gets deleted. Shoot the moment, then check the last few frames rather than the first.
Some blur is fine. A hand wrapped around a glass with a little motion in it looks like energy. What does not look intentional is a face smeared across the frame, so people get the faster shutter and drinks get the softer one.
Expect the best candids in the lulls rather than at peak crowd. Shoot the twenty seconds right after a song ends, when people are laughing and still in position.
Check Results and Make Quick Corrections
Look at your first frame immediately, not at the end of the night. If it is wrong, settings are wrong, and you can fix it in five seconds instead of losing two hundred frames.
- Too dark on faces but highlights fine: add exposure compensation, or move your subject toward the light.
- Blurry: check whether the shot was taken in Night mode with a moving subject. Night mode merges multiple frames, and anything that moves gets soft.
- Grainy: lower ISO by opening the aperture further, or by slowing the shutter with the camera on a support.
- Wrong colour: set white balance manually rather than leaving it automatic. In a bar, automatic white balance guesses badly.
- Blown neon: reduce exposure compensation further and accept darker faces, then lift faces in editing.
For custom white balance on a camera, take a quick reference shot of a white napkin or paper under the same light, then set custom white balance from that frame. If you skip that, set white balance to the tungsten or fluorescent preset and correct the rest later.
Edit for Detail, Color, and Atmosphere
Editing in a bar is a rescue job, not a creative overhaul. The restraint is what keeps it looking real.
In Lightroom Mobile or Snapseed, work in this order. Start with exposure and lift shadows, since underexposed faces can recover a surprising amount if the highlights are not clipped. Next drop highlights if the neon is burned. Then correct white balance, using the eyedropper on a white napkin or a piece of paper in the frame to neutralise the orange or green cast.
After that apply noise reduction on the shadows only, at a modest strength. Heavy noise reduction gives skin a waxy, plastic look, and it is easy to overshoot on a frame that was already shot at ISO 6400.
Finish with a small lift to contrast and a touch of clarity or dehaze on the background only. Protect skin tones while you do it, and resist pushing saturation. A crowded bar shot with red string lights and warm bulbs already carries plenty of colour, and pushing further is how a night photo turns into an orange cartoon.
Black and white is a legitimate option for a room full of coloured light. Removing the colour removes the cast problem along with it.
Common Mistakes
- Using direct flash. It creates hard shadows, red eyes and a reflective hotspot on every glass. Bounce light off a ceiling or wall if you must use flash at all, and keep the power low.
- Shooting at 1/15s or slower handheld. Your hands move more than you think. Anything below 1/30s needs a tripod, a table or a surface.
- Leaving Night mode on for dancing. Night mode stacks several frames together, so moving people blur across the merged result. Use it for still scenes like a drink on the bar, not for a dance floor.
- A dirty lens. Fingers, condensation and bar haze cost you more sharpness than any setting.
- Digital zoom. Pinching to zoom crops a small sensor and throws away detail. Move closer, or use the optical lens.
- Over-editing noise. If the frame is grainy, pulling shadows hard makes the grain obvious. Recover gently and leave some noise in the shadows where it reads as atmosphere.
- Photographing without asking. Ask first, every time, and treat a flat no as final. In a dim crowded room, a confrontation you did not anticipate is a genuine risk, not just bad manners.
- Holding the camera low among the drinks. Keep the camera or phone up at shoulder level or higher. That alone prevents most spilled-drink damage.
Two more habits worth building. Ask the venue owner or bartender before photographing the room as a whole, and never shoot private booths or back rooms where people clearly expect to be left alone.
Frequently Asked Questions
What camera settings should I use for nightlife photography in a bar?
Start at 1/60s, the widest aperture your lens has such as f/1.8 or f/2.8, and ISO 1600, then set exposure compensation to about -0.7 EV. Shoot RAW if your camera allows it. Widen the aperture first, raise shutter speed second to stop motion, and raise ISO last to limit grain.
Which ISO setting is best for low light photography?
ISO 800 is fine in a well-lit cocktail bar, and ISO 1600 to 3200 is normal in a dim club. Above 3200, grain becomes obvious, so treat ISO 6400 as your ceiling for handheld color photos. If you need more light than that allows, add light or accept a longer shutter on a tripod.
Is f/2.8 enough for low light?
Yes, f/2.8 is a workable low-light aperture for bar photography, especially on a camera with decent high-ISO performance. Wider apertures like f/1.8 give you more light and shallower backgrounds, but modern phone sensors make f/2.8 on a fast lens a solid starting point for handheld shots.
Why do my bar photos come out dark?
Auto exposure reads a dim room as underlit, meters for the brightest element, and underexposes the faces. Point the camera at a person’s face or a lit surface to set exposure, then lower exposure compensation by about -0.7 EV to keep neon signs from blowing out. Also check the lens is clean before anything else.
How do I take photos of people in a dark room without a flash?
Put your subject next to a real light source such as a backlit bottle shelf, candle or table lamp, and place the light beside them rather than in front. Shoot at 1/60s or faster so movement stays sharp. A friend’s phone flashlight at low power works as side fill. Skip direct flash unless you can bounce it off a wall or ceiling.
Is it legal to take photos in a bar?
In most US venues you can photograph in a common area without special permission, but the rules vary by state and venue and private bars often ban photography outright. Asking the bartender or owner is the easy answer. Photographing individuals needs their consent, and asking is always better than assuming.
Conclusion
To take good photos in a dark bar this 2026, or any night, the first five moves are always the same. Clean the lens before you walk in, stabilize the camera with a tripod, a table or a timer, and find a light source that lands beside your subject’s face instead of overhead. Set exposure compensation a little negative so the neon holds, then look at your first image before you take another ten.
Everything after that is repetition, and repetition is what makes the photos stop being an accident.