Learning how to photograph nightlife without a flash means shooting bars, clubs and parties with only the light already in the room: house lights, DJ and stage fixtures, screens, signage, a phone glowing on the bar top. The trick is the exposure triangle. Open the aperture to gather more light, raise ISO so the shutter can stay fast enough for dancing, and only then lower the shutter as far as motion blur allows. Give it 20 minutes of practice at home and the whole thing becomes a repeatable routine.
For most people the hard part is not gear. It is accepting that a club photo will never look like a daylight photo, and learning to stop pushing settings past the point where the image falls apart. That takes one night out, not a photography degree.
This guide covers current camera options, phone-only shooting, the settings that actually work, and how to be a decent guest while you do it. Updated for October 2026.
Table of Contents
- What You Need
- Step-by-Step: How to Photograph Nightlife Without a Flash
- Common Mistakes
- Frequently Asked Questions
- How do I take good pictures at night without flash?
- What are the best settings for nighttime photography?
- Should I prioritize aperture, ISO, or shutter speed?
- What is a good ISO for night shots in a club?
- Can I use my phone instead of a camera at a club?
- Do I need a tripod, and do I need permission to shoot?
- Conclusion
What You Need
A phone is genuinely enough for this. Modern phone cameras handle dim rooms well, and computational night mode stacks several exposures into one cleaner frame. Hold it steady with two hands, tap the face you want bright, and shoot.
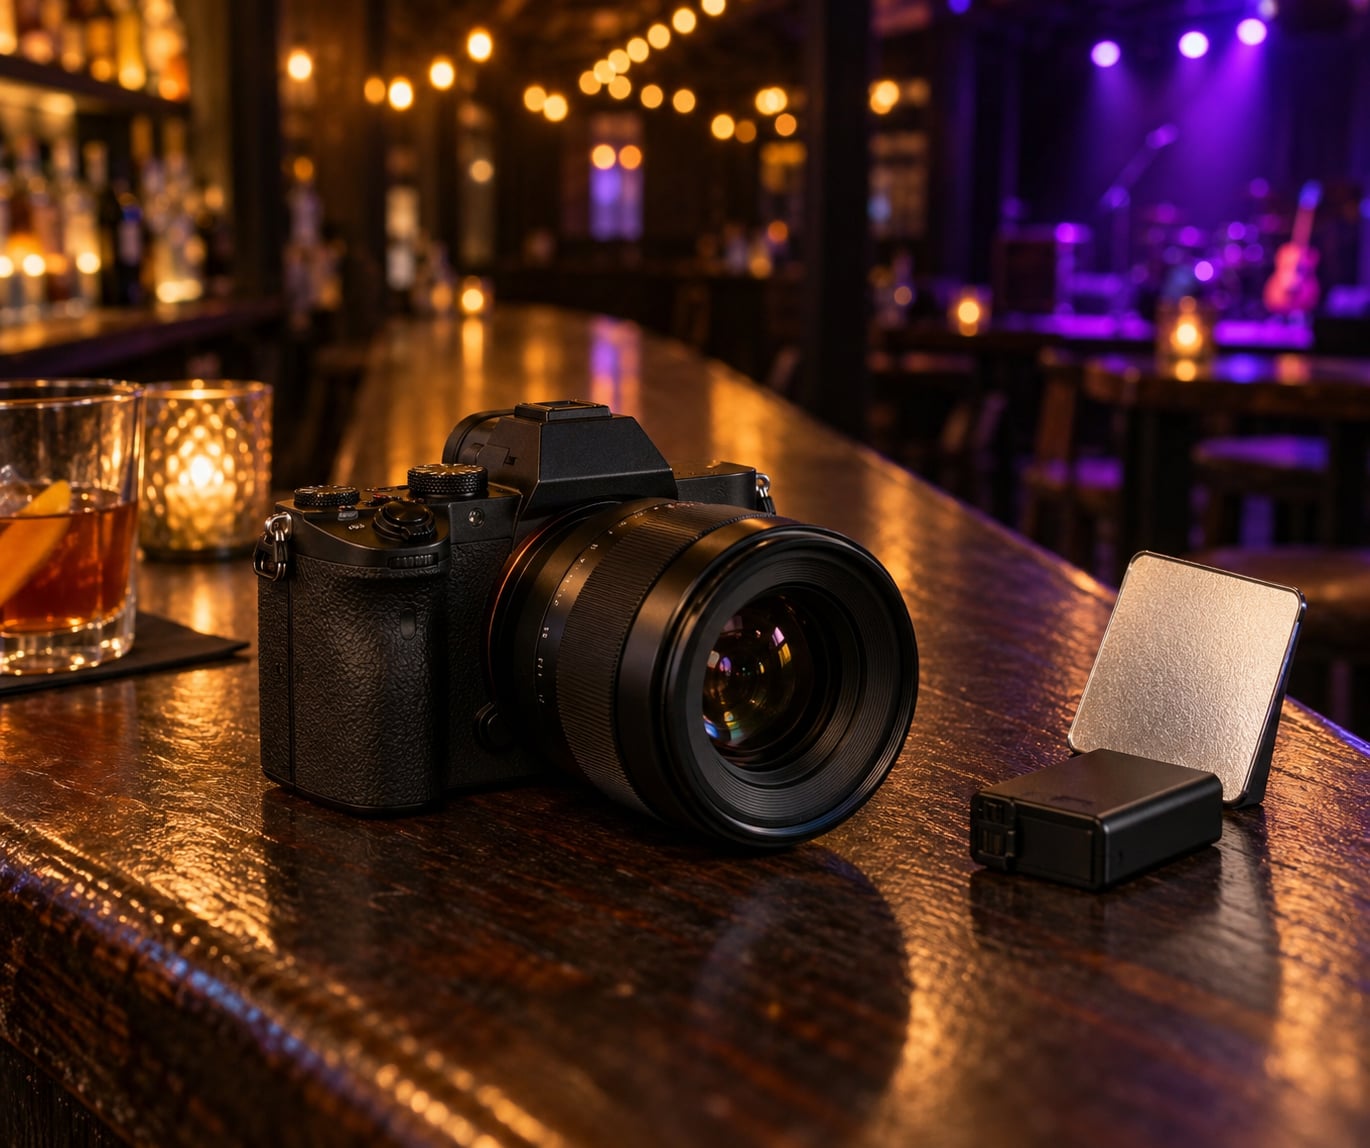
A camera gives you one big advantage: a fast lens. A 35mm prime at f/1.8 gathers roughly four times the light of a kit zoom at f/5.6, which is the difference between a usable photo and a grainy mess. You do not need an expensive body. You need a wide maximum aperture and something that handles high ISO without falling apart.
Bring a spare battery. Long exposures and live view drain power faster than you expect, and finding a charger at 1am in a dark booth is miserable. A formatted, empty memory card is the other non-negotiable.
Image stabilization helps more than extra megapixels do. If your body has in-body stabilization or your lens has optical stabilization, turn it on. It buys you roughly a couple of shutter stops of steadiness, which is the difference between a photo and a smear.
A small white or silver reflector, roughly the size of a postcard, is worth more than it sounds. Bounce a little club light into a face that would otherwise fall into shadow. Keep it small and use it quickly.
Wear darker clothing if you can. Black absorbs stray light and shows less motion in your own frames when you move around shooting. If you are near a stage with speakers, bring ear protection. Hearing damage at a club is permanent and nobody warns you about it.
And check the venue’s rules before you raise the camera. Many clubs ban flash outright and some ban photography of patrons during certain sets or in the back room. Ask the door or the bartender, not the crowd. A quick yes up front saves an awkward removal later and keeps your relationship with the venue solid.
On consent: photographing a room is different from photographing one person closely. People at a queer nightlife event are sometimes out, sometimes meeting someone new, sometimes in the middle of something they have not told their family about. Keep the camera readable, shoot wide rather than intimate when you can, and if someone asks you not to shoot them, delete the frame in front of them. That is the whole code, and it costs nothing.
Step-by-Step: How to Photograph Nightlife Without a Flash
Choose the right light sources
Stand near something that glows. An illuminated bar sign, a mirror ball, a wall of bottle backlighting, a DJ’s laptop screen or a string of warm bulbs will all out-illuminate the average face in a club.
Position yourself so that source is behind or beside your subject, not in your face. Backlight gives you rim-lit edges and a dark background. Side light gives you shape. Front light from your own flash gives you flat, wide-eyed, everyone-staring-at-you faces.
Color matters more than most guides admit. Blue and magenta gels make skin look gray or bruised unless you correct the white balance. Red light does the opposite, pushing everything warm. Shoot RAW and fix it later; in JPEG the color damage is already baked in.
Set a practical exposure
Start here and adjust from what you see on the screen: ISO 1600 to 6400, aperture f/1.8 to f/2.8, shutter speed 1/125 sec for anything moving. That combination is the working baseline for a club.
If the image is too dark, raise ISO before anything else. If your subject is sharp but the background is a mess, open the aperture. Only drop the shutter when the scene is genuinely static.
On your phone, tap the subject to set exposure, drag the sun icon up slightly to lift the shadows, and hold still through the capture. Night mode usually needs two or three seconds of not moving, so treat it as a still-life tool rather than an action tool. It cannot freeze a dancer.
Use Auto ISO if your camera has it. Set the aperture and shutter speed, cap Auto ISO at 6400, and the camera handles the rest when a strobe fires or someone walks under a sign. Almost every camera will under-expose a club if you leave it fully automatic, because it is metering for a room that is mostly dark.
| Scene | Mode | Shutter | Aperture | ISO | Notes |
|---|---|---|---|---|---|
| Dance floor | Shutter priority | 1/125 sec | f/2.0 | 3200-6400 | Use IBIS or OIS. Burst to catch a still frame. |
| Someone walking toward you | Manual | 1/60 sec | f/2.0 | 3200 | Lower only if you know they are not moving much. |
| Bar portrait, seated | Aperture priority | 1/125 sec | f/1.8 | 1600-3200 | Put the bright sign behind them. |
| Group of friends | Aperture priority | 1/160 sec | f/3.5-f/4 | 3200 | Stop down so everybody is sharp. |
| Crowd wide shot | Manual | 1/30 sec | f/2.8 | 6400 | Brace on a wall. Accept slight motion blur. |
| DJ booth or performer | Manual | 1/250 sec | f/2.8 | Auto, capped 12800 | Meter off the face, not the strobes. |
| Still detail: glass, signage | Manual plus self-timer | 1/4-1 sec | f/4 | 200-800 | A tripod or a firm surface makes this work. |
Two rules tie this table together. Shutter speed follows subject movement: about 1/60 sec for someone standing, 1/125 sec for someone walking or dancing, 1/250 sec and up for fast motion. And priority is simple: protect the shutter speed first, then the aperture, then let ISO take the hit. Noise is recoverable in software. A blurred face is gone.
Focus on the action
Switch the camera to continuous autofocus, called AF-C on Sony and Nikon bodies and AI Servo on Canon. Single-shot autofocus locks once and then does nothing while your subject moves toward you.
Pair it with burst mode. Shoot short bursts of three to five frames as someone moves through a light beam. You are not wasting film, you are picking the one frame where the face turned toward the light.
Turn off the AF assist light when you are shooting candid shots. It fires a bright lamp from the front of the camera and announces your position to everyone nearby, which defeats the point.
In genuinely dark corners, autofocus will hunt and fail. Do not fight it. Pre-focus on a spot where you know your subject will stand, lock focus there with a half-press, then recompose. Or switch to manual focus after you have locked one frame that was sharp, and use that distance for the rest of the set.
Watch your depth of field. At f/1.4 with a subject two meters away, a person standing half a meter behind them is out of focus. That is the difference between an atmospheric shot and a portrait of the background.
Keep the camera steady
Hold the camera against your chest with both elbows tucked in, or brace it against a wall, a column or a speaker cabinet. The support does the stabilizing, not your arms.
Do not walk while taking a long exposure. Move first, plant your feet, then shoot. Even at 1/30 sec, a walking photographer produces a soft frame.
A tripod is worth carrying only for static shots and wide crowd frames in a room where you can set it up without blocking anyone. In a packed dance floor it becomes a liability. A small table-height tripod near the bar works better than a tall one on the floor.
One safety note, because the photo is not worth a hospital: keep your viewfinder at your eye. Looking down at a back screen in a dark, packed room is how people walk into other people. In-body stabilization will happily freeze your own elbow brace, which is exactly what you want.
Shoot a short test sequence
Before anything important happens, take ten frames at different moments and review them on the back screen. Look at two things: brightness and sharpness. If the faces are dark, lift exposure compensation or raise ISO. If they are soft, your shutter is too slow.
Check the histogram too, if you know how. Clipped highlights on a strobe or a light bar cannot be recovered later. A slightly dark frame keeps detail; a blown one does not.
Shoot more than feels necessary. Club photography culls badly, and ten keepers from two hundred frames is a normal ratio on a busy night. Nobody will ever complain about the volume, only about the five shots you got wrong.
Review and finish with restraint
Cull for focus first, then expression, then composition. A beautiful frame of the back of someone’s head is not a keeper.
In editing, start with white balance. Colored gels are easy to correct in RAW and impossible to fix in JPEG. Then exposure, then a moderate noise reduction pass over the shadows.
Stop there. Heavy sharpening on a noisy high-ISO file makes grain look like crunchy salt, and it is the single most common way club photos end up looking worse than they did on the back screen.
Do not remove people from a candid scene to tidy it up. That is not editing, and in a nightlife setting it changes the story of the room.
Common Mistakes
Shutter speed too slow. This is the number one failure. 1/30 sec on a dancer gives you a streak. Fix: raise to 1/125 sec and accept a higher ISO. A little noise beats a blurred face every time.
Autofocus hunting in the dark. The camera racks back and forth hunting for a subject that has almost no contrast. Fix: pre-focus on a known spot, switch to manual focus, or add a small amount of light with your phone screen or a reflector.
ISO left low out of fear of noise. Underexposed frames with clean shadow noise look worse than correctly exposed frames with visible grain. Modern sensors handle ISO 3200 fine. Fix: shoot RAW and denoise in post, which is exactly what people in r/AskPhotography recommend for club work.
Shooting through obstructions. Heads, raised arms, and a stranger’s shoulder block the frame and get into focus. Fix: raise the camera above the crowd, crouch for low angles, or wait two seconds for the person to move.
Blowing out bright signs and strobes. The camera meters for a face and renders every neon tube pure white. Fix: spot-meter the face or lower exposure by a third to a full stop, then check on the back screen.
Distracting subjects. Phone screens, exit signs, brand logos and reflections of other cameras pull the eye. Fix: move a step left or right. Framing around the reflection is usually faster than editing it out.
Leaving Auto ISO uncapped. The camera sees a strobe and pushes to ISO 102400, which no amount of denoising rescues. Fix: cap Auto ISO at 6400, or 12800 if you are shooting the DJ booth.
Shooting straight from the hip at full speed. It is fast and candid, but you will get blur from your own movement. Fix: plant your feet, brace, then shoot. The candid moment still happens.
A few habits that fix most of the above at once: set a manual exposure before you go in and stop fiddling with it mid-crowd, shoot RAW, and turn off the AF assist light. Beginner photography groups converge on exactly this advice for club work, and they are right.
Frequently Asked Questions
How do I take good pictures at night without flash?
Stand near an existing light source, open the aperture as wide as your lens allows, raise ISO until the picture is bright enough, and pick a shutter speed that matches your subject’s movement. Start at ISO 3200, f/1.8 and 1/125 sec, then adjust. Shoot RAW so colored club light can be corrected later.
What are the best settings for nighttime photography?
For handheld nightlife, roughly ISO 1600 to 6400, an aperture of f/1.8 to f/2.8, and 1/125 sec or faster for anyone moving. Drop to 1/60 sec for someone standing still, and open up rather than slowing the shutter. Turn on image stabilization, shoot RAW, and check the histogram for clipped highlights.
Should I prioritize aperture, ISO, or shutter speed?
Shutter speed first. It is the only control that decides whether your subject is sharp or smeared, and no amount of editing fixes motion blur. Once the shutter is fast enough to stop the movement, open the aperture to gather light, then raise ISO for whatever exposure is still missing. Noise is easy to denoise afterwards.
What is a good ISO for night shots in a club?
Between 1600 and 6400 for most club scenes, and higher when a strobe is the main light source. Modern sensors produce usable files at 6400, and denoising in post cleans up most of the grain. The danger is going too low, which leaves you with an underexposed frame, rather than going too high.
Can I use my phone instead of a camera at a club?
Yes, and many people do. Use night mode for static subjects since it needs two or three seconds of stillness, tap to focus on the subject’s face, lift the exposure slider slightly, and hold the phone with two hands. Shoot in RAW or Pro mode if your phone offers it, since it preserves more detail in colored light.
Do I need a tripod, and do I need permission to shoot?
A tripod only helps for static scenes and wide crowd shots in a room where you can set it up safely. For anything moving, brace the camera against a wall instead. Always check the venue’s photography policy at the door, and respect anyone who asks you not to be photographed. In queer nightlife spaces, protecting someone’s privacy matters more than getting the shot.
Conclusion
Start with the light, not the camera. Find the brightest ambient source in the room, stand your subject near it with the glow behind them, brace the camera against something solid, and dial in a starting exposure of ISO 3200, f/1.8 and 1/125 sec. Shoot ten test frames, check them on the back screen, adjust once, and then shoot the moment you came for. Most of the technique lives in that one adjustment, and the rest is just being there and paying attention.