How to photograph a parade comes down to work you finish before the first float turns the corner: scout the route, claim a position, and set your exposure so a passing marcher is sharp without thinking. The whole event is a one-pass shoot. A group comes once, the light changes as the parade moves between sun and building shadow, and you are standing inside a crowd the whole time. That makes parade photography less about talent than about preparation.
Here is the workflow I use, whether the shoot is a neighborhood holiday parade or a city Pride march with six blocks of spectators. Budget about four hours, most of it standing still, and expect to throw away most of what you capture. One working photographer frames it as roughly 2,000 files taken and about 300 worth keeping, and that ratio is normal.
Table of Contents
- What You Need
- Step-by-Step: How to Photograph a Parade
- Step 1: Scout the Route and Check the Rules
- Step 2: Choose Your Position Before the Crowd Arrives
- Step 3: Camera Settings for Parade Photography
- Step 4: Anticipate the Action
- Step 5: Compose for Energy Without Losing People
- Step 6: Work Respectfully and Safely
- Step 7: Capture a Variety of Moments
- Step 8: Back Up, Review, and Color-Edit
- Common Mistakes
- Frequently Asked Questions
- What camera settings should I use for events?
- What is the best ISO setting for street photography?
- What F stop should I use for street photography?
- What camera settings work for night parade photos?
- How do I photograph a parade without motion blur?
- How do I photograph children and people who do not want photos?
What You Need
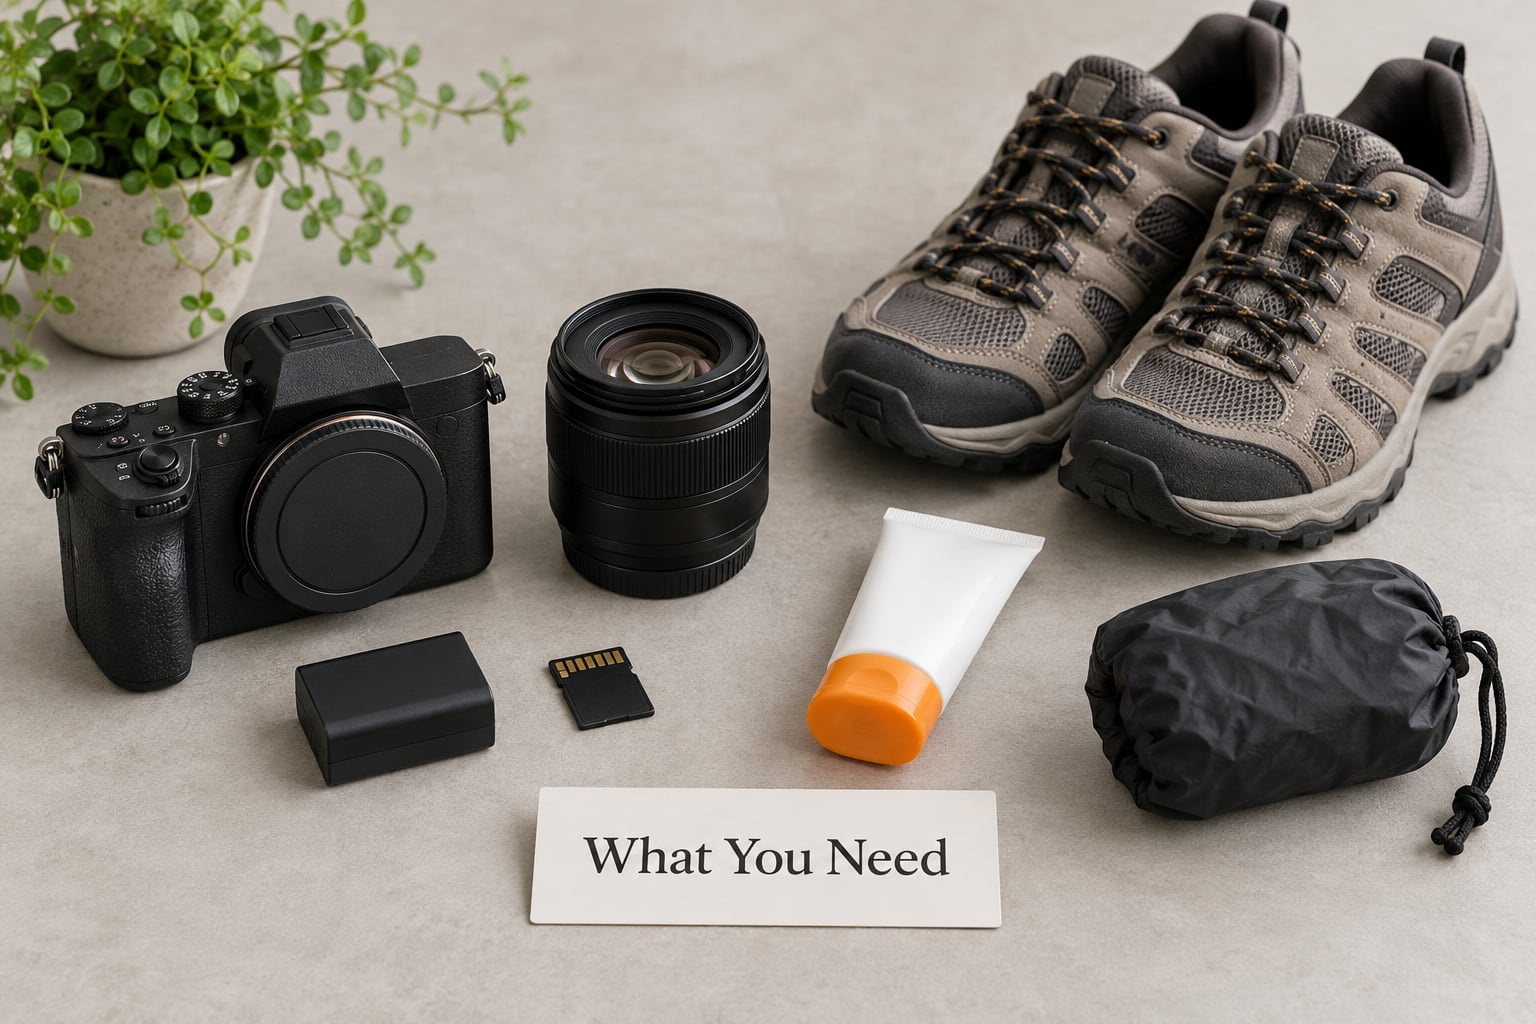
A phone will do, and so will any camera with a manual mode. Everything below is about removing decisions you should not be making while a float is rolling toward you.
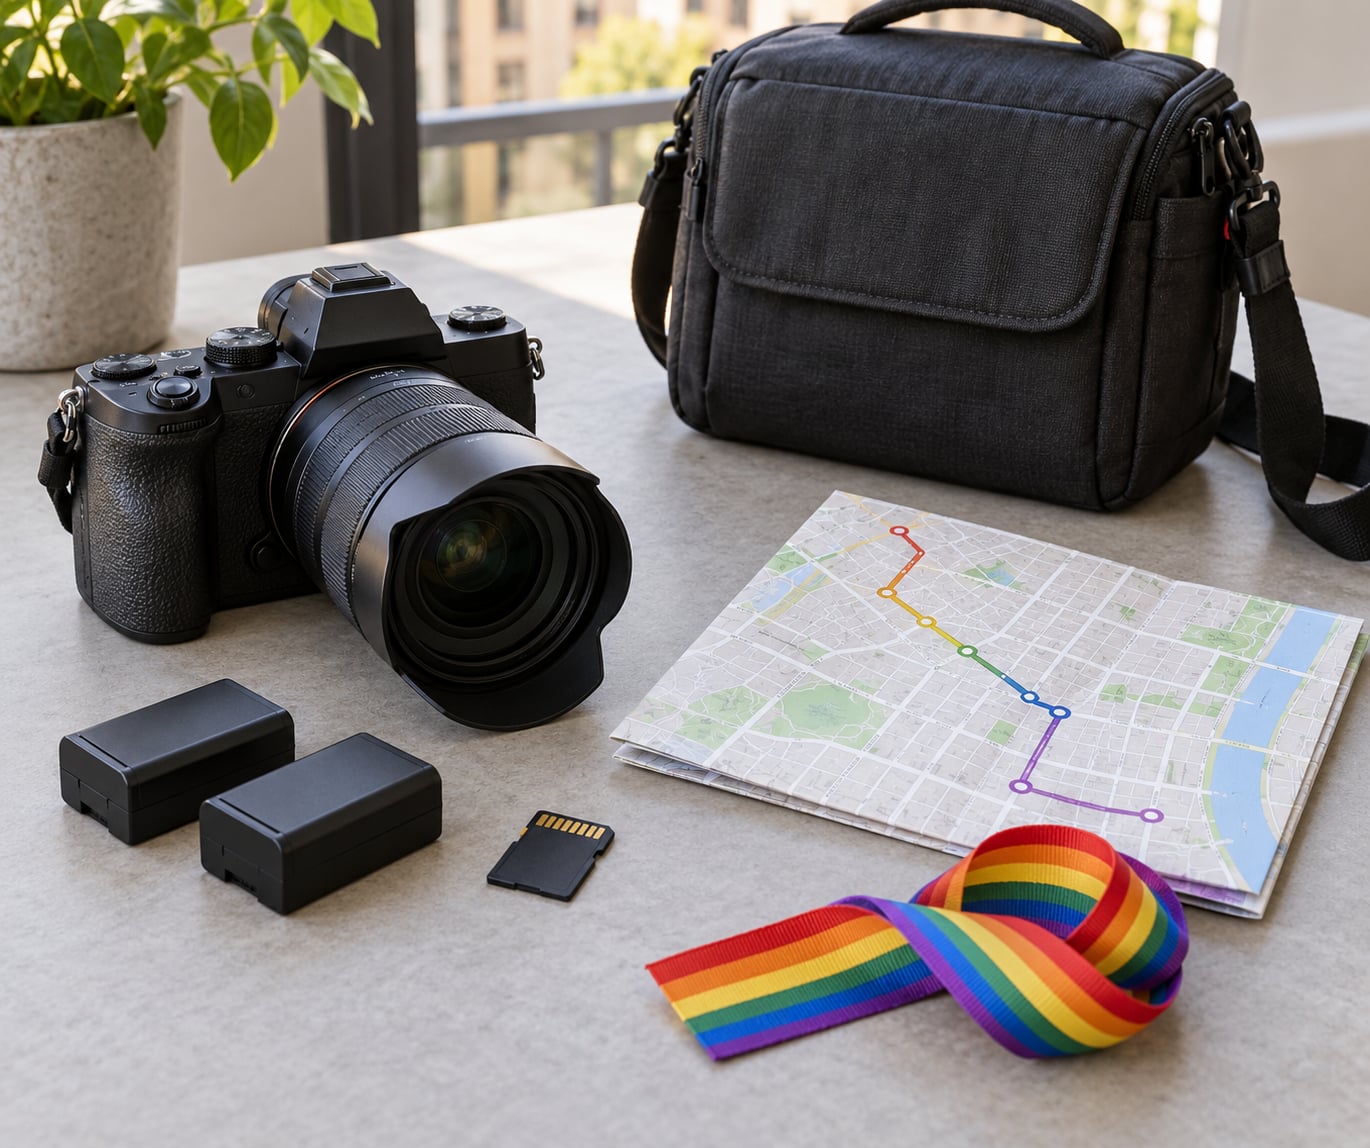
- Camera body. Continuous autofocus, burst shooting and RAW capture matter more than megapixels. A body with a tilting screen helps if you plan to shoot low from the curb.
- A 24-105mm zoom covers everything from a 35mm-style group shot to a 70-200mm compression shot without a lens swap in the middle of a crowd. A single prime at 35mm works too, but it costs you reach.
- Two spare batteries and at least two memory cards. Four hours of continuous bursts fills cards faster than most people expect, and a dead battery in a dense crowd is a bad afternoon.
- A small step ladder if you can legally bring one. Shooting a few feet above the crowd gets you clear sightlines over heads and phones. Check the parade organizer’s rules before you carry it in.
- Comfortable shoes, water, sunscreen and a rain cover for the camera. You will be on your feet for the whole event, and heat drains a battery faster than you think.
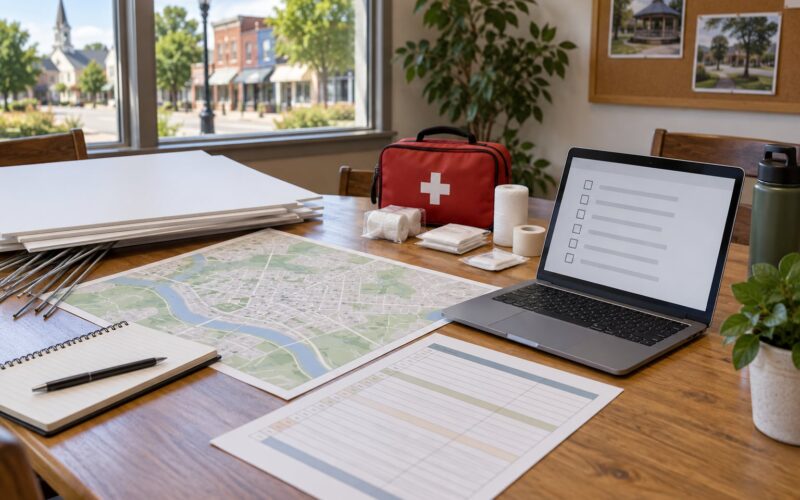
- A printed or saved route map with start times, float spacing and road closures. This is the item people skip and regret most.
Step-by-Step: How to Photograph a Parade
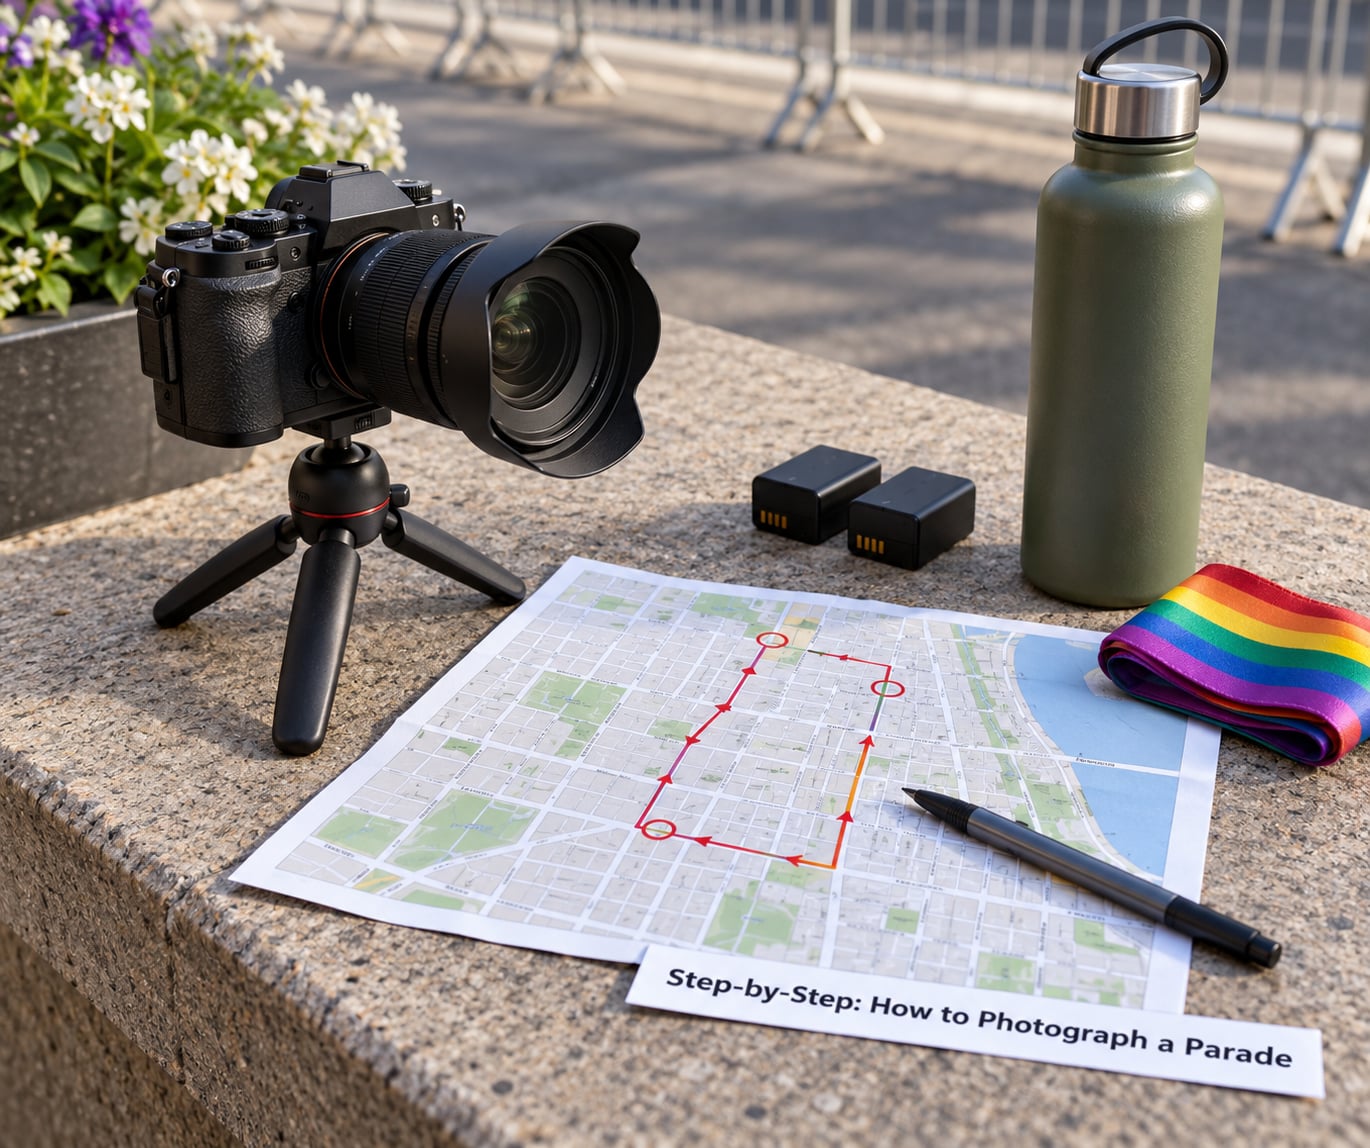
Eight steps, in the order they actually happen on the day. Work through them once and the parade itself becomes the easy part.
Step 1: Scout the Route and Check the Rules
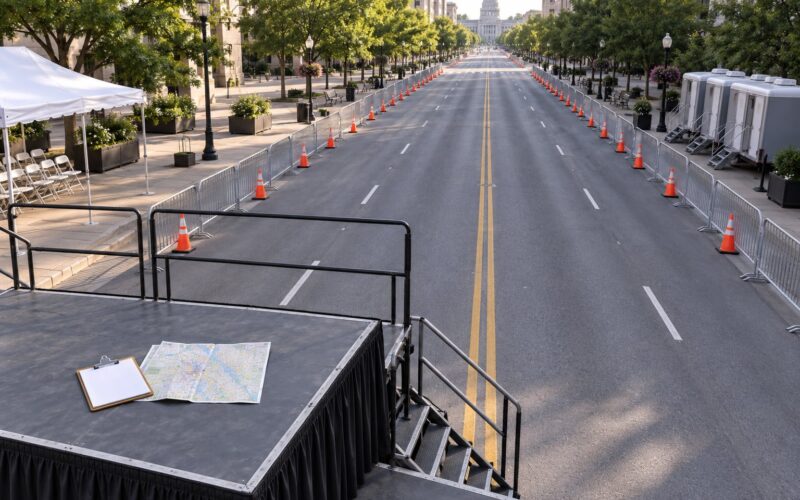
Find the route map, start time and float spacing from the organizing organization before you leave the house. Most parade photography fails on logistics, not settings: people arrive at the wrong corner after the procession has already passed.
Note the sun’s direction and time. A west-facing route means the parade front-lights itself until late afternoon, then throws long shadows across the street. Also check whether floats pause for a scheduled performance, because that pause is your clean window to move.
That step worked because you now have a written location plan with a start time and a backup corner. If the organizer’s site lists media credentialing or photography restrictions, those rules outrank your shot list.
Step 2: Choose Your Position Before the Crowd Arrives
Pick one position and stay in it. People who work a whole route often end up with a lot of medium frames and no good ones, because they are walking during every decisive moment.
Four positions work well. An intersection just past a corner gives you the turnaround as the group comes toward you and then crosses your frame. A corner on the shaded side of the street protects you from direct sun and holds softer light. Shooting diagonally down the street, with a telephoto, stacks the whole procession into one compressed image and makes a modest crowd look enormous. A low angle from the curb, camera near knee height, puts marchers and flags against the sky.
Community advice repeats the same point from the other direction: getting close with a moderately wide lens, and choosing your background deliberately, beats a long lens from the back of the crowd. Do both. Shoot the compressed view from far away, then move in for the character shots.
Arrive 60 to 90 minutes early if you want ground-level street access. Set up before the barricades fill and before you are negotiating a gap between people holding phones.
Step 3: Camera Settings for Parade Photography
Start in shutter priority (S or Tv) with continuous autofocus, high-speed burst and RAW enabled. Marching feet, batons and banners need 1/500s or faster handheld; below that, expect soft frames no matter how good the light is.
Here is the recipe I carry on a card, adjusted from the light you actually have:
| Light | Mode | Shutter | Aperture | ISO | Autofocus |
|---|---|---|---|---|---|
| Bright midday sun | Shutter priority | 1/1000s to 1/1600s | f/5.6 | ISO 100 to 400 | Continuous AF, wide tracking |
| Overcast or building shade | Aperture priority | 1/500s minimum | f/2.8 to f/4 | ISO 800 to 1600 | Continuous AF, zone area |
| After dark, illuminated floats | Manual exposure | 1/250s to 1/400s | f/1.8 to f/2.8 | ISO 1600 to 6400 | Continuous AF, small tracking zone |
A few things that table does not show. If the sun is behind the marcher, spot-meter their face or add positive exposure compensation; the dark-face-under-bright-sun metering failure is the most common one people describe. Set your white balance on the shade side of the street rather than auto, because parade light is a mix of sun, building bounce and colored LEDs.
Check the histogram on a marcher crossing from sun into shadow at 1/800s and you should see frozen feet and a readable face. Half-stop overexposure in shade, checked on the histogram, is rarely wrong.
Step 4: Anticipate the Action
Watch the parade before you shoot it. Stand quietly through one full group and you will see the patterns: where the corner forces a turn, who waves at the crowd, when the band breaks into a drum roll, where the dance groups stop and perform.
Then pre-focus. Put your AF point on the pavement where a marcher will be in about three seconds, switch to continuous AF, and start the burst as the person enters the frame. If your camera has subject tracking, use it. If it only has face detection, turn it off for the parade portion: in a dense crowd it will lock onto a bystander walking through the frame, and you will spend the whole event watching focus hunt.
That is how you get a baton twirler spun, held and finished in a single burst, instead of one guessed frame.
Step 5: Compose for Energy Without Losing People
Vertical frames fit a parade better than horizontal ones, because bodies, banners and flags stack upward. Leave headroom above tall signs, and shoot a horizontal too when the group is moving across the street with room to move into.
Use layers. A spectator’s raised arm in the foreground, a marcher in the middle distance and buildings behind gives a frame depth that a clean empty background never will. When you find a gap between marchers, shoot through it: the person framed in the gap reads as an individual rather than a statistic.
Include signs and detail as their own frames, not just as backgrounds. Hand-lettered placards, drum major uniforms and hand-made banners are the shots people look for later.
Step 6: Work Respectfully and Safely
At Pride parades, most people are happy to be photographed, and the crowd is part of the story rather than an obstacle to it. That does not extend to everyone: people in costume, drag performers who are working, people who have asked not to be shot, and minors need a different default.
Ask first when you are closer than arm’s reach. If someone declines, frame out and move on, no argument, no comment. Do not photograph people in a state of undress, in distress, or in the middle of a private conversation with a friend. Keep a distance during moments that are clearly solemn, such as a remembrance or a moment of silence.
For safety: know where the route crosses, and never cross in front of a float or between a group and its marshals. Keep the strap on the camera across your body in a crowd, carry the spare cards in a zipped pocket rather than a shoulder bag flap, and stay aware of pickpockets. Someone once on my own shoot noticed a camera bag unzipped by someone behind a float; that memory is why I keep the bag in front now.
Set up an exit plan for heat, rain or a crowd surge. Know the nearest cross street and where you left the car.
Step 7: Capture a Variety of Moments
Shoot for a balanced edit, not a wall of near-duplicates. That means a spread of subject types: wide frames that establish the parade and the street, mid-range group shots, close character portraits where you asked permission, hands and feet and instruments, the signs, the volunteers in the marshalling area, and the quiet moments in between.
Photograph participants before the parade starts. Groups at the staging area are relaxed, willing and often dressed in full costume, which is hard to catch later at speed. That is also the easiest place to shoot a set of proper portraits with consent.
Work the whole route if you have the stamina. Finish at the staging area rather than the finish line, because the crowds thin there and the candid moments get easier.
Step 8: Back Up, Review, and Color-Edit
Copy every card to two separate locations as soon as you get home, before you open the files. A card failure after a four-hour shoot is the one mistake you cannot repeat.
Culling a 2,000-frame library takes about an hour if you are disciplined. Flag anything with a soft focus, a clipped highlight, or a half-blocked face, and mark keepers in batches of 50 rather than trying to judge each frame. Pick a first-frame in each group and judge the rest against it.
For the edit, lift shadows on parade costumes that went dark, check that white lettering on signs has not clipped, and keep skin tones natural. Nudge saturation on rainbow flags and lit floats, then stop. Push further and a documentary frame starts to look like a poster.
Common Mistakes
Here are the errors I see most, each with a direct fix.
- Shooting in full auto. The camera meters a bright float and renders the face beside it as a shadow. Fix: shutter priority, continuous AF, burst on, before the first float arrives.
- Standing in the route. This blocks the procession and is a genuine safety problem. Fix: pick a curb position in Step 2 and treat it as the base camp for the whole event.
- Chasing every subject. You follow a person, the light changes, and the group behind passes unshot. Fix: pre-focus on a fixed point and let people come to the frame.
- Cropping signs badly. Cutting off the top line of a hand-lettered placard loses the message. Fix: frame wide enough for the whole sign, then crop in the edit.
- Underexposing colorful costumes. Bright sequins, feathers and reflective fabric go black when the meter reads for the average. Fix: add a third to two-thirds of a stop, confirm on the histogram, and shoot RAW.
- Leaving face detection on in a dense crowd. It locks onto bystanders and the frame stays soft. Fix: switch to continuous AF with a tracking zone or a single small area.
- Failing to back up. Fix: two copies, two locations, verified before you format anything.
- Flash at full power into the crowd. It flattens faces and startles people. Fix: leave flash off unless you are shooting a night parade from the front of a stationary performance.
Frequently Asked Questions
What camera settings should I use for events?
For handheld parade photography, use shutter priority at 1/500s or faster, continuous autofocus and high-speed burst, and shoot RAW. Open the aperture to f/2.8 to f/4 in shade or after dark so ISO stays manageable, and set ISO from 100 in hard sun up to 1600-6400 at night. Verify the result on the histogram rather than trusting the rear screen.
What is the best ISO setting for street photography?
There is no single best ISO, only the lowest one your light allows. In open shade around 400 to 800 is usually clean, and an overcast parade on a city street sits around 800 to 1600. After dark, 1600 to 6400 is normal on modern bodies. Shoot RAW, keep the shutter fast, and reduce noise in the edit rather than underexposing to protect the ISO.
What F stop should I use for street photography?
Use f/2.8 to f/4 when you want the subject separated from a busy background or you are shooting after dark, since a wider aperture keeps ISO lower. Use f/5.6 in bright sun when several people need to be sharp at once. Whatever you choose, stop down only as far as the light allows, because parade movement punishes slow shutter speeds much more than it punishes depth of field.
What camera settings work for night parade photos?
Go manual: 1/250s to 1/400s, f/1.8 to f/2.8, ISO 1600 to 6400, with continuous autofocus and burst. Wide apertures gather more light and let you keep the shutter fast enough for movement. Watch your highlights, because float LEDs and lit signage clip easily at these levels, and check sharpness after the first burst because high ISO plus a slow shutter is where night parade shots turn to mush.
How do I photograph a parade without motion blur?
Keep the shutter at 1/500s or faster handheld, use continuous autofocus with a tracking zone rather than face detection, and fire a short burst as the subject enters the frame. Stabilization helps with your own movement but does nothing about the marcher’s. If frames are still soft, raise the shutter speed further rather than opening the aperture, since a soft image is unrecoverable and noise is fixable.
How do I photograph children and people who do not want photos?
Ask before you lift the camera at close range, and treat a child as a yes only when a parent or guardian gives it. If anyone declines, frame out and move on without comment. Keep distance during private conversations, moments of remembrance, and anyone in a state of distress. Most parade participants welcome attention, but the default has to be that the picture is not the point.
If you take one thing from this, do it in this order: find the route map and start time today, choose your corner tonight, and set your camera before the first group arrives. Everything else on the day is a matter of watching, backing up, and asking before you lift the lens.