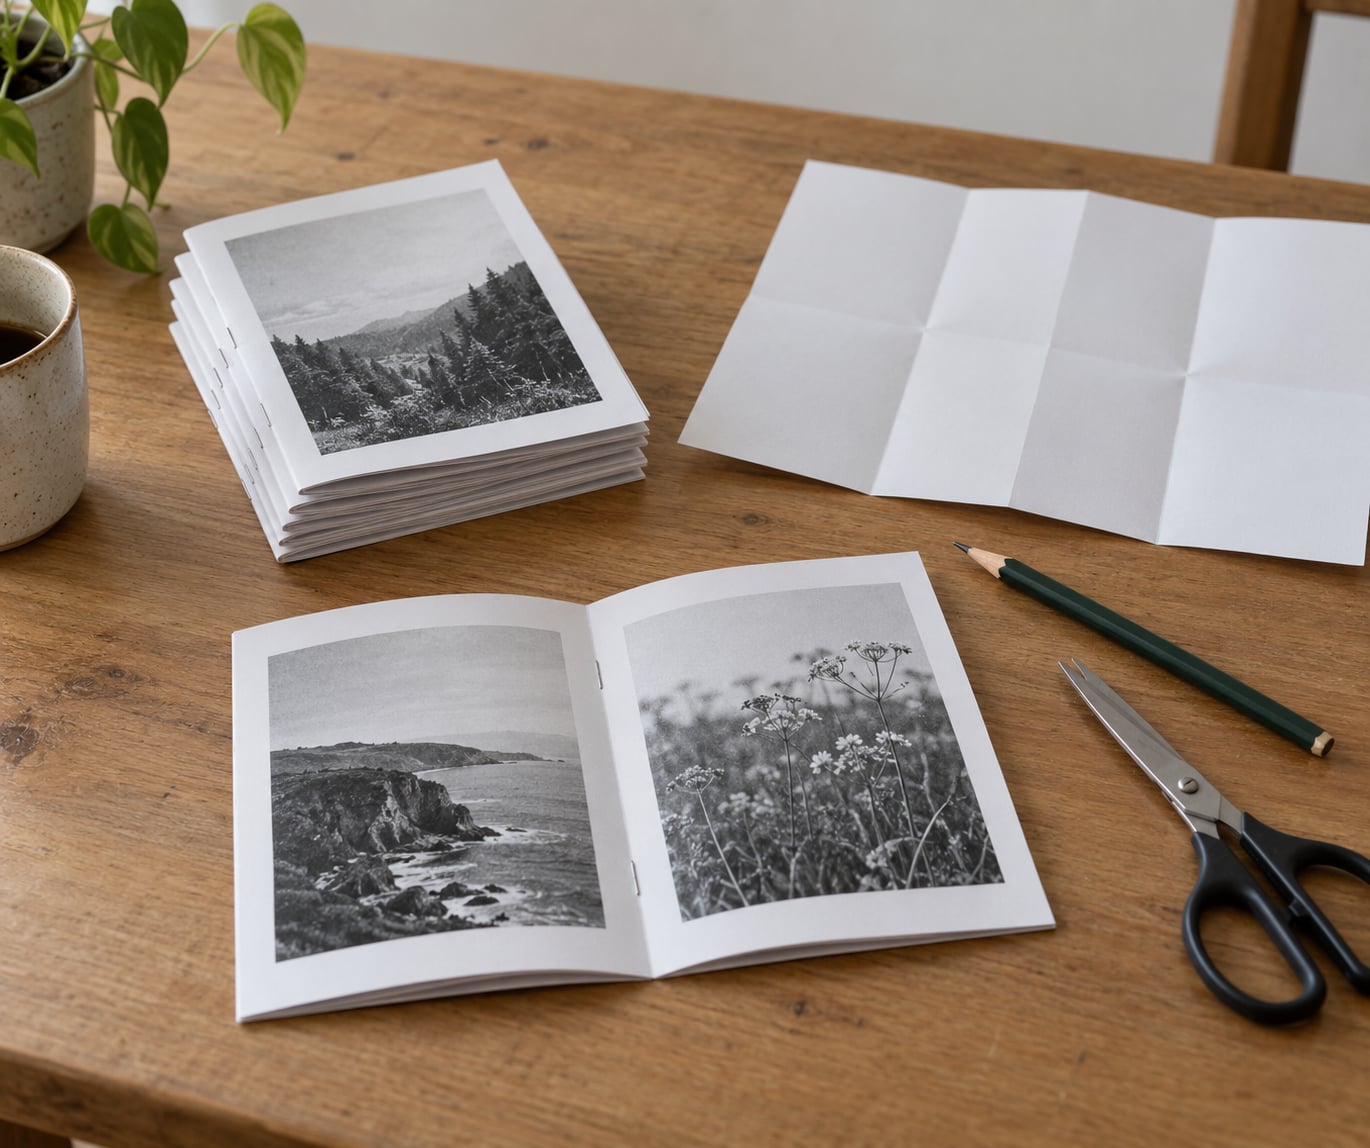
If you want to know how to make a zine for beginners without spending money on special gear, the eight-page single-sheet format is the one to learn. A zine is a self-published booklet, usually photocopied, made by anyone who wants to say something without asking anyone’s permission first. Plan eight pages, print them on one sheet, fold, staple, and you have finished in an afternoon.
I made my first one on a kitchen table with a stack of printer paper and an ordinary stapler. It came out crooked and I loved it. That crookedness is not a failure state, it is the whole point: nobody is editing you, nobody is asking for a budget, and the object ends up in someone’s hands instead of buried in a file.
This guide walks the whole process, from picking a theme to getting copies into the hands of readers. Where a beginner usually gets stuck, I say so, because there are only about five of those places.
Table of Contents
What You Need
The bare minimum costs almost nothing and produces a perfectly legitimate zine. Everything below the minimum list is optional, and most beginners buy those things later, after they know what kind of zine they actually want to make.
The minimum kit
- One sheet of paper per copy, sized Letter or A4. A ream of 500 is the useful buy, since the maths is unforgiving: one sheet makes one eight-page zine.
- A way to produce the sheets — a home printer, a library or school copy room, or a local print shop.
- Scissors or a craft knife for the single cut in the middle of the folded stack. Scissors are fine.
- A stapler to hold the folded pages together.
- Pencil, pen, and something to draw with — pens, markers, pencils, or found scraps.
That list gets you eight pages. Everything else improves the result rather than enabling it.
What makes it easier
- A long-arm stapler, the kind with a reach that lets you staple down the centre of a folded booklet without bending the pages away from you. A regular stapler works, but you end up creasing the spine to reach it. This is the one upgrade most beginners buy after issue one.
- Ruler and a fine pen for scoring fold lines crisply instead of tearing them.
- Scanning app or a flatbed scanner if you want to draw, paint, or collage by hand and place the results on the page digitally.
- Free layout software — a desktop publishing tool if you want print control, or a browser-based design tool if you want to work in a tab and export a PDF.
- A copy card or a relationship at a local copy shop. Staff who know your name will re-run a job when a page comes out wrong, and they will tell you honestly when your file is not going to photocopy well.
- Two colours of ink if your printer is colour-capable. Two colours, never eight.
Printing options compared
- Home printer: cheapest per copy at small batch sizes, immediate, and you control every page. Ink costs add up quickly if you print full-bleed colour.
- Copy shop: one PDF to PDF, duplex, and they hand back a stack. Best for 20 to 200 copies. Bring the file on a drive and ask for double-sided, flipped on the short edge.
- Local press or risograph: better colour and paper, higher minimum order, worth it once you know your print run.
- Print-on-demand: good for a larger edition you want to sell, with a cover price rather than a per-copy cost. Slower to arrive and you get no physical object until the order ships.
Step-by-Step: Make an Eight-Page Zine
Follow these seven steps in order and you will have a finished zine. The whole project is one afternoon for a first issue, most of it spent deciding what to say rather than making it.
1. Pick a Focused Theme
A narrow theme beats a broad one, because eight pages is eight pages. “My favourite things about winter” gives you enough material. “Winter” gives you a title and nothing else.
Name the reader too. A zine written for one person on a mailing list feels different from one written for a room of strangers, and that decision shapes your tone. Then gather raw material without editing it yet: notes in your phone, photos, a playlist, screenshots, a complaint you keep having.
Easy zine ideas that fit eight pages well:
- A recipe zine with five dishes you actually cook, one page each.
- A photo zine built around one walk you took, six frames plus captions.
- A poetry collection where each poem gets one page and the rest is white space.
- A how-to instructional zine teaching one small skill, step by step.
- A political or community manifesto written for people who already agree with you, which is a perfectly good audience.
- A band fanzine for a friend, a friend of a friend, or a group you drive across town to see.
- A personal zine about one specific week, because a week is small enough to finish.
The beginner trap here is not the topic, it is the doubt. Plenty of people start a zine convinced they have nothing to say. Write down one thing you changed your mind about this month and build issue one around it.
2. Map the Pages Before Designing
Page mapping is where most beginners get tangled, and it is entirely arithmetic, not creative. Spend twenty minutes here and the rest of the project gets easier.
The eight pages of a mini-zine fold out of a single sheet printed on both sides. Each finished page is roughly a quarter of the sheet’s width and half its height, which on Letter paper works out to about 2.75 by 4.25 inches, and on A4 about 7.4 by 10.5 centimetres. That is a small page, and small pages forgive almost nothing, so decide now what goes where.
- List your eight pages as numbers one through eight in reading order: one is the front cover, eight is the back cover.
- Assign one idea to each number in a plain list. Cover title here, the personal essay there, the photo spread in the middle, credits and where-to-find-me on the last page.
- Place your strongest material on pages one and two. Readers decide in about four seconds whether a zine is worth picking up.
- Test the fold on a blank sheet now and write the numbers on the panels with a pencil before you design anything. Fold it, cut it, open it, collapse it, and label the panels you can actually see.
That last step takes ten minutes and it is the difference between a zine that folds correctly and one that does not. Once the blank sheet tells you where page one lands, you have a real template. Photograph it and reuse it for every issue.
3. Gather Words, Images, and Visual Material
Collect first, design second. When you generate the content and the layout at the same time, the layout wins and your pages get cramped.
- Writing: write the full text in one document first, then cut it down per page. Long paragraphs on a small page are unreadable, and you will not notice until the print comes back.
- Your own images: drawings, photographs, screenshots, scans of receipts and tickets, textures from the street. Made-by-you images need no credit line and carry the most personality.
- Other people’s images: copyright applies the same way to a photocopied zine as to a printed book. Do not scan a photograph from a magazine unless it is openly licensed or you have permission. Use a source such as Wikimedia Commons, check its licence, and write the credit where the licence asks for one.
- Found material: ticket stubs, receipts, newspaper headlines, painted textures, a photocopy of a page you love with a note on top of it. Zines look like themselves because the material is specific to you.
To keep a visual direction, pick two things before you start: one typeface pair and two or three colours. Anything more than that on a quarter-sheet page reads as noise.
4. Design the Page and Panel Layouts
Design to the page size, not to a big screen and then shrink. Beginners routinely design at A4 or Letter size and compress it onto a quarter sheet, and the type ends up unreadable.
- Set the document to the real page size — 2.75 by 4.25 inches, or 7.4 by 10.5 centimetres — before you type anything.
- Use a grid. A two-column layout for text-heavy pages and a single full-bleed image for photo pages will carry you through eight pages without a designer.
- Keep real margins. At minimum, half the width of your body text on every edge, more at the bottom. Content that runs to the trim line disappears in binding.
- Type size: body text no smaller than 9 point at final size. If your sentence will not fit at 9 point, the sentence is too long, not the font too large.
- Caption everything you did not draw yourself and date anything that will look dated if found later.
- Let one page be almost empty. On a small page, white space reads as confidence and crowding reads as panic.
If you work in a browser design tool, set the custom page size there, place your photos, export a print-ready PDF with the pages in the order your template sheet shows, and turn off any bleed or crop marks unless your copy shop asks for them.
If you work in a word processor, do the same thing. Set the page size, use a table with invisible borders or text boxes for the grid, and export to PDF rather than printing directly, so the copy shop gets one clean file.
5. Write and Edit the Zine Content
Draft every page in text form before you lay anything out. Editing and designing at the same time is where projects stall, because moving a paragraph feels like losing it.
Vary the pace between pages. Two pages of dense text in a row reads as a lecture, so break it up with a list, a single large image, a quote set on its own, or a page that is mostly a photograph with one line on it. Short and short and short is fine on a small page; nobody is grading you.
Then do one practical pass:
- Read it aloud. Any sentence you stumble over, cut.
- Check every name, date, and credit against your notes.
- Check contrast: dark text on light paper, or the reverse, not grey on grey.
- Add a colophon on the last page — who made it, what it is, how many copies, and how to reach you.
- Read the alt text you plan to use for any digital version, if you are making one.
6. Print, Fold, and Assemble the Zine
This is the technical heart of how to make a zine for beginners, and it goes faster than it sounds. Work on a flat, clean surface and turn the sheet sideways, long edge across the top.
- Set the file up for one sheet. Place all eight pages on a single landscape sheet page in your template arrangement, four on the front and four on the back. Print double-sided, flipping on the short edge, so the backs line up with the fronts.
- Print one test copy first. Print a single sheet, fold it, and read it. A flipped duplex setting ruins the whole run, and one sheet costs almost nothing.
- Fold and crease in order. Fold the sheet in half with the long edge across the top and press the crease flat. Fold it in half again the same way and crease. Fold it in half a third time and crease. You now have a narrow stack of eight layers.
- Fold that stack in half once more across its narrow direction, so you have sixteen layers and one short folded edge at the bottom.
- Cut the slit. Cut from that folded edge into the middle of the stack, stopping at the middle of the folded packet. Cut through every layer in one go.
- Open it into a cross. Unfold everything, then open the cuts you just made so the sheet opens into a plus sign with a panel in each arm.
- Collapse into a booklet. Hold the two cut edges apart, push the middle down, and let the panels nest into each other until the pages form a single stack. This is the part everyone fumbles the first time. Do it twice slowly, then a third time and it feels mechanical.
- Check the order. Confirm that page one is the cover, that pages one to eight run in order, and that the last page is the back. If one page is out of sequence, the cut was in the wrong place — go back to step five and recut.
- Staple. Put one staple in the fold down the centre of the booklet. A long-arm stapler reaches it without bending. If you use a regular stapler, rest the folded spine on a hard surface and staple with the booklet lying flat rather than held up.
Make one finished copy and put it somewhere you will see it for a few days. Living with it shows you what to change before you print fifty.
7. Finish, Number, and Share the Zine
Finishing is small but it separates a handmade object from a printout. Add a cover or a title, give the issue a number, date it, and sign it if you like — a name or handle inside the front cover takes ten seconds and makes people remember who made it.
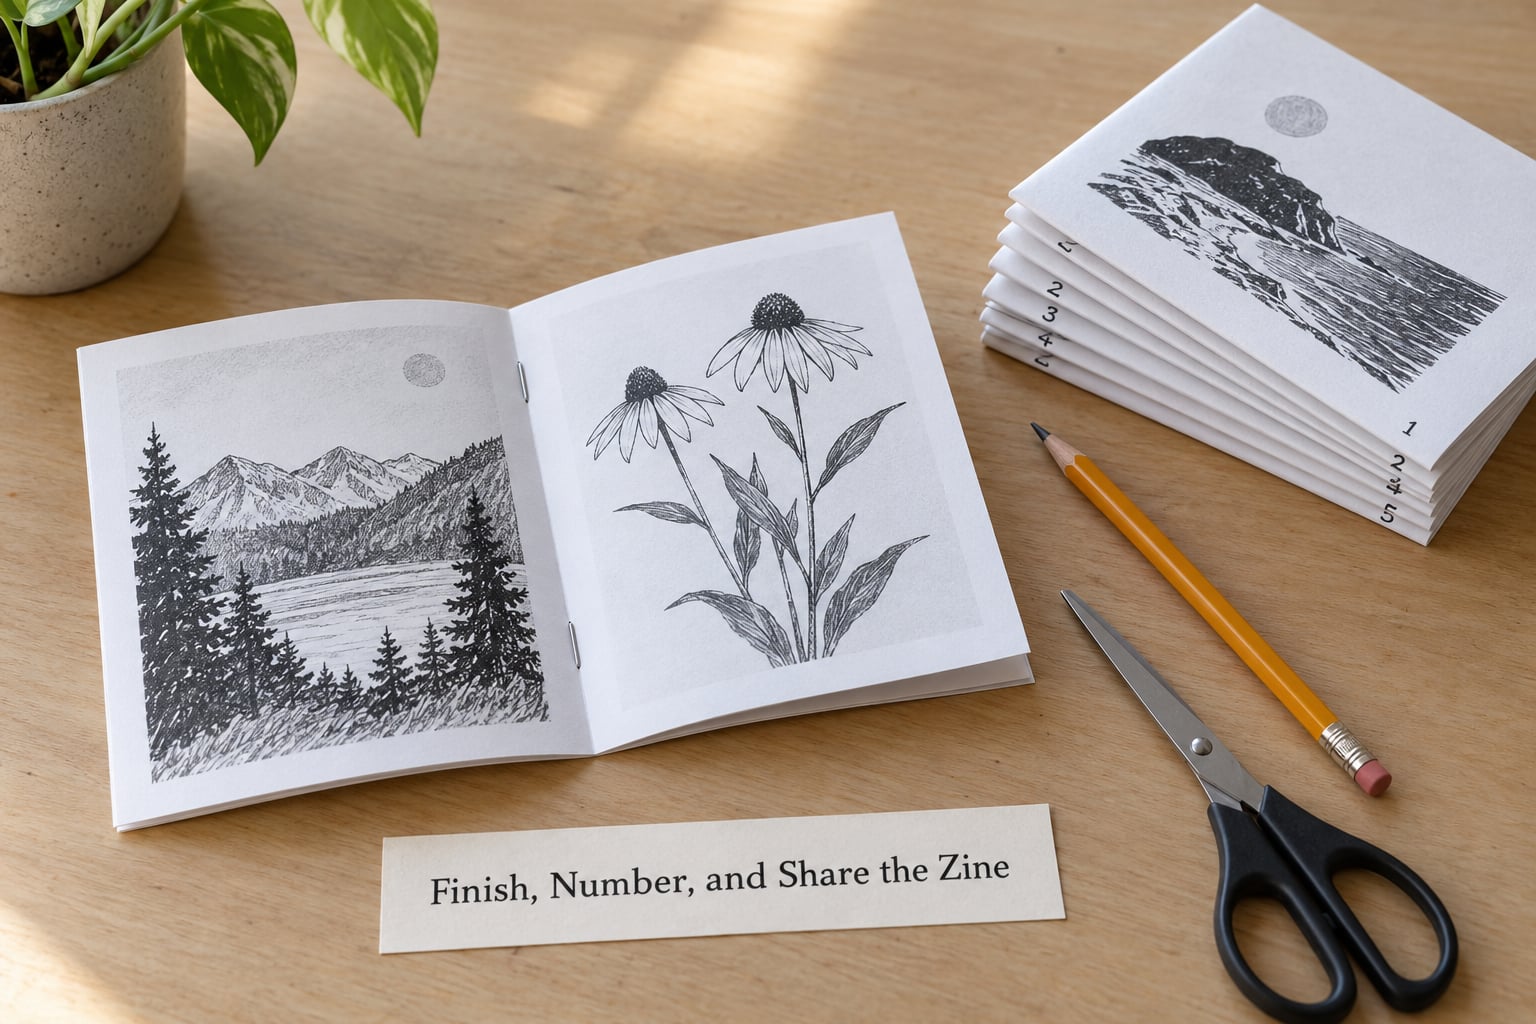
Trim any ragged edges with scissors, keeping the staple square to the spine. Then decide the size of the batch. For a first issue, 25 to 50 copies is the sweet spot: enough to give away, few enough that a mistake costs paper rather than money. Many zinesters print small, hand the extras away, and lose a little money on every copy, treating it as the cost of the hobby.
Sharing works best when the zine travels by hand. Leave copies in bookshops, record shops, cafés, community centres, and free-staple spots with a note; ask for consignment rather than a wholesale buyout when you are new. At a zine fest, table space is usually modest and the foot traffic is the point, so bring copies and something to write with so visitors can sign your guest book or take a piece of paper.
Trading is the other half of it. Buying or trading a few zines you admire teaches you formats faster than any tutorial, including this one, and it builds the reciprocal habit that keeps small presses going. You can also publish a digital version: export your pages as images or a flipbook PDF, post single pages as images, and put the whole issue behind a free download link for people who cannot get to a physical table.
Common Mistakes
Nearly every first zine hits one of these. Each has a fix you can apply before printing, which is the expensive part.
- Wrong page order after folding. Almost always caused by a duplex print flipped on the wrong edge. Print one sheet, fold it, and read it before you print the batch.
- Too many pages of text. A quarter-sheet page holds maybe 60 to 90 words comfortably. If a page runs longer, split it or cut it.
- Type set too small. Below 9 point at final size, body text disappears at arm’s length. Write less instead of setting less.
- Low-resolution images. Anything below about 150 dpi at final size prints visibly soft. Check your image size against the page dimensions before you place it.
- Margins that vanish in binding. Keep at least half your body text width away from every edge, and more at the bottom and at the spine.
- Inconsistent type and colour. Pick one text face, one accent face, and two or three colours at the start, then stop adding.
- Staple placed off the fold. If the staple sits on the outer edge instead of down the crease, the booklet will open flat and fall apart. Align it with the spine before you press.
- No clear ownership. Put a name, a date, and a contact somewhere in the first two pages so readers know who to thank or argue with.
- Uncredited borrowed images. Crediting is zine etiquette, and using licensed or openly published material is the legal part. Do both.
- Printing the whole batch on the first attempt. Print one, read it, then print the rest. This one habit prevents most wasted sheets.
Formatting Tips for a Beginner-Friendly Zine
These are the rules I keep coming back to, and they apply whether you make one zine or twenty.
- Design at final size. A 2.75 by 4.25 inch page, or 7.4 by 10.5 centimetres. If your tool only offers big pages, work in the big size and export a scaled version, then check it at 100 percent.
- One accent colour, one text colour. Two inks beat eight every time on a photocopier, which is the machine most zines pass through.
- Body text 9 to 11 point, headings double that. Hierarchy comes from size and space, not from five different fonts.
- Left-align long text. Ragged edges are easier to track across a small page than justified text with rivers running through it.
- Use bold and white space for structure instead of rules and boxes, which photocopy badly.
- Contrast over decoration. Dark ink on light paper, or light ink on dark. Never mid-grey on mid-grey, and never thin type over a busy image.
- Stronger stock for the cover. A heavier sheet for page one makes the zine feel finished. If you only print one side, print that side on the heavier paper.
- Describe images if you make a digital version. Short alt text on every page image makes a PDF zine usable with a screen reader instead of a blank rectangle.
- Number the issue and date it. Issue one, 2026. It sounds trivial and it is how people remember your second issue.
- Keep a master file. Save the PDF, the template sheet, and a note of the paper and settings. Your second issue takes an hour instead of an afternoon.
Frequently Asked Questions
What is the easiest way to make a zine?
Fold one sheet of paper into eight pages, design them in a free tool or by hand, print double-sided, fold and staple. That single-sheet format is the easiest starting point because there is no binding equipment, no minimum print order, and one sheet makes one copy. Finish one before you plan a larger edition.
What size paper should I use for a beginner zine?
Letter or A4 works, and both give a finished page roughly a quarter of the sheet’s width by half its height. Turn the sheet sideways so the long edge runs across the top, and print double-sided, flipping on the short edge. Heavier paper for the cover feels more finished, but standard 80 gsm sheet is fine for a first issue.
Can I make a zine in Microsoft Word or Google Docs?
Yes. Set the page size to about 2.75 by 4.25 inches, or 7.4 by 10.5 centimetres, then lay out with text boxes or an invisible-border table. Export to PDF rather than printing from the app so you hand the print shop one clean file. Browser-based design tools work the same way and are easier for placing photos.
How many pages should a beginner zine have?
Eight is the best first number, and it comes from one sheet of paper. It is small enough that you will finish it and small enough that no page feels empty. Sixteen pages, or two sheets nested, works well for issue two. Split zines, where several people each make half, suit people who already know the fold.
Do I need special printing equipment?
No. A home printer, a library copy room, or a local print shop is enough, and a regular stapler works for the binding. A long-arm stapler just makes stapling the spine easier and is the one upgrade most beginners add later. Print one test sheet and fold it before you print a batch of anything.
How do I fold an eight-page zine correctly?
Turn the sheet sideways, fold it in half three times creasing each time, then fold that stack in half once more. Cut from the short folded edge into the middle of the stack, through every layer. Open the cuts into a plus shape, push the middle down, and let the panels nest into a booklet. Check that pages one to eight run in order before you staple.
Start With a Simple Four-Page Draft
Here is the move: make a four-page zine before an eight-page one. Fold a single sheet in half, print four panels double-sided, and staple. It takes twenty minutes and it teaches you the same fold at a scale where mistakes cost nothing.
Choose one theme, draft one sheet, and get all the way to a stapled copy before you touch the layout software again. Then take that finished object, mark what you would change, and build issue one at eight pages.
Print one sheet, fold it, and start.