How to archive community history comes down to six moves: decide what you are collecting, gather the materials, get consent before anything is described or published, catalog what you have, digitize it while keeping the originals, then back it up and share it at an access level the community agrees to. Two people with a laptop, a flatbed scanner and a free spreadsheet can work through the whole thing.
I want to be clear about the order. Most people start at step four, opening the shoeboxes. That is the fun part, and it is also how archives end up with thousands of unlabeled scans, a few hurt feelings, and consent forms nobody remembers collecting.
The pattern below is built for queer and LGBTQ+ community collections, where the record is thin, the stakes around who is named are real, and the people who remember everything are often the same people who were not safe in the papers. It works just as well for a block association, a church group, a mutual-aid network, or a school club.
Budget is not the hard part. Scope, consent and a backup you actually test are the hard part.
Table of Contents
- What You Need Before You Collect Anything
- Step-by-Step: How to Archive Community History Without Doing Harm
- 1. Define the Scope and Purpose of the Archive
- 2. Gather Materials and Community Contributions
- 3. Obtain Consent and Protect Sensitive Histories
- 4. Catalog and Organize Every Item
- 5. Digitize and Preserve Originals
- 6. Back Up, Review, and Publish the Collection
- Recording an oral history without damaging the relationship
- Saving born-digital material before an account disappears
- Common Mistakes That Ruin Community Archives
- Frequently Asked Questions
- Conclusion: Start With One Focused Collection
What You Need Before You Collect Anything
Seven things, and you can start with the first three for free.
- A written scope. One paragraph naming the place, group, decade or event series you are documenting, and one paragraph naming what is out of bounds. Without it, a shoebox becomes an archive and you lose the argument later.
- A consent process. At minimum a donor agreement and an oral history release form, plus a written record of who chose to be named and who did not.
- Acid-free storage. Lignin-free folders and sleeves, a labeled box, and a shelf somewhere dry, dark and not on the floor.
- A capture plan. A flatbed scanner for prints and paper, a camera or phone on a copy stand for anything fragile, a recorder or video call for interviews, and an external drive.
- One metadata standard. A single spreadsheet template everyone fills in, with the same field names in the same columns every time.
- A backup plan. Three copies, on at least two kinds of storage, with one copy somewhere physically far away.
- A cataloging method. An identifier scheme short enough that volunteers will actually follow it, like a year plus a box number.
Skip the archive software shopping until step six. Free tools cover a collection this size, and buying a platform before you have a scope is the single most common way these projects stall.
Step-by-Step: How to Archive Community History Without Doing Harm
- Define the scope and purpose of the archive.
- Gather materials and community contributions, tracking provenance as they arrive.
- Obtain consent and choose access levels before anything is described.
- Catalog and organize every item with consistent identifiers and metadata.
- Digitize into preservation formats and keep the originals intact.
- Back up in three places, publish in tiers, and write down who inherits it.
1. Define the Scope and Purpose of the Archive
A community archive is a collection, often run by volunteers, that preserves the documents, photographs, recordings and memories made by a specific group, then gives that material back to the group. That last part matters. An archive nobody in the community can reach is a storage problem, not an archive.
Pick one focus and write it down. A single venue, a single neighborhood, a single decade, one organization, or one recurring event series will all work. What does not work is everything, because a founder who collects everything has no idea what to describe first and no way to tell whether an item belongs.
Here is a scope statement you could actually use: “This collection documents the years 1998 to 2012 at a Lakeview queer bar and the events held in its back room. It includes flyers, show cards, bar receipts, DJ set lists and volunteer-taken photographs. It excludes private correspondence, personnel files, and anything collected without a signed release.”
Then make the folder structure match. Six or seven top-level folders beat forty. Something like 01_Flyers, 02_Photographs, 03_Interviews, 04_Venue_Records, 05_Press_Clippings, 06_Consent_Records, 07_Metadata.
Give it a name that names the community, not the founder. An archive called after one person dies with that person’s attention span.
2. Gather Materials and Community Contributions
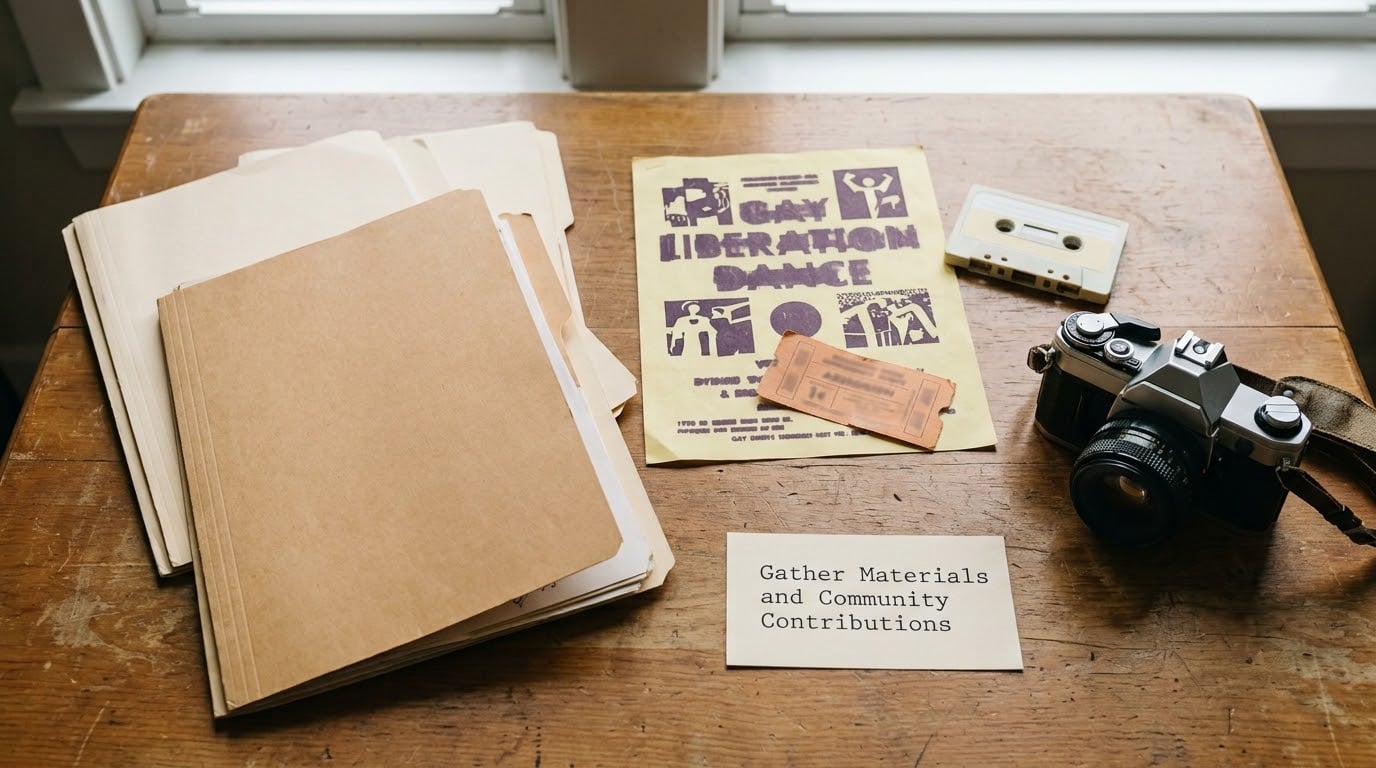
Ask in specific places. A photographer shooting the same stage for nine years has hundreds of unsorted files. A bartender kept every receipt roll in a shoebox. A promoter still has the flyer proofs. A regular has a drawer of zines. Those four conversations will out-produce a month of social media appeals.
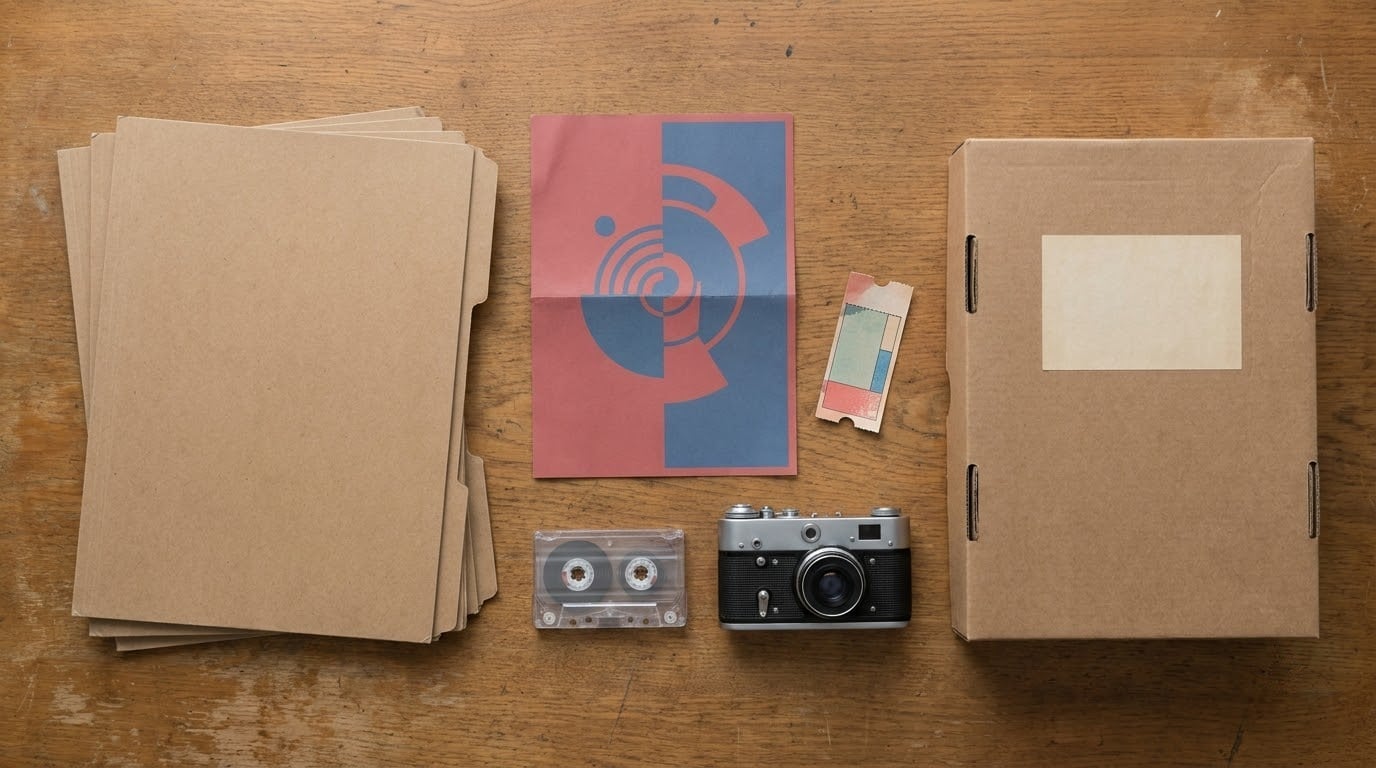
The types worth collecting: photographs and negatives, flyers and posters, show cards and set lists, tickets and receipts, bar ledgers and DJ logs, newsletters and zines, press clippings, video and cassettes, and oral history recordings. Born-digital material deserves its own list because it is the fastest category to lose, a bar’s Instagram feed, event pages, and group chats that nobody can export after an account is closed.
Write a provenance note the moment something comes in. Who brought it, when, and what they said about it. That one sentence is the difference between a collection and an unlabeled pile, and it takes thirty seconds.
Do not chase people who do not want to be part of this. An archive built on guilt gets you a bad reputation and, eventually, a takedown request. Invite, remind once, and let silence mean no.
3. Obtain Consent and Protect Sensitive Histories
How to archive community history without exposing anyone
Get consent before you photograph the item, not after. Three different instruments cover most cases, and mixing them up is where projects get into trouble.
- Donor agreement for physical materials: transfers or deposits the papers, and confirms the contributor understands what that means.
- Oral history release for recorded interviews: gives you permission to copy, edit, publish and archive the recording, in a term the signer understands.
- Photograph permission when identifiable people appear in images you did not create, especially anyone who never signed anything.
Offer a name choice on every form, and mean it: full name, first name and last initial, nickname, role only, or no name. Record the choice in a consent log next to the item, so nobody has to re-ask later. For interviews, tell people plainly what happens if they want to withdraw, before they sign, not after.
Set an access tier at the same time you collect. Most community archives use four: open to anyone, community-only behind a login, restricted to named researchers or a board decision, and sealed until a stated date or on the contributor’s request. Closeted people, minors, trans people whose names could out them, and anyone whose employer, family or immigration status makes exposure dangerous belong in restricted or sealed by default, not by request.
Do not publish a name, a workplace or a photograph of a face without a record of who agreed to it. And give every sealed item an expiry review date, because a restriction that never gets revisited quietly becomes permanent storage.
4. Catalog and Organize Every Item
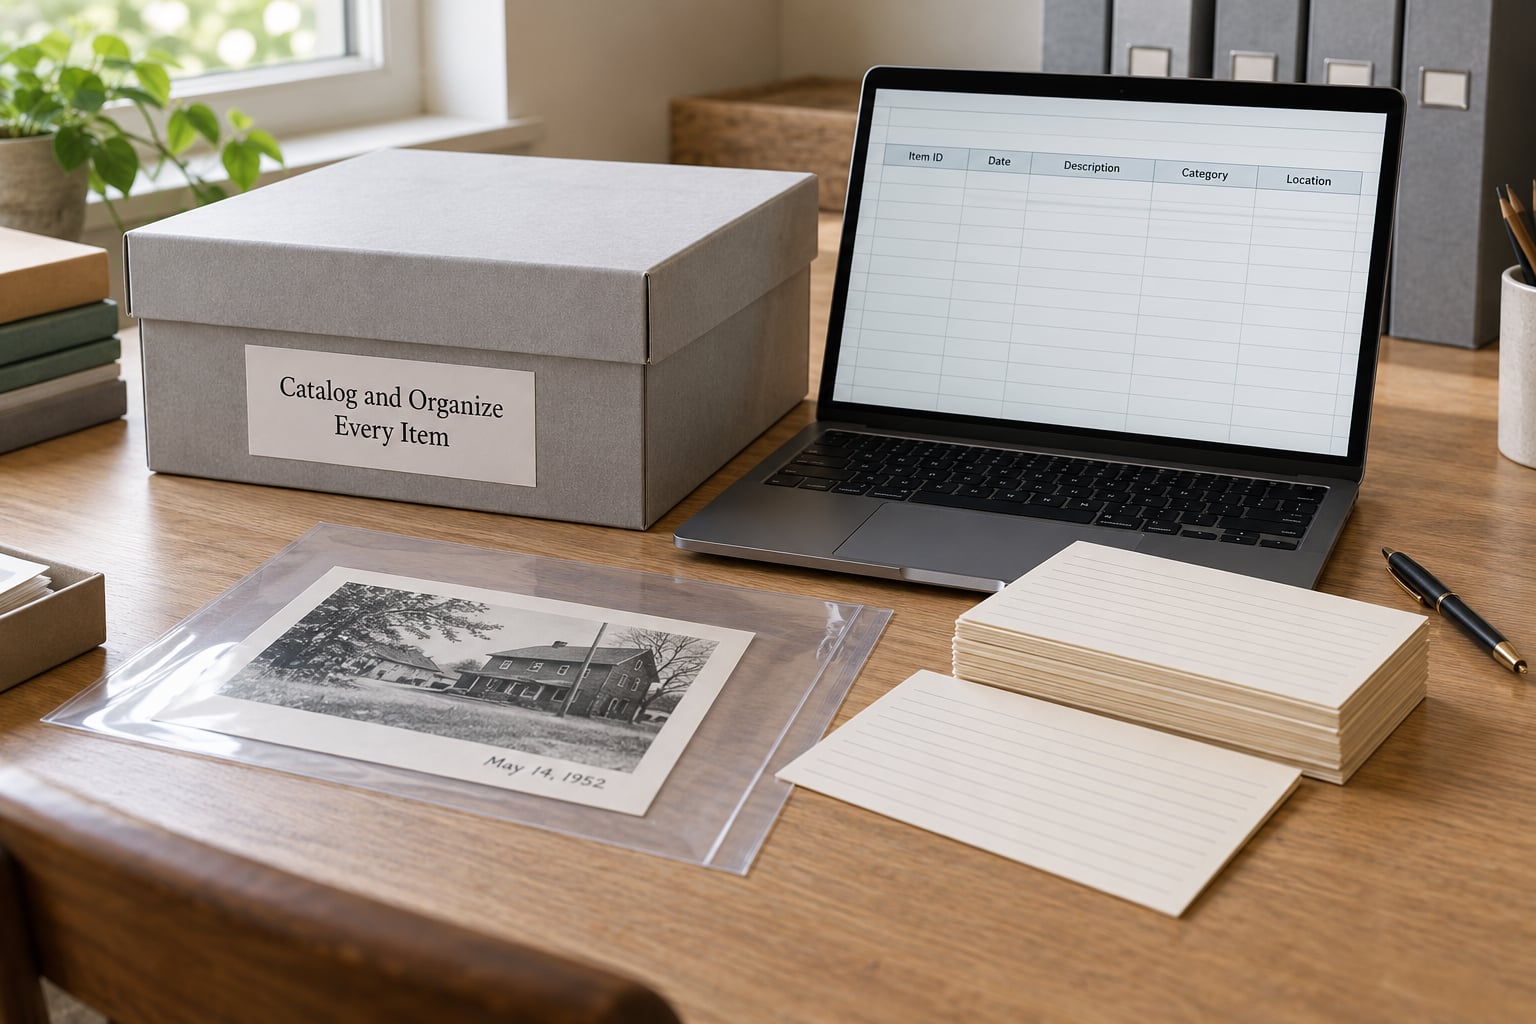
Give every item an identifier and never let the identifier change. Something like 2003-FLY-004 works well: year, format, sequence. It sorts correctly, it tells you where the box came from, and volunteers can follow it without a training session.
Then fill in nine fields for every item, in one spreadsheet, with the same column names for everybody: identifier, title or description, creator or contributor, date, place, event or series, physical or digital format, rights and access tier, and condition notes.
A sample row for a back room flyer:
- Identifier: 2003-FLY-004
- Description: Back room dance night flyer, two colors, with performer names
- Creator: printed by the bar’s promotional volunteer
- Date: March 2003, based on the flyer date and corroborated by a dated photograph
- Place: the back room of the venue
- Event: Back Room Saturdays
- Format: 11 by 17 inch color print on card stock
- Rights and access: open, contributor signed a donor agreement
- Condition: slight edge wear, one fold crease
One more field saves arguments later: what each item connects to. A flyer links to the photographs, the DJ log and the interview with the promoter who ran the night. That is what makes an archive findable instead of merely stored.
For naming files, use date-first folders and identifier-based filenames, like 2003-FLY-004_front.tif and 2003-FLY-004_back.tif. Consistency matters more than elegance. A volunteer who cannot guess your scheme will invent their own, and you will spend a weekend renaming 900 files.
5. Digitize and Preserve Originals
Scan paper and photographs at 400 to 600 ppi in 24-bit color, and save an uncompressed TIFF as the preservation master because it keeps all the detail without any lossy compression. Make a second, smaller JPEG or PDF copy for people to open online, and keep both. Run OCR on anything typed so the text is searchable later.
For audio, capture from the original source into an uncompressed WAV file, and for video keep the highest quality file the source will give you rather than a platform’s compressed copy. Check the recording once before you shut the interview down. Recovering a lost hour from a bad microphone is the kind of lesson you only want once.
Generate a checksum, which is a short digital fingerprint of the file, for every master file, and store the checksum list alongside. It is how you know later whether a file has been altered or silently corrupted.
Handling rules matter more than most people expect. Never put tape, glue or stickers on a photograph. Support every album page before turning it. Work on a clean mat rather than a bed or a lap. If an item is brittle, torn, has flaking surface, or looks like it might not survive the scan, photograph it in place with a ruler for scale instead of feeding it through a machine.
Keep originals in labeled, acid-free folders inside a box, in stable, cool, dry conditions, away from direct sunlight and attic heat. The originals are the archive. The scans are a copy that lets you share without risking them.
6. Back Up, Review, and Publish the Collection
Follow the 3-2-1 rule: three copies of everything, on two different kinds of storage, with one copy offsite or at least a hundred miles away. In practice for a small project, that means the master drive you scan to, a second drive you store somewhere else, and an encrypted cloud archive with two-factor authentication on it.
Test the backup instead of trusting it. Once a quarter, open five random files from the offsite copy and confirm they open and look right. A backup you have never restored is a hope, not a copy. That single habit is what separates people who know how to archive community history from people who tried once and moved on.
Strip personal data from anything you publish. Redact home addresses, personal phone numbers, license plates, and details that could identify someone who gave you their materials but never their name for public use. Store your unredacted masters separately from your public set, so the redaction decision lives in one place.
Then publish in tiers, not all at once. Start with an index or simple finding aid, a one to two page document that says what the collection covers, how it is arranged, and how to ask for something. A full finding aid is a graduate project, and a mediocre one is still a finding aid. Let open material be open, put community-only behind a simple login, and leave restricted items restricted.
Write down who inherits this before you are tired of it. Two names, a shared drive with edit access, and a paragraph in your own files saying where everything lives is the entire succession plan. Volunteer burnout is the way these projects actually die, and it happens because nobody planned for it.
Recording an oral history without damaging the relationship
One hour is plenty for a first interview. Ask about one place or one period rather than a whole life, tell people what you will do with the recording before you turn on the recorder, and let silence sit instead of filling it. Ask about the ordinary stuff, the sound of the room, who held what role, what people wore. That is the detail future researchers lose first.
Record a backup audio track on your own device even if the call app is also recording it. Then transcribe, lightly edit if the person asked you to, and give them the transcript before publication.
Saving born-digital material before an account disappears
Ask the business owner to export the full archive from the social account, save the event pages with a screenshot plus the date and URL saved together, and export group chats as plain text or as a PDF with images. Do this while the account still exists. A venue that closes next month can lose nine years of posts in the time it takes a domain to lapse.
Common Mistakes That Ruin Community Archives
Collecting before consenting. Someone hands over a box of photos and assumes what happens next. Fix: get the agreement at the point of donation, in writing, even when it is one paragraph, and keep it with the material.
Labeling late. Scans get created with names like IMG_4471 and nobody remembers which show it was. Fix: assign the identifier and metadata the day the item arrives, not the week it goes online.
Storing originals on a device. One laptop is not an archive, and laptops fail constantly. Fix: 3-2-1, tested quarterly, with the originals in acid-free folders in a dry room.
Flattening everything into one folder. A single folder called photos or old stuff will defeat you within a year. Fix: date-first folders with identifier-based filenames, and a spreadsheet that holds the story.
Exposing private information. Publishing a contributor’s home address, workplace, or a face from a photograph they never knew was collected. Fix: default to restricted, redact personal data from every public copy, and log who agreed to what.
Never testing the backup. Restores fail quietly, and the discovery usually comes years later. Fix: a calendar reminder, five random files, once a quarter.
A few shorter ones worth naming: buying a scanner before you have a volunteer base and a scope, using automatic document feeders on photo albums because they tear and misalign, posting the collection publicly before you are ready for the questions, and treating the archive as the founder’s private property.
Preservation habits that pay off: work in gloves for photographs with flaking surfaces, keep everything at room temperature with low humidity rather than chasing a perfect number, digitize before storage rather than after, and revisit sealed items on a schedule with a person named in charge.
Frequently Asked Questions
What are the steps of archiving?
Archiving follows six steps: define the scope and purpose, gather materials while tracking where each item came from, obtain written consent before describing or publishing anything, catalog every item with an identifier and consistent metadata, digitize into preservation formats while keeping originals, then back up three copies and publish in access tiers the community agrees to. Consent before description is the step most first-time archivists skip.
How can I create my own digital archive?
Start with a spreadsheet, not a platform. Choose one focused subject, assign an identifier to every item, record nine metadata fields, scan at 400 to 600 ppi into TIFF masters with smaller access copies, then follow the 3-2-1 backup rule. Publish a simple index first and add a real archive platform only once the collection outgrows a spreadsheet. Free tools handle a collection of this size perfectly well.
What is the 3-2-1 rule for digital preservation?
Keep three copies of every digital file, on two different kinds of storage, with one copy stored offsite or at least a hundred miles away. For a small community archive that usually means a working drive, a second drive stored somewhere else, and an encrypted cloud archive with two-factor authentication. Test it quarterly by opening five random files from the offsite copy.
What is the best way to archive digital photos?
Four moves. Leave the original file untouched, so you never edit the only copy. Generate a preservation copy in an uncompressed format for the master. Back it up with the 3-2-1 rule, including one copy offsite. Then add metadata, because an unnamed image of a drag show is close to worthless to anyone searching in twenty years.
Do I need an archivist degree to run a community archive?
No. A volunteer archive needs none of it. What matters is a written scope, a consent process, consistent metadata and tested backups. For a bigger collection, consider a day with a consultant, a workshop through the Oral History Association, or a volunteer position at a library archive to learn the craft in person.
What are some examples of community archives?
A community archive holds the history of a group rather than one institution. Familiar examples include the Lesbian Herstory Archives and the Interference Archive Social Center, ONE Archives at the University of Southern California, the South Asian American Digital Archive and the Digital Transgender Archive. At neighborhood scale, a block photo archive or a volunteer-run bar archive with its own consent forms counts too.
Conclusion: Start With One Focused Collection
If you take three actions this week, make them these. Before you set out to archive community history, write a one-paragraph scope naming what you are collecting and what you are leaving out. Print one donor agreement and one oral history release form with a real name-choice option on it. Buy nothing yet.
Everything else in this process, the scanning, the spreadsheet, the backup schedule, the public index, follows from those three decisions. Get them right and a small volunteer project can hold material that lasts longer than most of the venues it documents.
And if a venue or a person is at risk of disappearing in the next year, start there. Ask what they have, write the scope around it this week, and treat the consent conversation as the first real collection, not paperwork to catch up on later.