You can get a real strength and cardio session at home with nothing but your body weight, a floor and about 20 minutes. Squats, wall push-ups, glute bridges, planks and shadow boxing cover every major muscle group, and none of it needs a gym, weights or a mat.
Most beginners should start with three sessions a week and stop there. Add a fourth only once the routine stops feeling like work. This guide is updated for 2026 and works whether you have a studio apartment, a spare bedroom, or a hotel room you are using for two weeks.
If you have been meaning to start for months, this is the shortest path to something you will still be doing in December. Learning how to work out at home without equipment takes one honest session, not a month of planning.
Table of Contents
- What You Need
- How to Work Out at Home Without Equipment: Step-by-Step
- Step 1: Prepare Your Space and Warm Up
- Step 2: Complete the Strength and Stability Circuit
- Step 3: Add Low-Impact Cardio
- How long the whole session takes
- How to scale the session to your level
- Step 4: Cool Down and Check Your Progress
- Tracking your progress on a no equipment home workout
- How to make it harder once the reps stop challenging you
- A simple eight-week plan
- Eating enough to keep progressing
- Common Mistakes
- What Results to Expect at Home, and When
- Frequently Asked Questions
What You Need
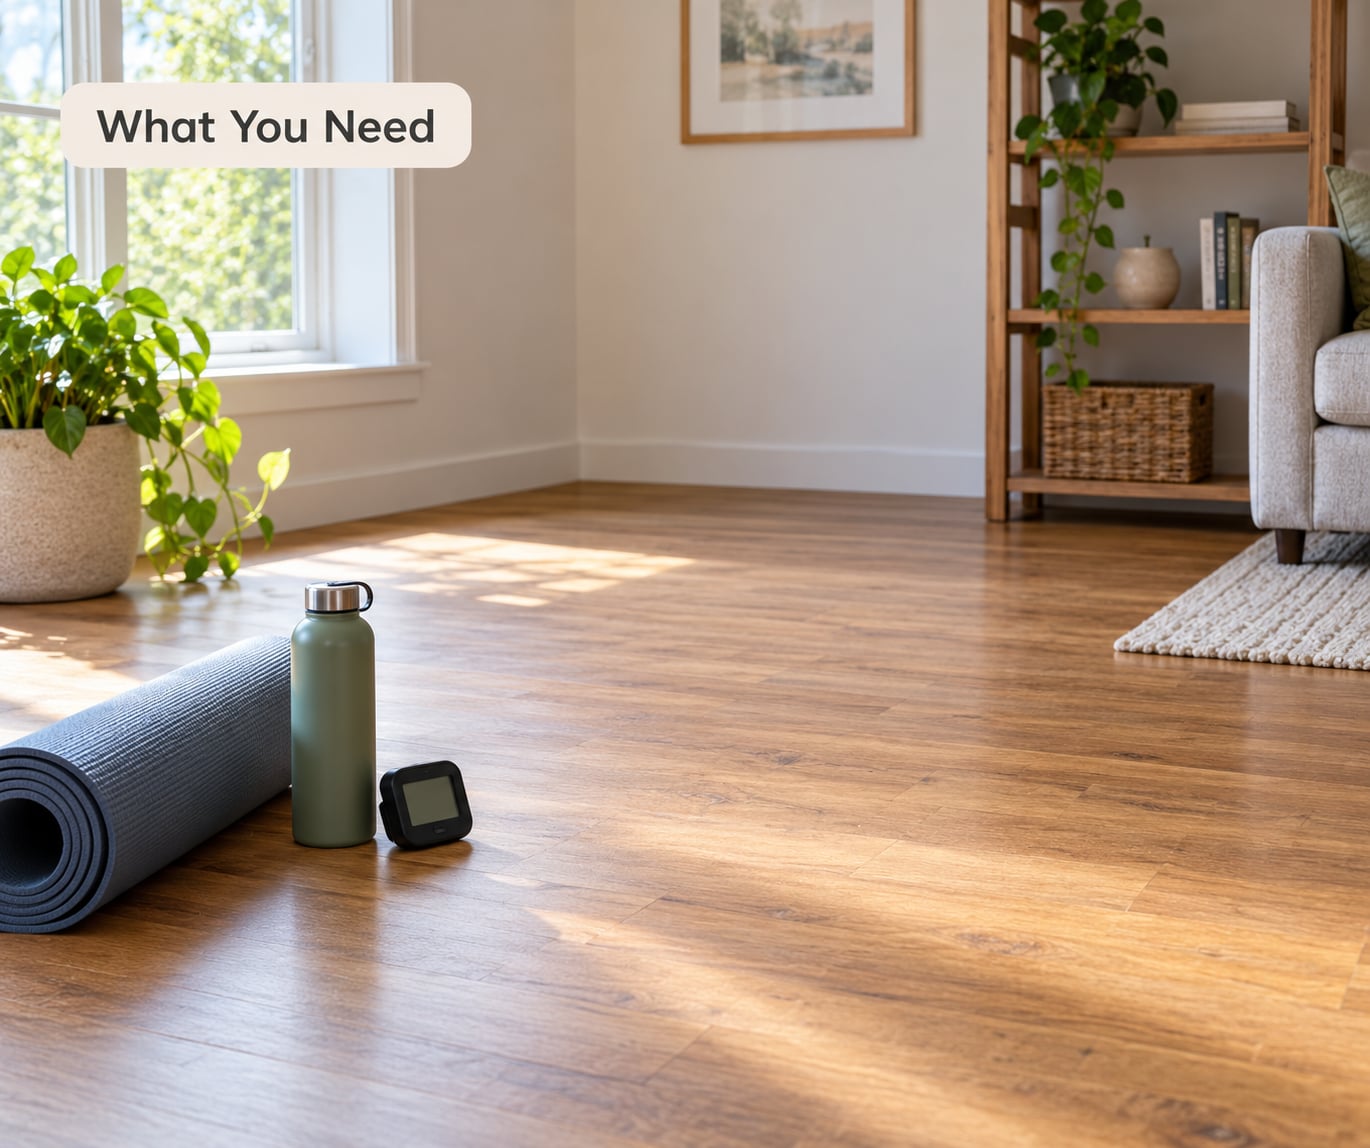
The honest answer is that you need nothing. A chair, a wall and the floor you already stand on are enough, and most of what gets sold as essential gear is optional.
That said, a few small things make a session easier to follow:
- Clothes you can move in. Nothing technical. Stretchy enough for a deep squat is all that matters.
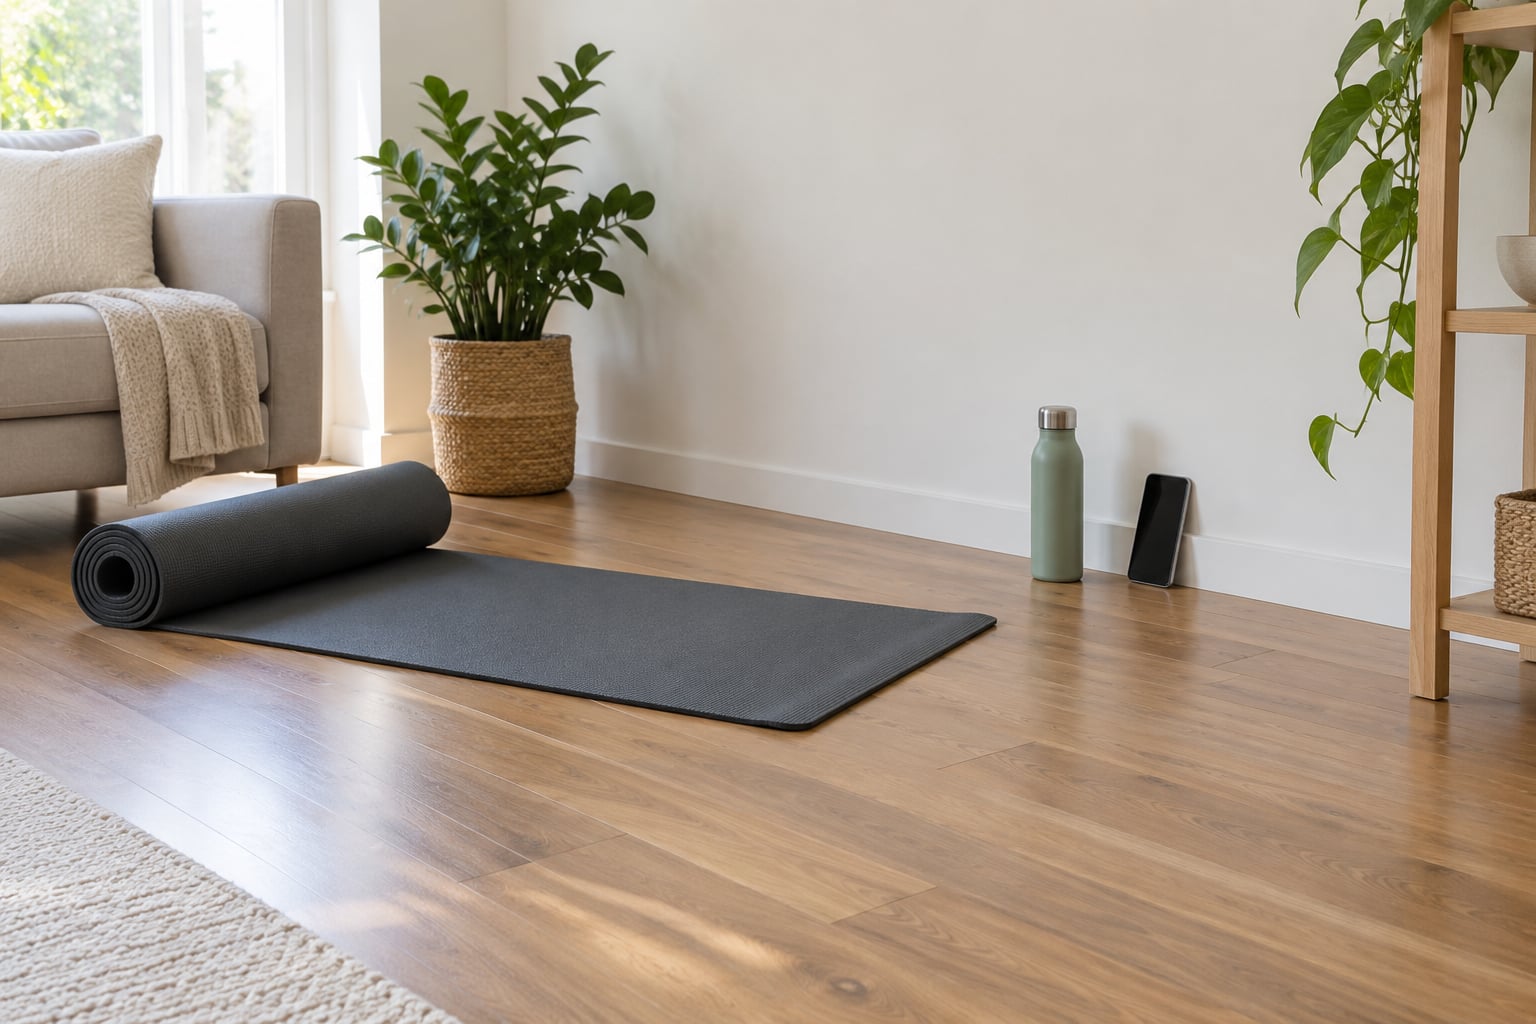
- Clear floor space. About six feet by four feet is plenty. A rug or carpet is fine, and thicker padding is better than none.
- Water. Keep a glass or bottle within arm’s reach so you are not walking to the kitchen mid-set.
- A timer. A phone works. Interval-style sessions are much easier when the clock tells you when to move.
What counts as no equipment
A wall, a sturdy chair, a countertop edge and a backpack filled with books are all fair game. They are progressions rather than machines, and they let you scale a movement up once plain reps stop being hard.
A doorway frame is not a pull-up bar unless it was installed as one. Most apartment door trim tears out of the wall if you hang from it, so skip that one. I have seen enough pulled-off casings to say it plainly.
How much space you actually need
Far less than most people assume. A clear rectangle roughly six feet long and four feet wide covers every movement in this guide, and an eight-by-four stretch in a small living room handles the walking and cardio blocks too. Push furniture back rather than trying to squeeze around it, and if you have pets, put them in another room first.
Comfortable is the goal, not spacious. A thin rug over carpet is enough for glute bridges and bird-dogs, and if your floor is hard tile, folding a towel or a couple of cushions under your spine and knees makes floor work far easier to stick with.
Keeping it quiet in a shared apartment
Noise is the number one reason people quit bodyweight training in a building. It is easy to fix: replace jumping jacks with step touches, drop burpees to step-back step-ups, and swap high knees for fast marching. Every movement in the strength circuit below was chosen because it can be done with both feet on the floor.
Underfloor mats and thin carpets cushion the noise from burpees and drop jumps if you do eventually add them, but they cannot fix a downstairs complaint. Start quiet, and only add impact once you know who is underneath you.
Safety and accessibility
Clear the floor first. Slippers, charging cables and pet bowls cause more home injuries than the exercises do, and a push of a few seconds to clear them is worth it.
Talk to a doctor before starting if you have chest pain, uncontrolled blood pressure, diabetes, a recent injury or surgery, are pregnant, or have been inactive for a long time and get winded climbing stairs. Ask for a physical therapist’s guidance if you have joint pain that flares during movement.
Use a wall or chair for balance whenever you feel unsteady. Doing a squat holding a countertop is better than doing a free-standing squat and falling. Muscles get built from sessions you finish, not from the version that looks hardest in a video.
How to Work Out at Home Without Equipment: Step-by-Step
This is the whole session, start to finish. Follow it once as written, then repeat it for two or three sessions a week until the movements feel familiar.
Step 1: Prepare Your Space and Warm Up
Spend five minutes on easy movement before anything harder. Cold joints and stiff hips are the reason people pull something instead of getting stronger. You do not need to break a sweat to warm up properly.
- March in place for one minute. Lift your knees to about hip height and swing your arms. Start slow, then pick up the pace.
- Arm circles, 20 forward and 20 backward. Make them small at first and grow them if your shoulders feel loose.
- Shoulder rolls, 15 each way. Pull your shoulders up toward your ears, back and down.
- Gentle side steps, about 30 seconds each direction. Feet wide, weight shifting side to side, toes pointing forward.
- Bodyweight squats, 10 slow reps. Hands out front for balance, chest up, sit back as if reaching for a chair.
You should finish this warm-up feeling warmer and looser, not tired. If you are already breathing hard after five minutes of marching, drop the pace for the rest of the session and focus on form.
Step 2: Complete the Strength and Stability Circuit
Run these five movements back to back, then rest for a minute and go again. Two rounds is plenty for a first week. Beginners usually take 10 to 12 minutes for one round including the rest.
- Bodyweight squats — 10 reps. Feet about hip-width apart, sit your hips back and down, let your knees track over your toes, drive through your heels to stand.
- Wall or countertop push-ups — 8 to 12 reps. Hands on the surface at chest height, body in one straight line from head to heels, lower until your chest nearly touches.
- Glute bridges — 12 reps. Lie on your back, knees bent, feet flat and close to your hips, press up until your hips are level, squeeze your glutes at the top.
- Bird-dogs — 8 reps per side. On hands and knees, extend the opposite arm and leg until both are level with your back, hold two seconds, switch.
- Calf raises — 15 reps. Stand tall, rise onto the balls of your feet, pause for a second at the top, lower slowly.
Here is how you know your form is working. If you can hold a conversation during the set but the last three reps feel genuinely hard, you are in the right zone. If your lower back aches during bird-dogs, the raised leg is going too high. If your knees hurt in squats, turn your toes out a few degrees.
Do not chase the number of rounds in week one. Getting every rep clean matters more than getting the sixth round done.
Step 3: Add Low-Impact Cardio
This block runs for about four minutes and needs no jumping, which matters in a shared building. Work for 40 seconds, then stand and breathe for 20.
- Marching with drive — alternate knees to hip height, arms pumping.
- Step touches — step side to side, shifting weight without jumping.
- Low-impact knee lifts — same as marching but faster and with a stronger push through the standing leg.
- Shadow boxing — jab and cross at the air for 40 seconds, then reset and breathe.
For an easier pace, half the speed and keep every foot on the floor. For more of a challenge, add a hop on the step touches or lift your knees to chest height. The same four movements cover both ends of the range.
Repeat the four-movement block twice if you still have energy, then move to the cooldown. This is also the block to keep on hand for travel days when the whole strength circuit feels like too much.
How long the whole session takes
Budget about 25 minutes end to end: five minutes of warm-up, 10 to 12 for two rounds of the strength circuit, four to six for the cardio block, and five for the cooldown. If you only have ten minutes, do this instead:
- One minute of marching and arm circles.
- One round of squats, wall push-ups and glute bridges, 10 reps each.
- Two minutes of step touches and shadow boxing, alternating 30 seconds each.
- Thirty seconds each of a forward fold, a calf stretch and child’s pose.
That is a complete workout, not a warm-up for one. Trainers who program 10-minute sessions see the same adherence over a year as people who schedule an hour three times a week.
How to scale the session to your level
Everything here scales in four directions, so you never need a different routine for a different week. Scale the reps down or up, the rounds, the tempo, or the leverage of the movement.
Too easy? Add a round, or drop push-ups from the wall to a countertop, or add a two-second pause at the bottom of each squat. Too hard? Halve the reps, drop to knees for push-ups, cut the sprint to a march, or split the session into two ten-minute halves on separate days.
The version of this session you can finish cleanly, three times a week, beats the harder version you complete once. Train hard enough to progress, easy enough to come back to tomorrow.
Step 4: Cool Down and Check Your Progress
Slow down for five minutes. Walking in place gets your breathing back toward resting, and then a few gentle stretches take the edge off the work you just did.
- Standing forward fold — feet hip-width, hinge at the hips, let your head and arms hang for 20 seconds, then roll back up slowly.
- Calf stretch — step one foot back, heel down, lean forward into the front leg, hold 20 seconds per side.
- Hamstring stretch — one heel forward with the leg straight, hinge gently from the hips, hold 20 seconds per side.
- Chest opener — clasp your hands behind your back, lift your arms gently, stand tall, breathe for 20 seconds.
- Child’s pose — knees together or apart, hips back to your heels, arms long, 30 seconds.
Stretching should feel like a mild pull, never sharp. Bouncing into a stretch does nothing useful, and holding a painful position buys you no range of motion.
Tracking your progress on a no equipment home workout
Numbers on paper beat memory. Once a week, note four things:
- How many sessions you completed that week.
- Your best set of push-ups, and your best glute bridge hold in seconds.
- How each movement felt on a scale of easy, right or hard.
- Your sleep and any soreness that lasted more than a day.
Progress at home shows up long before it shows in the mirror. Push-ups go up, squats feel smoother at the bottom, and the walk up stairs stops being a thing you think about. Most people notice strength changes in 4 to 6 weeks and visible changes in 8 to 12.
How to make it harder once the reps stop challenging you
When you can hit the top of every rep range with good form two sessions in a row, change one thing. Not several things at once, or you will not know what worked.
- Add reps. The simplest option, and the first one to run out.
- Add a third round. More volume, same exercise selection.
- Change the leverage. Move push-ups from a wall to a countertop to the floor, or put your feet on a chair for decline work. Squats against a wall sit or split-leg squats add load without any weight.
- Change the tempo. Lower for three seconds, hold for one, press up fast. That alone can make an easy movement hard.
- Unbalance it. Single-leg glute bridges, single-arm reach in the bird-dog, single-leg calf raises.
- Shorten the rest. From 60 seconds down to 30 turns a circuit into real conditioning.
If you hit a genuine wall, add load with what you already own. A backpack holding books works for squats, rows, overhead presses and curls, and a filled water jug or two does the same job. Start with something you can handle for 10 reps and add a book.
A simple eight-week plan
Progress in bodyweight training is mostly about doing the same movements consistently for longer, then adding one variable. Here is the shape of the first two months:
- Weeks 1 and 2: the session above, two rounds, three times a week. Learn the movements rather than chasing numbers.
- Weeks 3 and 4: three rounds of the strength circuit, same reps. Add a rep or two where it feels easy.
- Month 3: push-ups move from the wall to the floor, and squats add a pause at the bottom. Keep the cardio block, but drop from two repeats to one if recovery feels heavy.
- Month 4 onwards: pick one lever: reps, rounds, leverage, tempo or load. Change it every four to six weeks.
Keep at least one full rest day each week. Muscles adapt while you are recovering, not while you are training them, and beginners who train hard every single day tend to stall and get sore rather than stronger.
Eating enough to keep progressing
Bodyweight work is real resistance training, and resistance training needs fuel. Eat regular meals with a protein source at each one, and do not cut calories hard while trying to get stronger. General guidance from public health bodies puts protein for adults at roughly 0.8 grams per kilogram of body weight a day as a baseline, with more often used by people training regularly.
Sleep matters just as much. Most adults do their best recovery on seven to nine hours, and a short night followed by a hard session usually shows up as slower reps rather than as anything you notice at the time.
Common Mistakes
Almost every problem I see in beginners is not a lack of effort. It is one of seven habits, and each has a simple fix.
Rushing through the reps
Half the set disappears somewhere in the first few reps and the last half is a scramble. Slow everything down: two seconds down, one second up, and keep a steady tempo you could hold through a conversation.
Skipping the warm-up
Five minutes of marching and arm circles feels skippable on a good day. It is also the cheapest insurance against pulling a shoulder or tweaking a hip. Five minutes is a small price for the next hour.
Letting the lower back take over
This is the most common problem in floor-based core work, and it is the reason so many beginners quit before their abs get any attention. If your lower back is sore after bird-dogs or planks, your hips are sagging. Draw them in before you extend anything, shorten the hold, and pull the arm or leg in closer to your body.
Checking your form with no coach and no mirror
Most of the fixes you need are visible from the outside, not the inside. Set your phone up, record one set, and watch it once. Almost every movement problem shows on camera: a sagging hip in a plank, a rounded back in a push-up, knees caving in a squat. Fix the camera angle, not your body, before you decide something is wrong.
If you have no phone handy, use feedback you can feel. Press two fingers into your lower back during a bird-dog; if they dip away from the floor, you have dropped the hip too far. In a glute bridge, if you can feel your hamstrings burning before your glutes, you are lifting with the wrong muscles. In a squat, if your heels lift, you are going too deep for your ankles.
Holding your breath
Bracing is good, breath-holding is not. Breathe in on the way in and exhale as you push or lift. If you are red-faced and holding air by rep eight, you are doing it wrong.
Starting too hard
Planche, handstands, pistol squats and full burpees are impressive to watch and terrible first moves. They are advanced calisthenics skills built on top of months of preparation. Start with wall push-ups and glute bridges and earn the rest.
Pushing through pain
Muscle fatigue feels like a manageable burn. Joint pain, sharp back pain and anything that makes you wince is a different signal. Stop, and if it keeps recurring, talk to a doctor or physical therapist before adding volume.
Consistency tips that survive real life
Without a commute or a class time, home training depends entirely on how you set it up. A few habits that make the difference for most people:
- Fix the time, not just the day. Same three mornings, same slot, works better than a vague plan to train “when I can.”
- Keep a shoes-by-the-door rule. Whatever you put on first is what you will move in.
- Have a short fallback version. Ten minutes of squats, push-ups and marching for the days when 25 minutes is not happening beats skipping completely.
- Bank the easy weeks. Anyone who does three sessions a week for eight weeks can handle the week everything goes sideways if one of them is a 10-minute session.
- Count sessions, not calories. Session count is the thing you control and the thing that predicts results.
- Change the routine every six to eight weeks. Boredom kills home habits faster than soreness does.
What Results to Expect at Home, and When
Bodyweight training produces real changes, but it produces them on a schedule, and the schedule matters more than the mirror this month. Here is roughly what three sessions a week buys you.
Weeks 1 to 3: coordination, not strength
Almost nothing changes visually. What changes is that squats stop feeling awkward, you stop dreading the floor movements, and a set of wall push-ups stops being a guessing game. Mood and sleep often improve in the first couple of weeks, which is usually the first thing people notice.
Weeks 4 to 8: strength you can measure
Push-up counts climb, a glute bridge hold goes from 15 seconds to 40, and stairs stop registering as effort. This is the window where written numbers beat perception. If your best set of push-ups has gone from 8 to 20, you are getting stronger whether or not you can see it.
Weeks 8 to 12: visible change
Clothes fit differently at the waist and hips, movements look smoother in a recording, and other people occasionally comment. Visible ab definition takes longer and depends heavily on body-fat levels, which is why so much of the internet sells fat loss as a shortcut to muscle. Training shapes the muscle; eating well and moving enough is what changes what you see.
What bodyweight training will not do
Plain bodyweight work has a ceiling on how much load your muscles can push. Once you can do strict full push-ups and single-leg squats easily, you need either harder calisthenics variations, extra load, or a different goal. That ceiling is months away for most beginners, so it is not a reason to delay starting.
How to break a bodyweight plateau
A plateau is when you can do the same reps and same movements for weeks with no change in anything. Three fixes, in order of how well they work:
- Add external load. A backpack of books or a filled water jug in a backpack turns an easy push-up set into a hard one.
- Change the leverage or variation. Decline push-ups with your feet on a chair, archer push-ups, pistol squats, or one-arm plank progressions.
- Change the tempo. Three seconds down, one second paused at the bottom, and a fast press back up.
Move one variable at a time. Changing all three at once and seeing no improvement after two weeks tells you nothing about which one would have worked.
Frequently Asked Questions
How long should a no-equipment home workout be?
Twenty to thirty minutes covers a full session, and ten minutes is a legitimate workout rather than a compromise. Beginners often get better results from short sessions done three or four times a week than from one long session. If you have never exercised, start at ten minutes and add five minutes per week.
How often should I work out at home without equipment?
Three sessions a week on non-consecutive days is the standard starting point, because a day between sessions lets your muscles recover and grow. Add a fourth session once three feels easy. One session a week will keep some of your fitness but rarely builds much.
What is the best 7 day workout schedule with no equipment?
Day 1 full body strength, Day 2 brisk walk or mobility, Day 3 full body strength, Day 4 rest, Day 5 full body strength, Day 6 longer cardio or an easy core session, Day 7 rest. Keep at least one full rest day, and never stack two hard days back to back in your first month.
What workout burns the most calories?
High-intensity bodyweight movements such as burpees, mountain climbers and jumping jacks burn the most per minute. But the session that burns the most is not the one that changes your body, since total results come from doing something consistently for months, not from one hard hour.
What is the 3-3-3 rule for workouts?
It is not an official bodyweight training term. You will see it used for three easy days, three hard days and three rest days in a week, or for three exercises performed three times each. Either way, treat it as a template to adjust, not a rule backed by research.
When should I see a doctor before working out at home?
Speak to a doctor first if you have chest pain, uncontrolled high blood pressure, diabetes, a recent injury or surgery, or are pregnant. Also get checked first if you become unusually winded climbing stairs, feel dizzy during movement, or have joint pain that does not settle. A physical therapist can then set your starting intensity.
Start with what you have: clear a patch of floor, march for one minute, then run the five-movement strength circuit twice. Do that three times this week, write down your numbers on Sunday, and change one thing only when two sessions in a row feel easy. That is how to work out at home without equipment for as long as you want to keep doing it, and nothing in the routine needs to be replaced later.