Most clothes do not fail because the fabric gave up. A seam splits, a button pops off, a hem gives out, and the garment goes in the bag for a problem that takes a needle, some thread and about ten minutes to fix. This guide covers how to repair clothes instead of tossing them, one failure at a time, with the stitches and materials that actually hold.
The first move is always the same: turn the garment inside out, lay it flat, and find where the damage really starts. That takes a minute and saves you from stitching a fix onto the wrong layer.
Table of Contents
What You Need
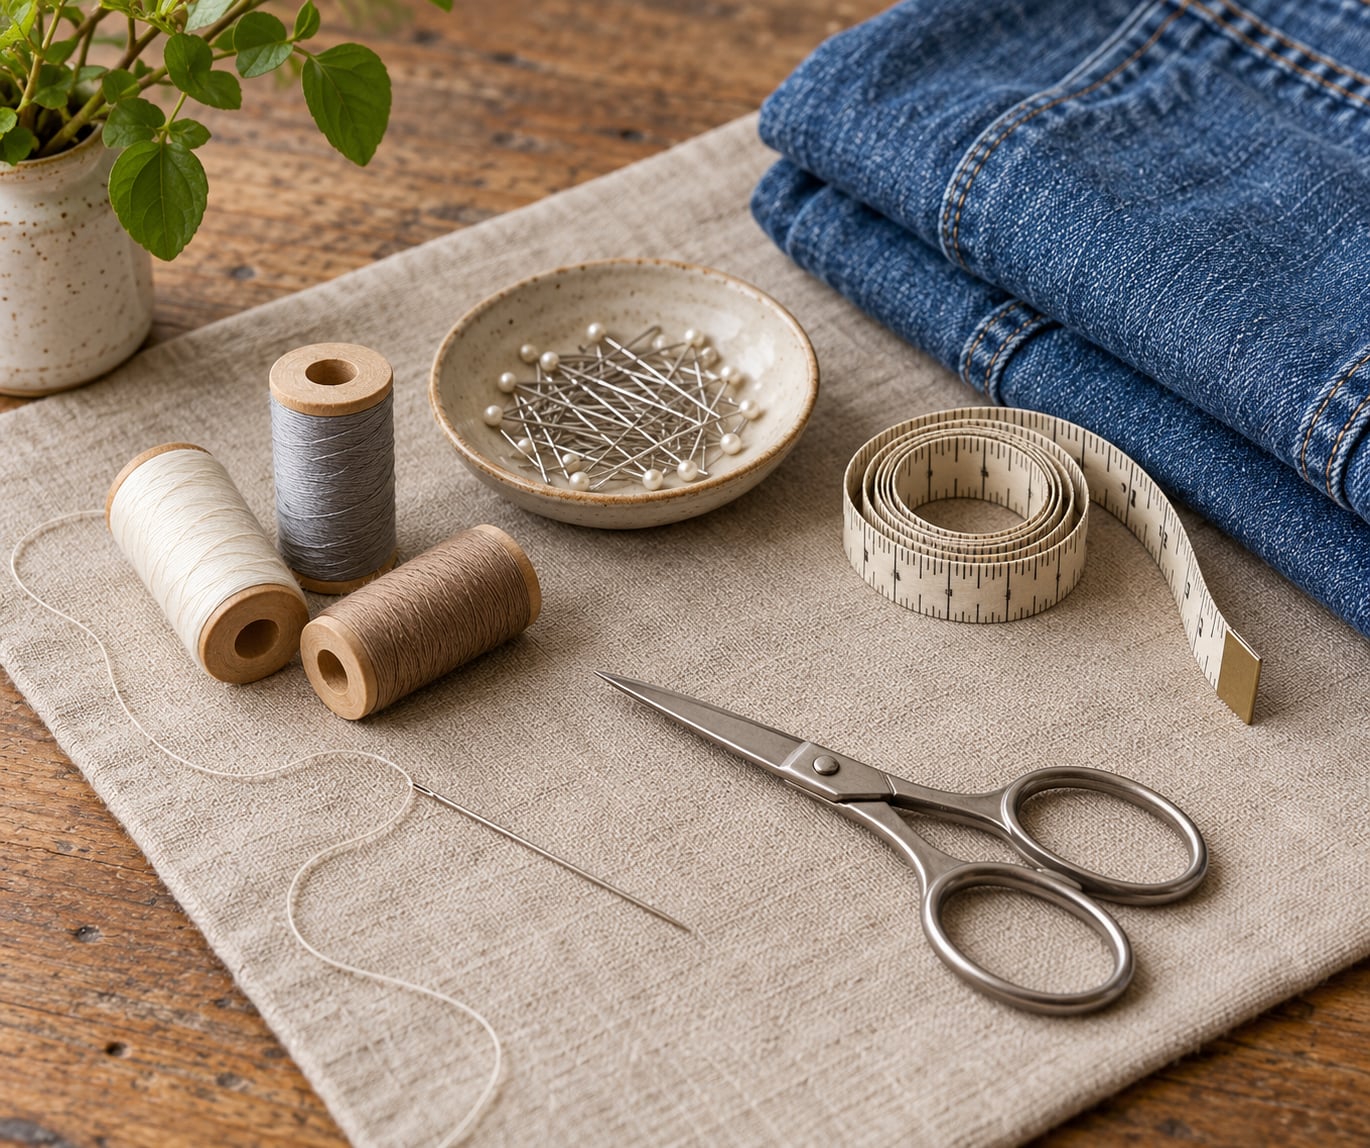
A repair kit does not need to be big. It needs to live in a drawer instead of a donation bin.
- Needles: a small mixed pack of sharps for woven fabric, plus a ballpoint for knits and stretchy jersey. Blunt needles drag fibers and make holes in knitwear.
- Thread: all-purpose polyester thread for most jobs, plus heavier topstitch or denim thread for workwear and seams that take strain.
- Fabric scissors and a small seam ripper for opening a seam without cutting the fabric.
- Straight pins to hold layers in place before you stitch.
- Measuring tape for hems and waistbands.
- An iron to press seams flat and to activate fusible tape.
- Measuring tape and a seam gauge for the hem fold, so both sides come out even.
- Patches, fusible interfacing and fusible webbing for backing thin fabric before it tears through.
- Zipper tape and a few replacement sliders for the repairs that need a second hand.
Optional but useful: fabric glue, a fabric shaver for pilling, a thimble, tweezers, and a small darning plate. Skip anything specialty until you have actually hit the problem it solves.
Before you start, read the care label. Dry-clean-only garments and anything lined or structured often need professional handling, and heat can shrink or glaze the fabric you were about to patch.
Step-by-Step: Repairing Common Clothing Damage
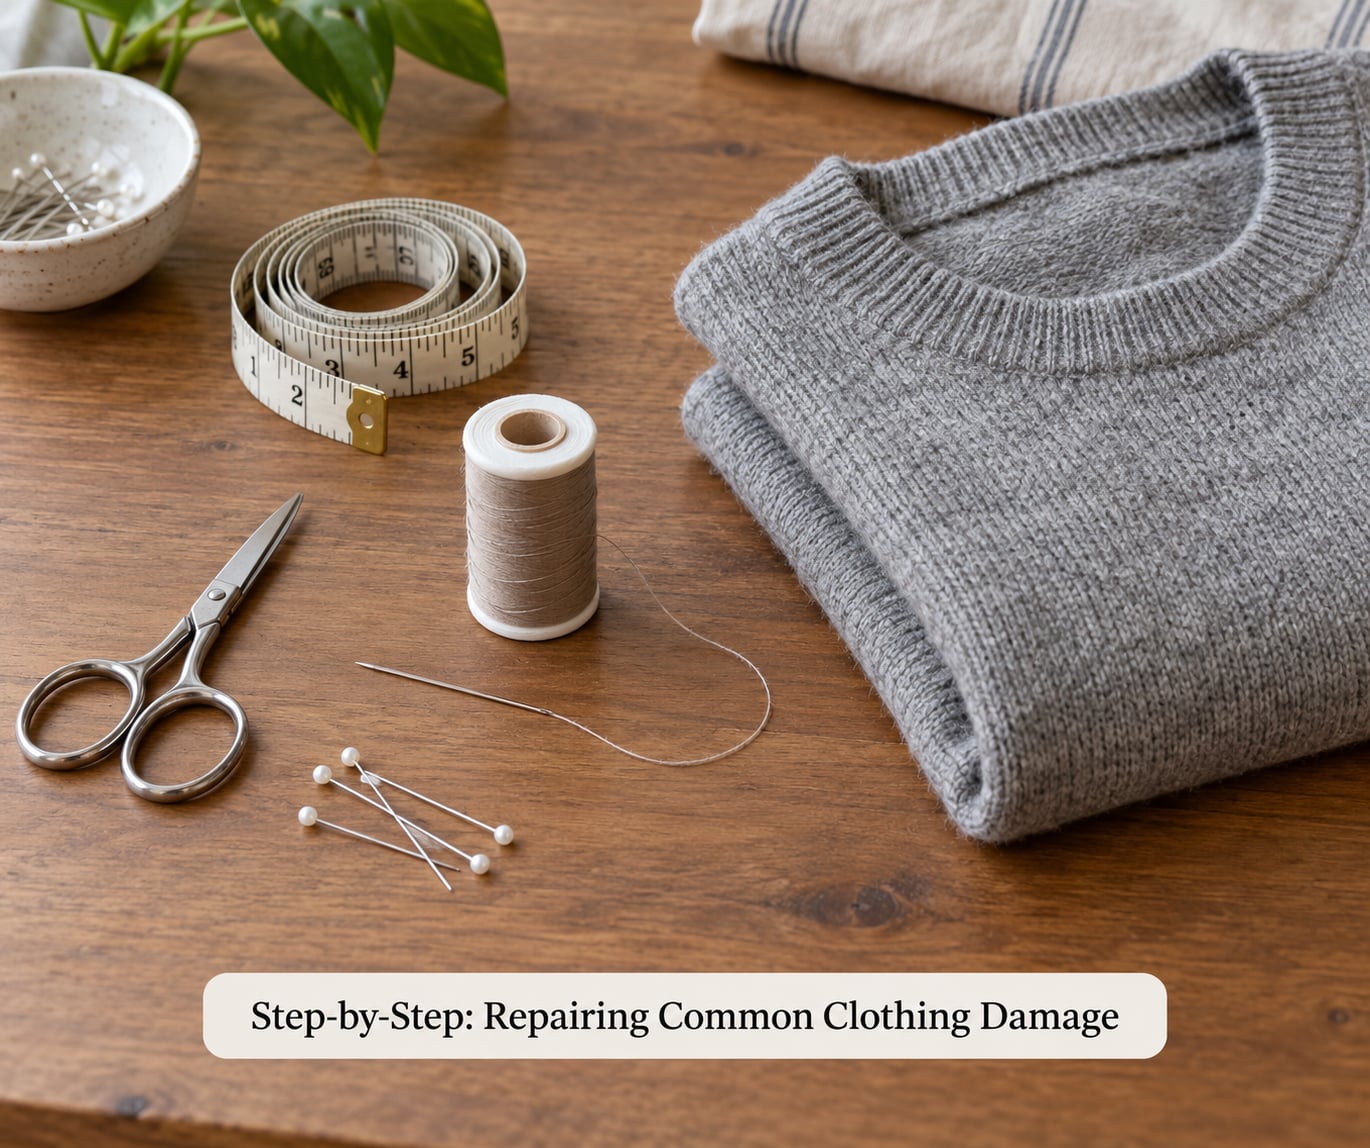
Every repair, from a loose button to a blown-out knee, runs through the same five stages. Once they are habits, you stop being afraid of any repair.
- Assess. Turn the garment inside out and look at the seam from the inside. Damage usually starts a few centimeters before the visible break. Success signal: you can point to the exact line where stitching has let go.
- Choose the fix. Structural damage needs stitching. Thinning fabric needs backing first. A raw edge needs a patch. Success signal: you can name the fix in one sentence before touching it.
- Prepare. Trim frayed threads, clip loose fibers, and back weak fabric with a piece of scrap cotton or fusible interfacing. Success signal: no loose threads remain in the repair zone.
- Stitch. Pin first, then sew with the fabric flat and unstrained. Use doubled thread for anything load-bearing. Success signal: the seam or patch sits flat with no puckering.
- Check the hold. Tug the repair gently in both directions, then press it with the iron. Success signal: no gap opens at the ends of your stitch line.
How to Fix a Seam or Split Hem
A split seam is the easiest repair in the wardrobe, because the fabric on both sides is usually still fine. For a temporary fix, run a loose straight stitch through both layers of the opened seam, tack the ends, and press. That buys you a season.
For a permanent fix, open the seam with a seam ripper, right to the intact stitching above and below the break. Align the edges so the pattern lines and grain match, pin them every few centimeters, and sew a backstitch right next to the original seam line. A backstitch locks each stitch in place, which is why it holds where a plain running stitch eventually gapes.
For a rolled or sagging hem, fold the raw edge to the inside by 1 to 1.5 centimeters, press it flat with the iron, pin, and backstitch along the fold. Check both sides hang at the same length before you stitch.
How to Repair a Small Hole or Tear
Scale decides the fix. A pinhole in a knit needs reinforcement, a real tear in denim needs a patch or darning, and a raw edge needs new fabric behind it.
For a tiny hole, place a small piece of scrap cotton behind it and work a few whip stitches through the hole and the backing, pulling the edges together gently. For a larger tear in denim, cut the loose threads away, trim a shallow triangle so the edges are stable, then sew a patch on the inside with a running stitch or whip stitch. Trim the patch flush so the front stays flat.
For a damaged edge, bind it by folding the raw edge inward and topstitching twice. Always stitch into intact fabric at least 1 centimeter past the tear, or the repair will reopen along the same line.
If you want the mend to be seen rather than hidden, sashiko-style running stitches over the hole in a contrasting thread turn damage into the point of the garment. That is a design choice, not a fallback.
How to Replace a Broken Zipper or Button
A loose button takes about two minutes. Thread a doubled length through a shank button, push it through the hole from inside the garment, wind the thread under the button to form a shank, then sew back through the buttonhole several times before knotting on the fabric side. Wind the thread in a coil under the button rather than a straight pull-through, or the button will snap off later.
A failed buttonhole is different. Cut the frayed thread with a seam ripper, pin a doubled strip of facing behind the hole, and stitch a fresh zigzag or buttonhole stitch around all four sides. On denim or heavy fabric, sew twice around the loop.
For a zipper, first check whether the slider has simply ridden up over the top stop. If the teeth are still parallel and aligned, ease it back down. If teeth are bent, missing, or separated from the tape, replace the slider or the whole zipper section, opening the seam with a ripper, pinning the new tape in place, and backstitching it to the garment.
Invisible zippers, set-in zippers, lined garments, and anything leather or expensive are tailor jobs. The risk of making it worse is higher than the repair itself is worth.
How to Fix Elastic, Cuffs, and Lining
A sagging waistband usually means the elastic has stretched or snapped, not that the band is too small. Open the seam inside the waistband with a ripper, pin the new elastic over the old one, and stitch it in a straight line with a zigzag or stretch stitch that gives as you move. Cut the elastic 1 centimeter shorter than the measured band, test it by stretching before you commit.
For a torn cuff, rip out the worn section and use it as a pattern. Cut new fabric, add an interfacing strip at the fold so the cuff keeps its shape, then stitch the new piece in and reattach the original cuff as an facing.
Loose lining gets secured rather than replaced. Baste it back to the seam allowance with a running stitch, press it flat, and topstitch through both layers so it cannot drift again. Reinforce any seam that has started to separate with a second line of stitching 5 millimeters beside the original.
Common Mistakes When Repairing Clothes
Almost every failed mend traces back to one of these, and almost all of them are fixable before you start sewing.
- Wrong thread for the fabric. Cotton thread on synthetics abrades and breaks; thin thread on denim splits the fabric further. Match the thread weight to the cloth, and double it for seams.
- Stitching right at the edge of the tear. Always carry the stitch into sound fabric past the damage, or the tear simply reopens from the same point.
- Skipping stabilization on thin material. Back anything thin with scrap cotton or fusible interfacing before stitching. A backing turns an unrepairable spot into a stable one.
- Cutting unevenly. Trim loose threads and cut on a straight line with sharp scissors. Dull scissors chew the edge and leave a ragged seam that frays again.
- Pulling the fabric while sewing. Let the machine or the needle advance the material. Tension turns a flat patch into a gathered lump.
- Ignoring the garment’s construction. Set-in sleeves, lined bodies and bound openings have seams you cannot open without wrecking the shape. Check how the piece is put together before you rip anything.
- Not knotting off properly. A short tail knot pulls out. Wind the thread two or three times around the needle at the end, or knot twice on the fabric side.
- Skipping the final check. Tug the repair in both directions, press it, and wear it for an hour before you decide it is finished.
When to Repair vs. Replace a Garment
Not everything deserves a second life, and pretending otherwise wastes your time on a repair that will fail in a month. A simple framework helps.
Look at the location. Damage in a seam, hem, buttonhole or elastic band is repairable because the surrounding fabric is intact. Damage across the whole panel of a garment, or on a shoulder seam in a tailored jacket, usually is not.
Look at the fabric. Woven cotton, denim and linen mend reliably. Knits, jersey, viscose and stretch synthetics need a ballpoint needle and a stretch stitch, and they mend best with a patch that carries the load. Leather and suede are a specialist’s job.
Look at the severity. One button, one seam, one hole: worth ten minutes. A crotch seam gone, a zipper missing half its teeth, or a sleeve too far gone to rebuild: take it to an alteration shop and get a quote before you start.
Look at the value. Repair when the garment fits, you still want to wear it, and you have an hour or less of work ahead. Replace when the fit is wrong in a way that needs machine work, when the fabric is finished, or when the repair would cost more than a new item.
Two things sit outside the arithmetic. A garment you will wear for sentimental reasons deserves the hour even when the numbers say otherwise. And a piece from a thrift haul may be unwearable until it is mended, which flips the decision entirely.
Community repair events are worth a search too. Repair Cafes and similar volunteer-run sessions pair beginners with people who do this every week, often for free, and a first attempt there is easier than a first attempt alone.
Frequently Asked Questions
Can you repair a hole in a sweater?
Yes, and the fix depends on the fiber. Use a ballpoint needle so it slides between the knit fibers instead of splitting them, and pull the edges back together gently with a whip stitch. For a larger hole, place scrap fabric behind it and stitch a running stitch around the opening. Pilling on the same sweater comes off with a fabric shaver or a fine knit picker.
Is it better to repair clothes or buy new?
Repair when the damage is local, the fabric around it is sound, and you still want to wear the garment. That covers missing buttons, split seams, hems, elastic and small holes, and it takes minutes rather than a shopping trip. Replace when the whole panel is compromised, the fit is wrong, or the fabric itself has failed. The honest test is whether you would still choose this garment in a shop today.
How long does it take to sew on a button?
Two to five minutes for a standard shank button if you already have a threaded needle. Allow ten minutes for a four-hole button that has fallen off a buttonhole you need to rebuild. Tie off with a coil of thread under the button rather than a simple knot, and the repair will survive repeated laundering instead of ending up in the bottom of a pocket.
What is the hardest fabric to repair?
Leather and suede are hardest, because they cannot be pinned, threaded or pressed the way woven cloth can, and a needle puncture stays visible. Among textiles, thick denim is tough on needles and fine synthetics are tough on thread choice. Knits and stretch fabrics are predictable once you use a ballpoint needle and a stretch stitch, which surprises most beginners.
Do visible mends last as long as invisible ones?
Yes. A sashiko patch or darn holds as long as a hidden repair, because strength comes from the stitch and the backing fabric, not from being invisible. Decorative thread frays faster than plain polyester thread, so choose a heavier thread or embroidery floss for visible mending and avoid leaving long loops on the surface where they can catch.
What is the 3-3-3 rule for decluttering clothes?
It is a simple wardrobe filter: keep an item you wore at least three times in the past three months, or one you are actively planning to wear, and let the rest go. Applied honestly it clears out aspirational purchases you have never touched. Treat a repairable flaw as a reason to keep, not a reason to bin, and mend before you donate so the next owner is not sorting your loose buttons.
Conclusion
Open the garment, turn it inside out, find where the stitching actually gave up, and pick the smallest fix that will hold. That is the whole method, and it works whether the problem is a loose button, a split hem or a hole worn through your jeans.
Learning four stitches and matching a needle to the fabric in front of you is enough for nearly every failure in a normal wardrobe. That skill pays you back on clothes you already own, keeps usable textiles out of landfill, and turns a garment you almost binned into one you keep wearing.