Get a pencil, a sketchbook, and an eraser, then draw something every day for 20 minutes. Spend the first month on observation, line control, and shape before you attempt value, perspective, or people. That is genuinely all you need to start drawing as a beginner, and it takes less than a week of practice to feel the first improvement.
The reason most beginners stall is not a lack of talent. It is that they start with the hardest part, or they buy forty supplies, or they practice for two hours on Sunday and then abandon it. This guide fixes the order of operations so you spend your time on the parts that compound.
Table of Contents
- What You Need
- Step-by-Step: How to Start Drawing as a Beginner
- Common Mistakes
- Frequently Asked Questions
- Can you teach yourself to draw, or do you need natural talent?
- How long should a beginner practice drawing each day?
- How do I know if I am actually getting better at drawing?
- Should I learn to draw digitally or traditionally first?
- What should I draw as a complete beginner?
- When is a paid drawing course worth it?
- Conclusion
What You Need
You need four things to begin, and three of them cost almost nothing. Resist buying a kit.
Essential Supplies
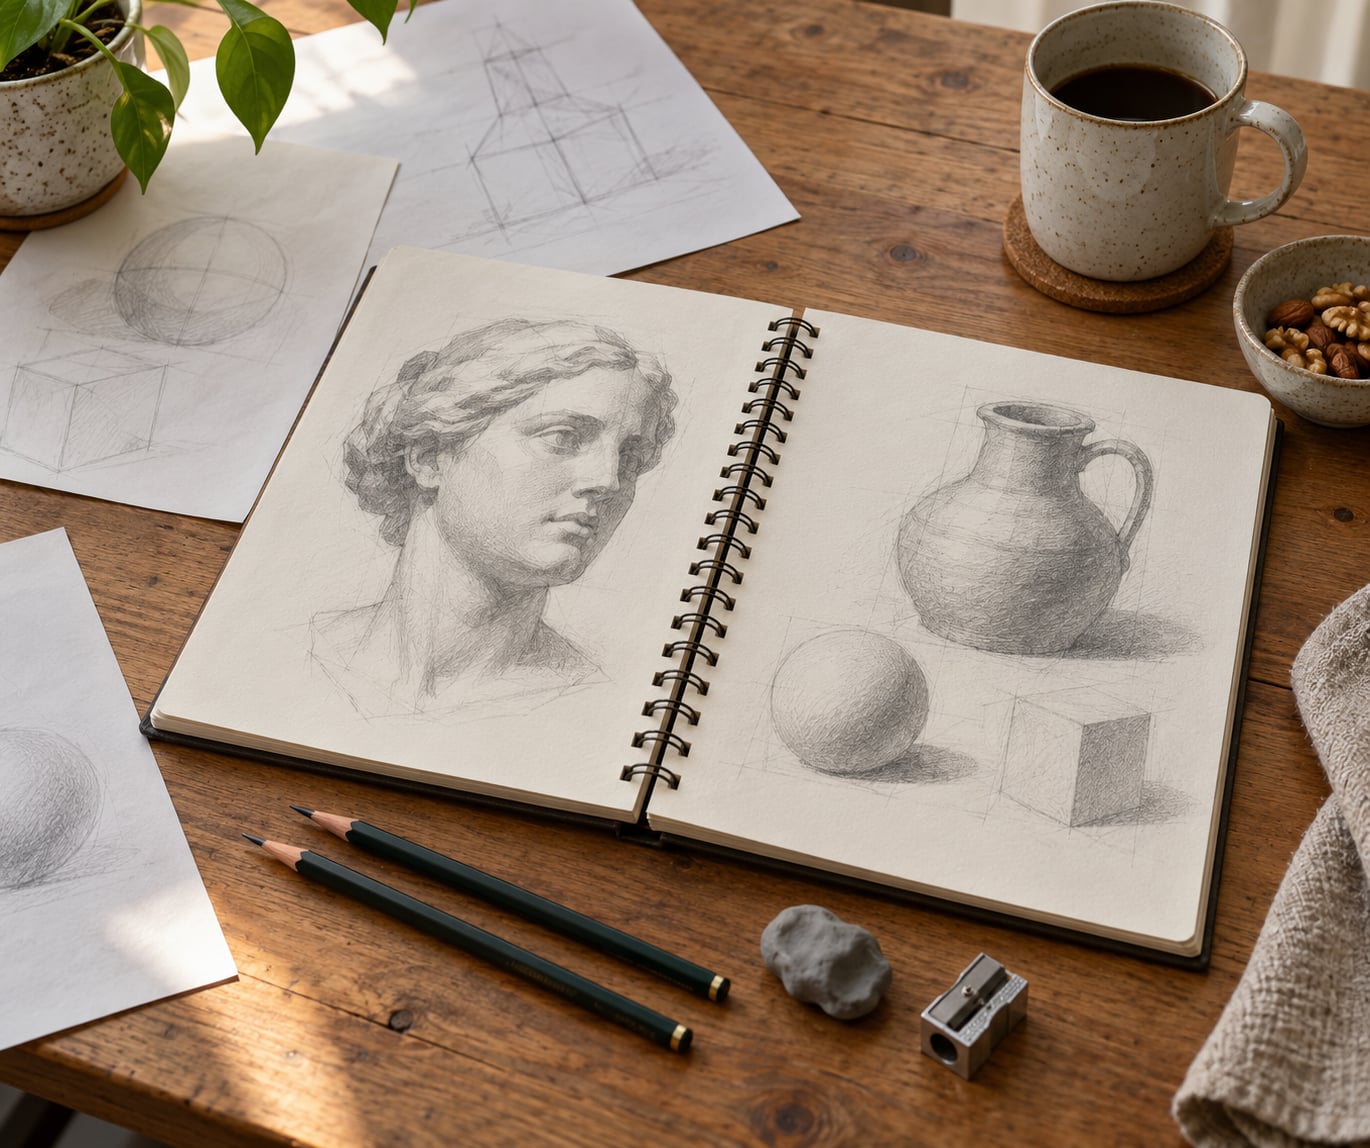
- A graphite pencil. An HB (2) for clean lines and a 2B for darker marks. Two pencils are genuinely enough for your first year.
- A sketchbook. Something around 100 pages with paper you can erase. Spiral-bound, 9 by 12 inches, works well because the page lies flat.
- An eraser. A soft vinyl eraser for everyday correction. A kneaded eraser is a cheap upgrade that lifts graphite without tearing paper.
- A flat surface and decent light. A desk near a window beats a lamp pointed at your paper, because moving light is easier to read than flat light.
Day One vs. Later
- HB (2) pencil — day one. Construction lines and light outlines.
- 2B pencil — helpful, not required. Darker values and accent lines.
- Sketchbook — day one. Somewhere to practice daily.
- Soft vinyl or kneaded eraser — day one. Correcting without smearing.
- Sharpener — day one. A point fine enough for line control.
- Newsprint pad — later. Cheap throwaway warm-up pages.
- Charcoal, pastels, paint — later. Different media entirely.
- Tablet and stylus — optional, see below. Digital practice.
Student-grade supplies are not a compromise. Graphite pencils are graded by hardness, not quality, so a cheap HB behaves exactly like an expensive one. The only tool worth buying carefully is paper: a smooth, heavier sheet rewards you for the effort, and thin newsprint tears the moment you lean on it.
On digital versus traditional: start traditional if you have any interest in drawing at all. You learn how hard the tool resists, how much pressure it takes, and how easily a mistake comes back. A tablet removes all three lessons. If you already draw on a tablet and enjoy it, stay there. Do not switch media mid-month because a tutorial used traditional.
Step-by-Step: How to Start Drawing as a Beginner
Beginners who improve fastest all follow roughly the same sequence. Learn to see, control your lines, build objects from shapes, get the size and placement right, then add light. Skipping ahead to shading or portraits is why so many people conclude they cannot draw.
Set Up a Simple Drawing Routine
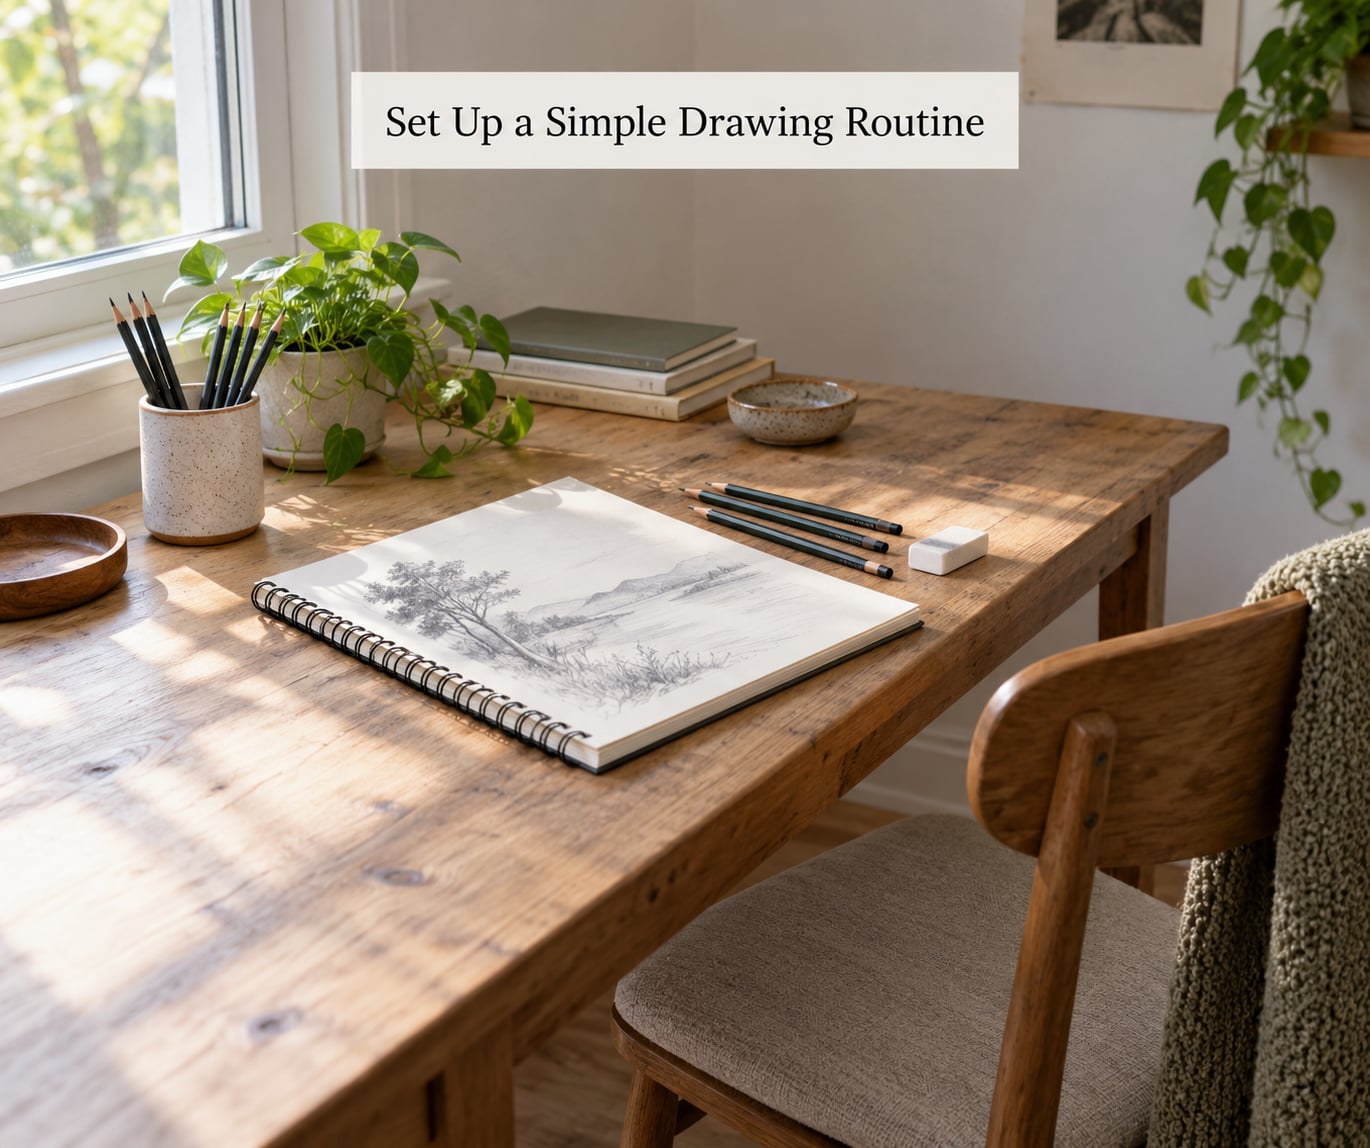
Frequency beats duration. Twenty minutes daily will move you further than two hours once a week, because line control is a motor skill and motor skills consolidate overnight, not over three days of nothing.
Split the session into three parts. Five minutes of warm-up lines, ten to fifteen minutes on one focused exercise, and two minutes reviewing what you drew. The review is the part people skip, and it is where improvement actually happens.
Pick a realistic schedule you can keep on a bad week. Most people manage five or six days with one rest day. Put the sketchbook somewhere visible, because a session that starts by hunting for supplies never starts.
Learn to See Shapes and Lines
Your brain stores a mug as a mug. Your eyes see an ellipse for the rim, a rectangle for the body, and a curve for the handle. Beginners draw the mug symbol and get surprised when the result looks wrong.
Start with line control. Hold the pencil near the tip rather than halfway down, and move it from the shoulder for long straight lines. Use the wrist for short ones and small marks. The wrist curves long strokes, which is why beginners get lines that sag in the middle.
Then drill shapes, in this order: straight lines, ellipses, circles, squares, boxes. Fill a page with each. Ten minutes of squares does more for your drawing than an hour of copying artwork, because every object you will ever draw is built from combinations of those five forms.
A good check: hold the page up at arm’s length. Construction lines should be light enough that you can erase them completely without leaving a ghost.
Practice Proportion and Perspective
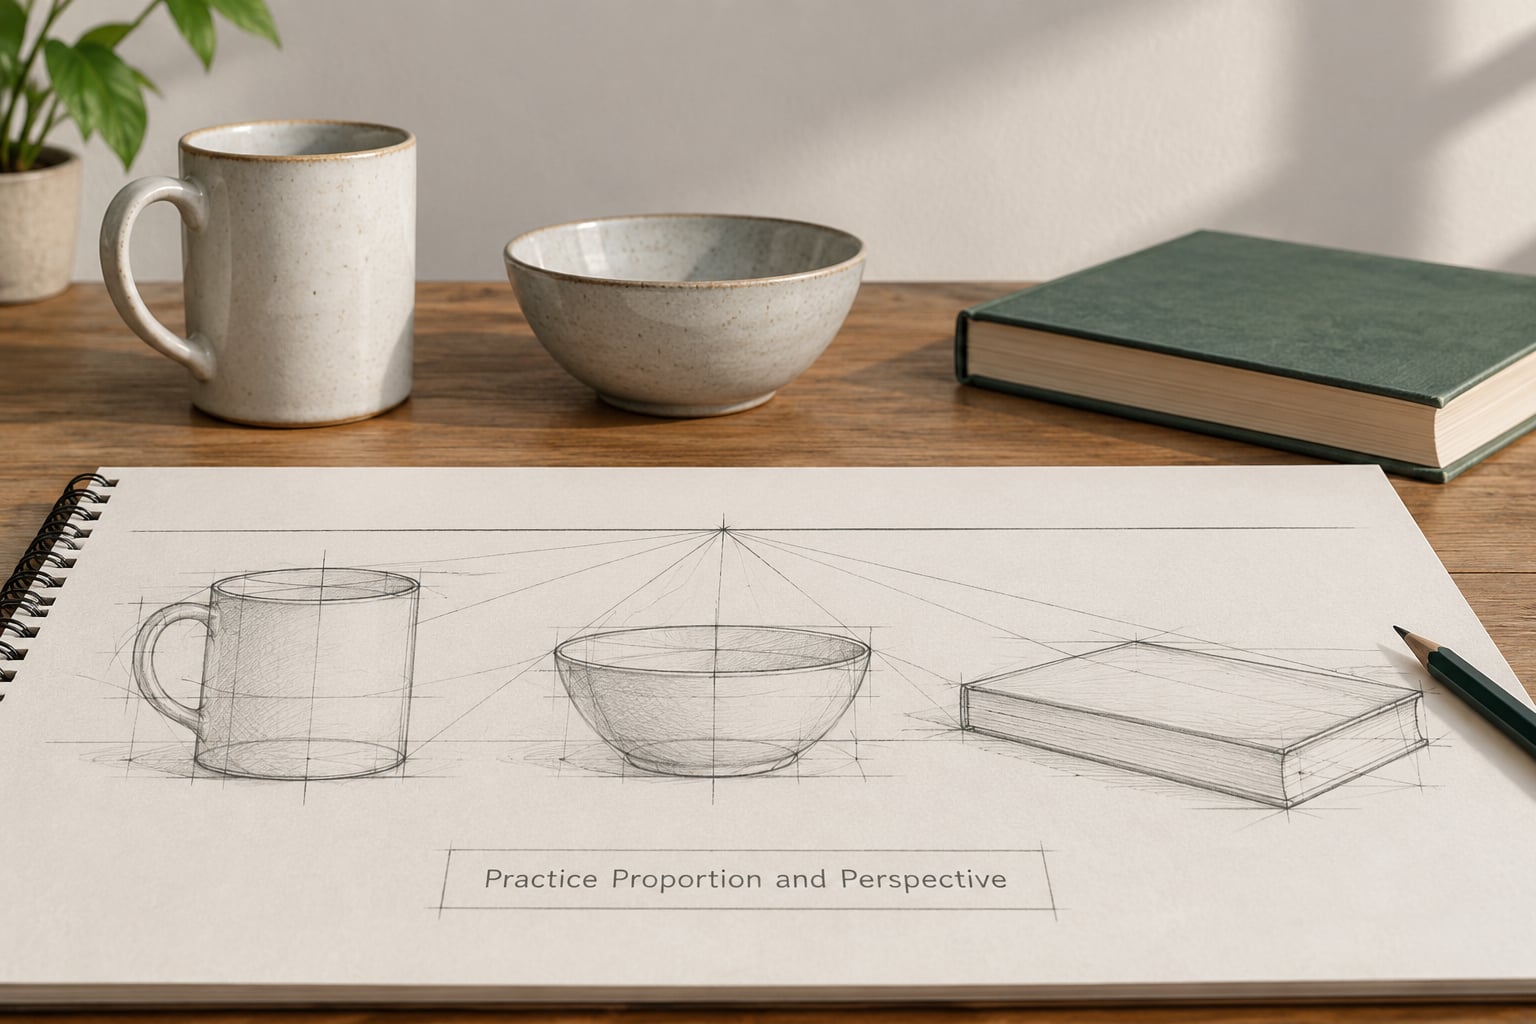
Proportion means comparing sizes instead of guessing them. Hold your pencil at arm’s length, use its tip to measure the height of one object, then use that same distance as a unit for the next. A beginner who measures rarely draws a mug with a handle the size of the mug.
Find the horizon line by squinting until the object blurs, and notice where it sits relative to your own eye level. When you look down at a mug on a table, the horizon is above it. Everything below the horizon shows its top; everything above shows its underside. That single idea removes most of the confusion beginners have with ellipses and circles.
For one-point perspective, mark one spot on the horizon, keep it vanishing-point consistent, and draw construction lines to it. Do this lightly and never commit to it. Perspective is a measuring tool, not something you render.
Draw Simple Objects and Still Lifes
Pick three things from your kitchen: a mug, a bowl, a book. Place them side by side and light them from one side. A single light source is non-negotiable in the early weeks, because two lights give you two conflicting sets of shadows and you will spend the session untangling them.
Do a light construction pass first: boxes for the general masses, ellipses for anything round. Check proportions with the pencil-measuring trick before you commit. Then find the outer contour with a light line and stop.
Observation beats perfection here. If your bowl does not look like your bowl, look at it for ten seconds, then look at your drawing for ten seconds, and adjust one thing. Beginners usually adjust six things at once and lose the object entirely.
Leave people for now. Experienced artists on Line of Action and r/learntodraw say the same thing: draw boxes, vases, chairs, and flowers first, and hold off on quick figure poses until you have a foundation. It is not that people are impossibly hard, just that they hide every other mistake.
Add Value, Texture, and Line Weight
Value is the lightness or darkness of a mark, and it is what turns a flat shape into a solid object. Before you shade, find the darkest and lightest area of your subject and lay both in first. Fill the gap between them and the form usually reads correctly.
Shade with the side of the pencil rather than the tip, and use long strokes that follow the surface. Keep the shadow side of an object lighter than its deepest shadow on the surface it sits on, or the object floats.
Change the mark for the material. Short dense strokes read as rough, long even ones as smooth, broken ones as fabric or hair, and small tight marks as metal. Line weight does the separating: a dark outline against a light background, a light line where two shadows meet.
Review Your Work and Keep Improving
Flip your drawing over and look at it upside down and in a mirror. Both tricks reveal proportion errors your eyes learned to ignore.
Then date every page and keep them. Progress you cannot see day to day is obvious in a stack from week one. The honest metric is not whether a drawing is good, but whether your first attempt today looks like your fourth attempt a month ago.
End each session by naming one thing to fix next time. Proportions too large. Contour lines too heavy. Too little time spent looking. One focus per session is plenty, and it builds faster than a vague intention to do better.
The middle of this process is genuinely flat, and everyone hits it. Weeks three and four often feel worse than week one because your eye improves faster than your hand. Keep the sessions short and specific during that stretch, and stay near a community like r/learntodraw where people post at every level. YouTube becomes genuinely useful once the fundamentals are in place; before that, structure beats random tutorials because you need a sequence rather than isolated tips.
Common Mistakes
1. Drawing too small. Use half the page or more. Small drawings hide proportion errors and give your arm no travel.
2. Outlining everything first. Do a light construction pass in boxes and ellipses, then find the contour. A finished-looking outline commits you to a wrong shape.
3. Pressing too hard. Beginners often press hard because it feels more like drawing. Light lines erase cleanly; dark ones scar the paper.
4. Copying without observing. If you spend more time looking at the photo than at your page, trust your eyes instead. Look at the reference in short bursts.
5. Skipping the warm-up. Your first two minutes of lines are shaky because your hand is cold, not because you lack skill.
6. Practicing without a goal. Decide one focus per session: ellipses, proportion, or value. Twenty focused minutes beat an hour of whatever comes to mind.
7. Starting with people or with finished art. Both produce frustration before foundation. Boxes, vases, and household objects first.
8. Quitting during the flat middle. Cut session length instead. Ten honest minutes daily keeps the habit alive when motivation is gone.
Frequently Asked Questions
Can you teach yourself to draw, or do you need natural talent?
You can teach yourself to draw, and natural talent is close to optional. What improves is observation, line control, and value, and all three respond to practice. Adults who felt untalformed as children usually improve faster, because they are less attached to their first attempts. The one real requirement is repetition across weeks, not hours on a single day.
How long should a beginner practice drawing each day?
Twenty minutes a day is enough to see real progress within a month. Experienced artists on beginner forums consistently recommend short daily sessions over long occasional ones, because line control is a motor skill that consolidates overnight. If you can only manage ten minutes, do ten. Consistency beats intensity almost every time.
How do I know if I am actually getting better at drawing?
Date every page and compare month to month rather than day to day, because daily work feels flat by design. Flip the drawing over to check proportions, and hold it in a mirror to catch errors your eye accepts. Most beginners improve line steadiness and proportion within three to four weeks, even when finished drawings look unchanged.
Should I learn to draw digitally or traditionally first?
Start traditional unless you already enjoy digital work. A pencil teaches resistance, pressure, and how much a mistake costs you, and those lessons are hard to learn with an undo button. Once your observation is reliable in pencil, moving to a tablet is straightforward. Switching tools mid-month because a tutorial used a different one just adds friction.
What should I draw as a complete beginner?
Draw household objects first: mugs, bowls, books, fruit, a folded cloth. They sit still, have simple geometry, and let you focus on proportion and value without a face to blame. Avoid people and cartoon characters until you can get a box and an ellipse right from observation. Experienced artists on r/learntodraw give the same advice to beginners.
When is a paid drawing course worth it?
A paid course pays off when you want a fixed sequence and someone to correct your work, and you struggle to finish self-directed study. Free resources work well if you follow one book or one channel start to finish instead of mixing ten tutorials. Buy one course, commit to it for eight weeks, then go free. Buying several at once is the most common waste.
Conclusion
How to start drawing as a beginner comes down to an order, not a shopping list. Learn to see shapes instead of objects, control your lines from the shoulder, build everything from squares and ellipses, check proportion by measuring, then add value. Do a little of it most days and keep every page.
Start tonight with one 20-minute session: a pencil, a sketchbook, and one everyday object near you. Ten minutes of lines and shapes as a warm-up, then ten minutes of that object from observation, light construction lines only. That is the whole assignment, and it is enough.