A vision board that works comes down to two things most people skip: getting specific about what you want, and attaching a real action and a date to every image you pin up. Cut a magazine, glue it down, and hang it on the wall, and you have a decoration. Add the clarity and the next step, and you have a tool that changes what you do on a Tuesday afternoon.
This guide takes about an hour to two hours the first time, and no money at all if you use free image sources. There is no single right way to make one, so I am not going to push a specific method on you. I will give you the process that separates the boards people actually use from the ones that end up folded in a closet.
If you have made a board before and watched it do nothing, you are in the right place. That is the most common experience, and it usually comes down to goals that are borrowed, imagery that is all outcome and no process, and no link between the picture and your calendar.
Table of Contents
What You Need
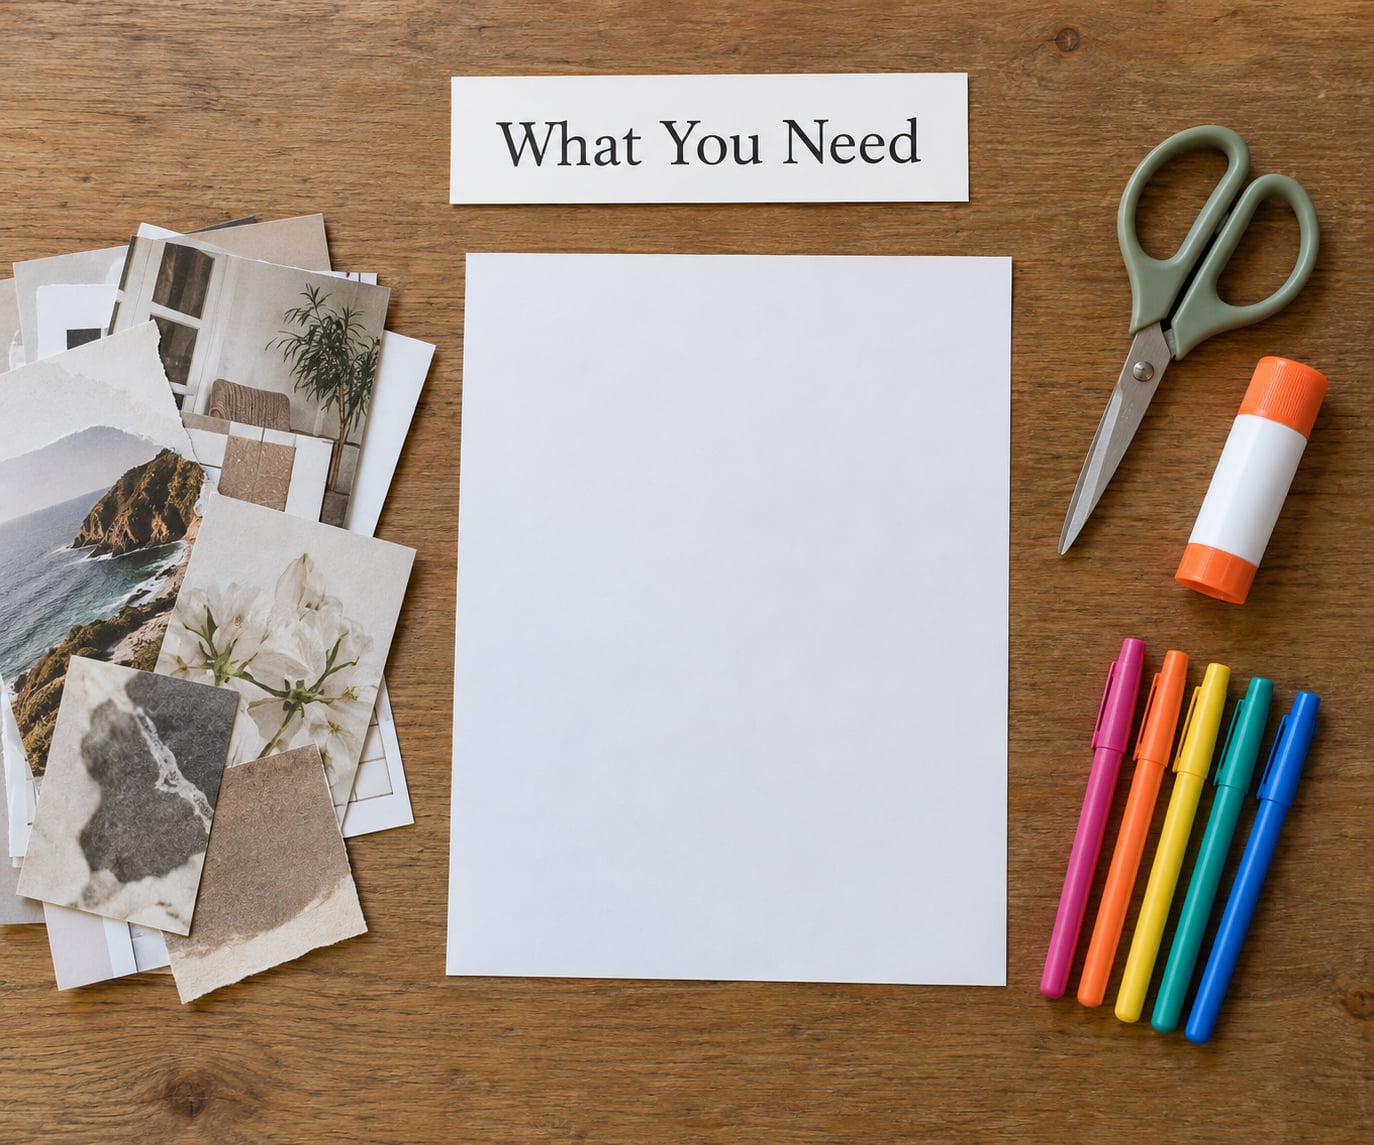
Not much. If you are making a physical board you want a backing surface, something to cut images with, an adhesive, and a pen. The rest is sourcing, which costs nothing if you know where to look.
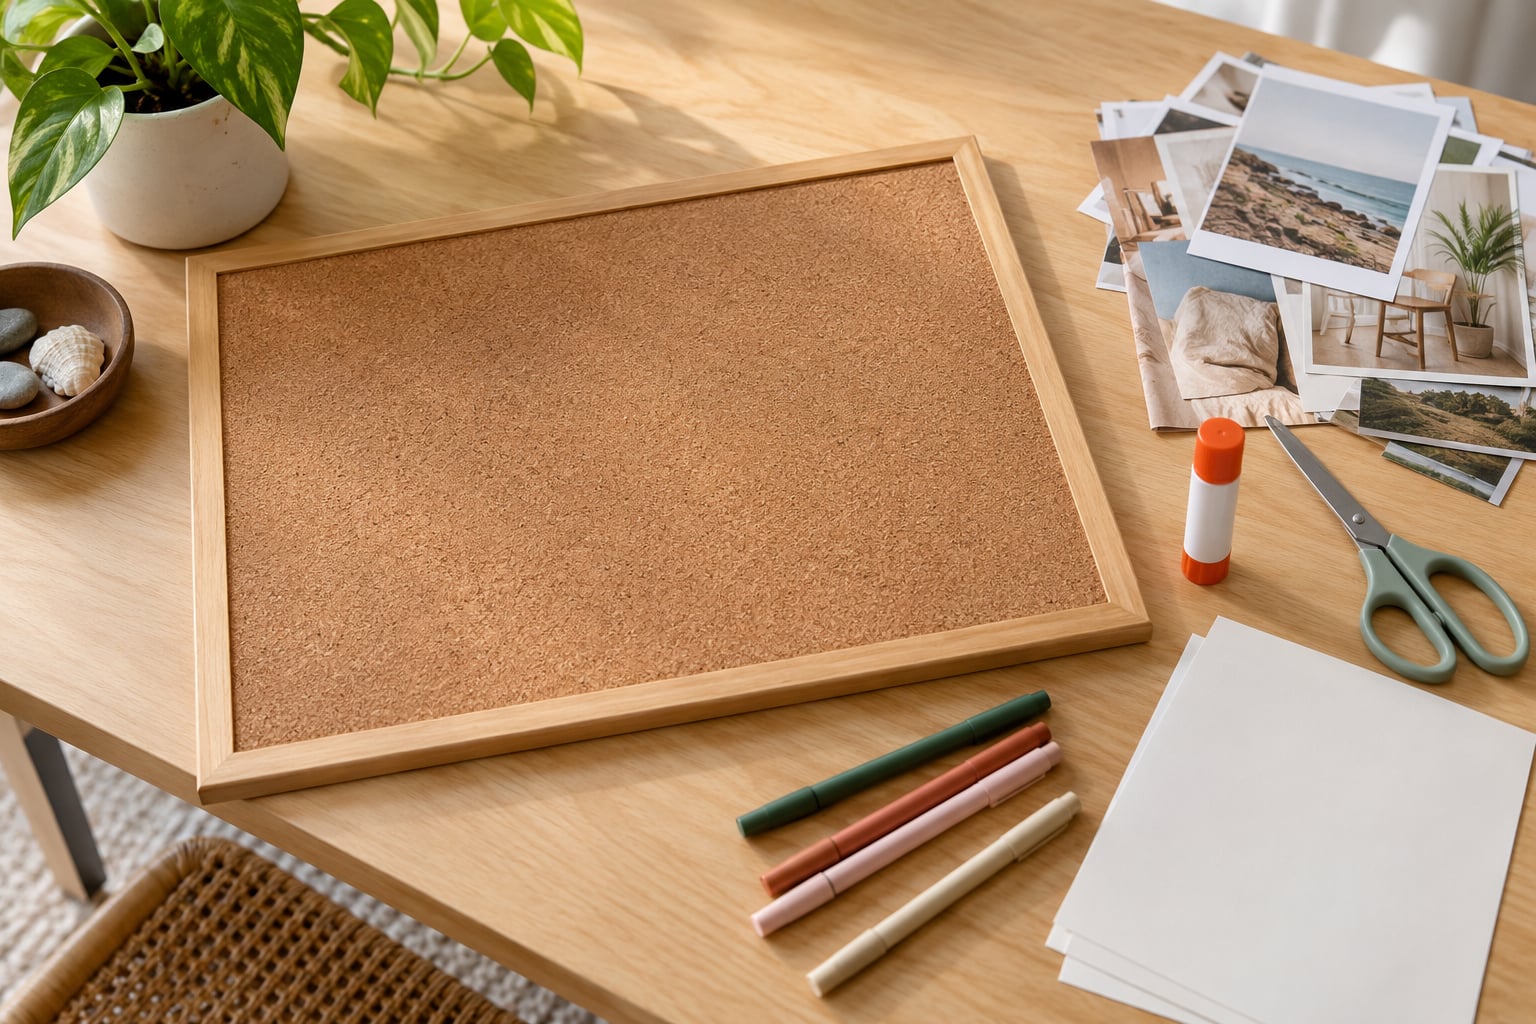
The backing can be a cork board, a sheet of poster board, cardstock, or the inside cover of an old notebook. Cardstock works better than poster board for gluing because it does not buckle. If you already keep a bullet journal or a weekly planner, a spread inside it beats a board on the wall, because it survives the trip through your bag every day.
For adhesive, a glue stick handles paper cleanly. Tape works in a pinch. If you are gluing something thick or textured, a craft glue or double-sided tape holds better.
A fine-tip marker or pen is essential, not optional. Words, dates and numbers on the board do more work than most of the images do.
Scissors, a craft knife, or a guillotine if you are cutting a lot of card. A ruler helps if you are building a grid layout.
Choosing a format: digital, physical, or hybrid
This is the first real decision, and it depends on two things: how visible you need the board to be, and how much you expect to change it.
| Format | Best for | Strength | Weakness |
|---|---|---|---|
| Physical | People who think visually and need something they can touch | Constant, passive visibility without any effort on your part | Slow to edit, easy to leave up for a year |
| Digital | People who move around, travel, or work from different rooms | Endless free images and quick edits, plus it can be your phone wallpaper | Easy to bury under other apps, which kills visibility |
| Hybrid | Almost everyone who wants both | Build digitally with free tools, print it, then put it where you will see it | One extra step at the start |
The hybrid route is my default recommendation. Build the layout in a free tool like Canva, print it on cardstock at a library or office supply store, and hang it. That gives you the sourcing power of the internet and the daily visibility of something physical.
Where to find images for free
Your phone camera roll is the underrated one. Photos you took yourself carry more feeling than any stock image, which is the whole point. Self-portraits, a place you want to live, your dog, the meal you want to cook on a Sunday.
Unsplash and Pexels give you high-quality photography at no cost, and both allow free commercial and personal use without attribution. Image search boards are useful for spotting ideas, though copying an image straight from a search result is murkier than sourcing it from a free stock site or making your own.
Public library magazine stacks are free and nobody will stop you. Thrift store quarter bins are the other classic source. For anything specific, like a particular job title or a medical specialty, an image search with a narrow query usually beats scrolling for hours.
Step-by-Step: How to Make a Vision Board That Works
Define one clear intention
Start with a single sentence describing the season you are in, not the whole life you want. “Build a career in a field that uses my writing” is workable. “Be happy forever” is not, because there is no image you can cut for it.
A useful test: could a stranger read your sentence and picture what you mean? If not, it needs narrowing.
Gather images that represent the feeling and the facts
Here is the rule nobody states plainly. Aim for a mix of outcome imagery and process imagery.
Outcome imagery is the finished scene: the office, the kitchen, the boat, the wedding. It gives you the emotional charge and it is what pulls you toward the board in the first place. Process imagery is the verb: you typing, you lifting, you cooking, you saying no to the thing that drains you.
Boards built entirely from outcome imagery create a mood without a mechanism. You feel great for a week and then there is nothing to do. Pair every big outcome image with at least one image of a person doing the thing.
Skip anything that isn’t yours. A wedding photo when you don’t want a wedding, a penthouse when what you actually want is a smaller place with a garden. Vague or borrowed goals are the single biggest reason boards feel flat.
Add words, dates, and evidence
Write on the board. Not affirmations in a pretty typeface, but the plain facts: a number, a date, a phrase of how you want to feel.
“Run a half marathon by April” is evidence. “I am powerful” is a wish. Under a picture of a kitchen, write what you actually want from that kitchen: “sit down for breakfast six mornings a week.” Under a work image, write the specific role, the number you want to reach, the person you need to email.
Dates are what convert a board from a hope into a plan. Give each area a timeframe and you can tell later whether you moved or not.
Arrange the board by theme
Grouping makes a visual difference and it makes the board usable. Sort your images into a small number of life areas, then label each section in your handwriting.
- Home and daily environment
- Work, study, or a business you want to build
- Health and energy
- Money and financial life
- Relationships, chosen family, and community
Five is usually enough. You can add travel or creativity as a sixth, but if you have more than six sections your board has stopped being a priority list and become a wish list.
Within a section, pick a layout and stick to it. A grid works when you want neatness. A collage or mind-map layout works when you want the board to feel like a mood. Color-coding by section takes two minutes and makes a cluttered board readable at a glance.
Turn each goal into a next action
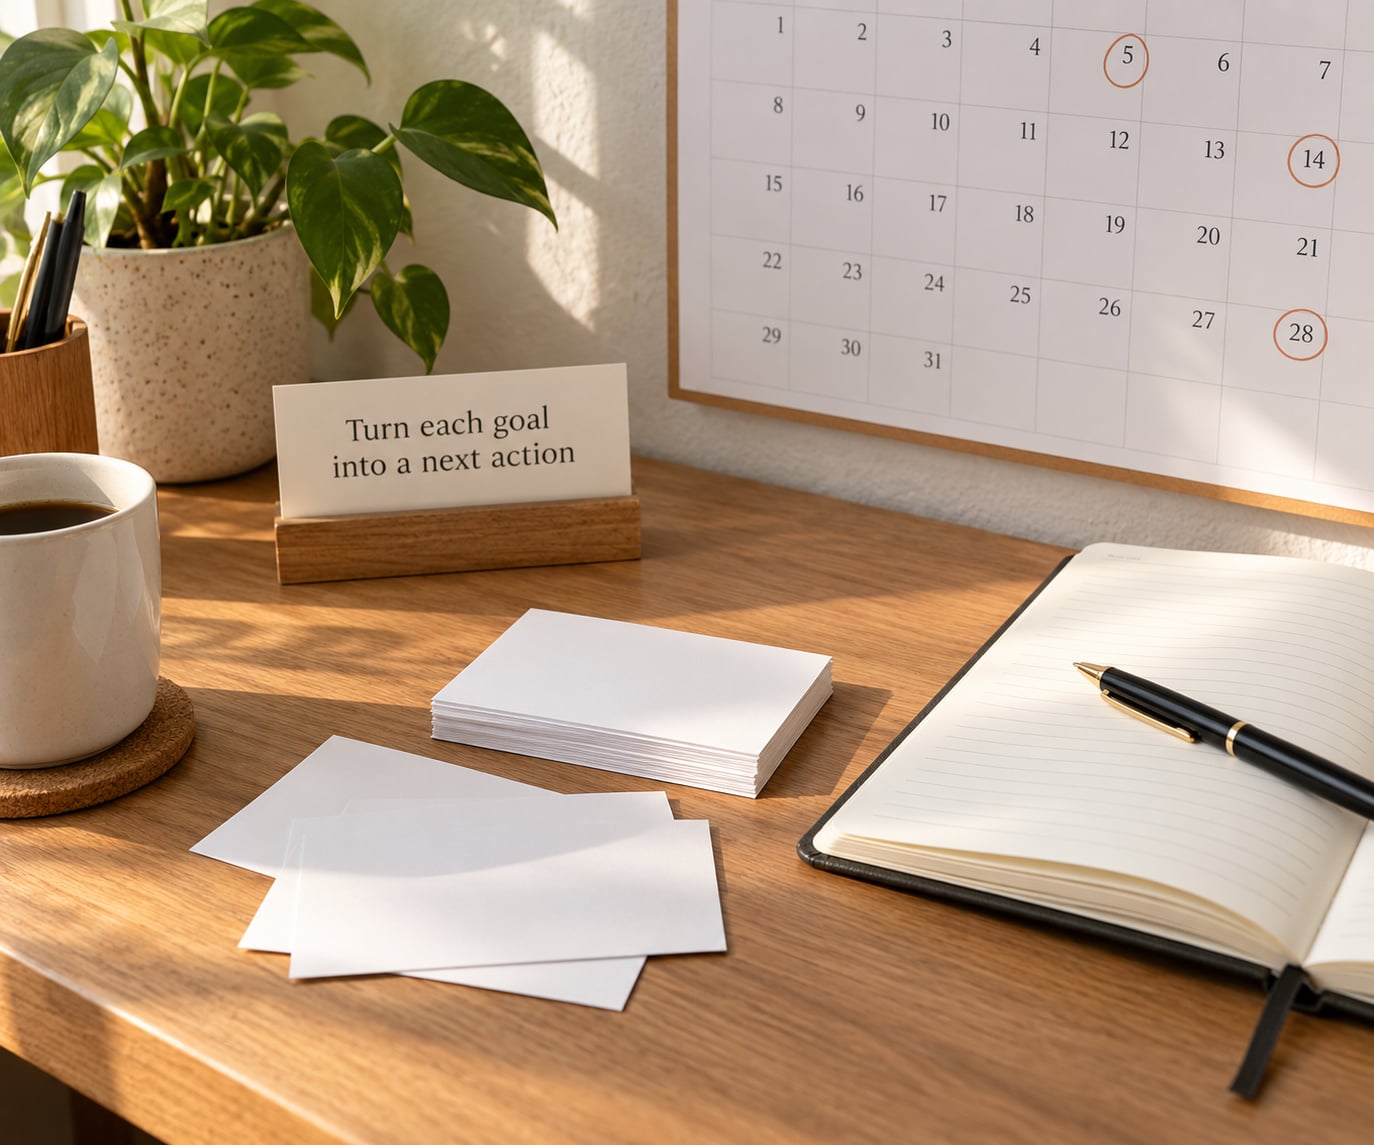
This is the step that separates a board that works from a board that hangs there. For every image, write one action you could take in the next fourteen days and one date it happens by.
The action should be small enough that you would actually do it on a bad day. “Research half marathon training plans” is an action. “Get in shape” is a vibe. “Email the three studios on my list about the open role” is an action with a date attached.
Put the action next to its image on the board, or on an index card taped over it. Then transfer the dated ones into your actual calendar or planner. If it never reaches the calendar, it is a note to yourself, not a commitment.
How to make a vision board that works past the first month
A finished board is the beginning, not the end. Decide where it lives before you finish making it, and pick the spot with the highest daily traffic in your home: above the desk you work at, beside the mirror you use in the morning, on the wall you pass on the way to the front door.
Then photograph it and set the picture as your phone wallpaper. This is the single most common trick reported by people whose boards actually survive past a few weeks, because the image stays in your sightline every time you pick up the phone.
Give it a rhythm rather than a daily stare. Sixty to ninety seconds in the morning to look and say what you are moving toward this week. Ten minutes on a weekly review day to check the dated actions. Once a quarter, look at the whole board and ask two questions: what moved, and what no longer belongs there.
Retiring a board is normal. Goals change, and a board full of images you no longer care about works against you by reminding you of a version of your life you have moved past. Start a fresh board for the new season and keep the old one only if you like looking at it.
Common mistakes
- Too many goals. If everything is on the board, nothing is. Cut to five sections and keep the image that means the most in each one.
- Borrowed goals. Images of a life you admire but have not chosen produce admiration, not direction. Ask whether you would still want it if nobody ever saw it.
- Vague words. “Be happy” cannot be acted on. Replace it with a sentence that names who, where, when and how you want to feel.
- Outcome images only. Add at least one process image per goal so the board contains something to imitate, not just something to daydream about.
- No follow-through. If there is no date on an item, it is decoration. Put every action on a calendar.
- Analysis paralysis over sourcing. Hours of scrolling is a way of avoiding the decision. Set a limit, then work with what you have.
- Hidden visibility. A board in a spare room is a board nobody sees. Relocate it or take a photo of it.
- Never updating. If the board still shows a goal you quit six months ago, the whole thing stops feeling honest.
If the word manifestation makes you cringe, you can skip the whole framework. Every technique here works as plain goal setting and attention practice, which is a legitimate reason to keep going. You do not need to believe in any of it for the board to be useful, and nobody has to see it.
Frequently Asked Questions
How many goals should I put on my vision board?
Three to five life areas, with one or two images in each, is the sweet spot. More than six sections and nothing reads as a priority, so people look at the board and feel overwhelmed instead of motivated. If you cannot name the single most important image in each area, that area probably is not ready for the board yet.
Do affirmations work on a vision board?
They work better as facts than as slogans. Phrases like I am abundant tend to bounce off, while a written number, a date or a plain description of what you want makes the board usable. Write what you want to be true, in your own handwriting, and skip anything you would not say out loud.
How often should I update my vision board?
Review the dated actions weekly and the whole board once a quarter. A full rebuild every few months keeps it honest, because goals shift faster than people expect. Retire a board when most of its images no longer mean anything to you rather than leaving it up out of habit.
What should I do if my vision board is not helping me stay motivated?
Check for three things: whether you can name a next action for each image, whether those actions are on a real calendar, and whether you actually see the board daily. A board that fails on all three is a poster. Add one dated action per goal and move the board somewhere you look at it every morning.
Is a digital vision board as effective as a paper one?
A digital board is as effective as a paper one only if you see it. Screens compete with every other app on your phone, so visibility drops fast unless the board is your wallpaper or pinned to a screen you open on purpose. If you travel or work in different rooms, digital wins on convenience. Otherwise a printed board carries more feeling.
Start with one section of your life you actually want to change this quarter. Write one sentence naming it, find five images that carry some feeling, write one action with a date on each, and put the whole thing somewhere you will see it every morning. That is a vision board that works, and it costs nothing but the hour you spend on it.